
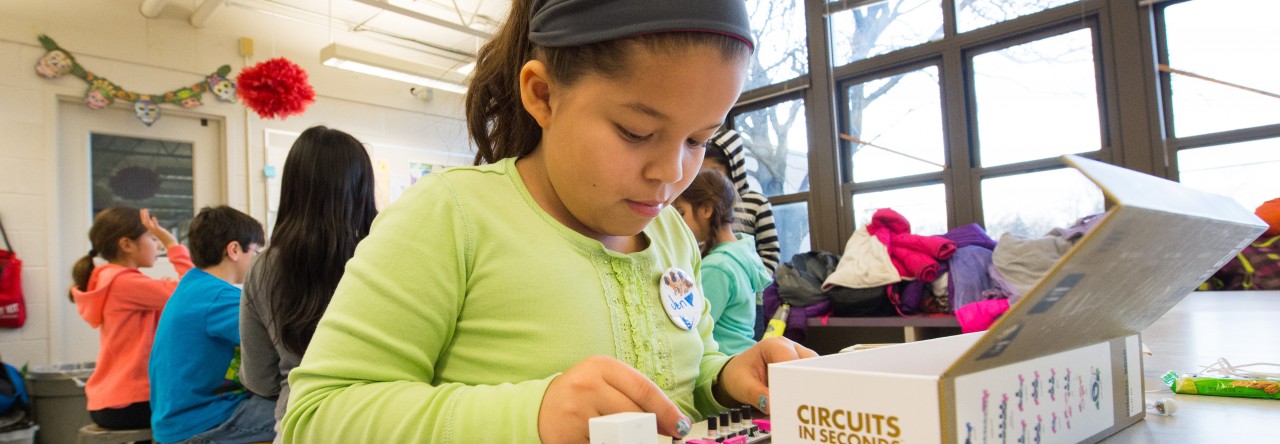
We’re a few days into November, but we can’t quite shake the Halloween spirit! This week, we grabbed some rolls of masking tape and a couple of straws to make spooky “mummy hands”. We had a new Maker Mentor, Prakruthi, join us this week and we’re so excited to have her!
If you’re looking for a simple project that keeps kids engaged with just a few materials, this activity fits the bill.
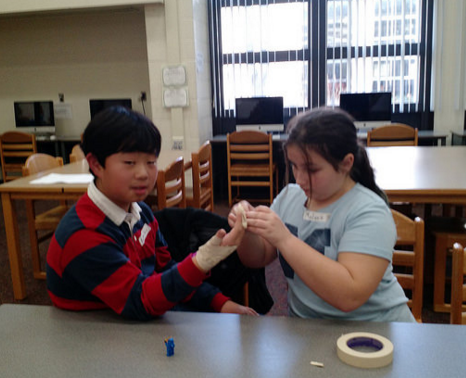
This activity works best in pairs: one student is the “hand model” and the other wraps the masking tape around the hand model. The students can switch off after one mummy hand has been completed.


This is how it works:
- Place a plastic straw on the hand model’s hand so that it lines up from the tip of their middle finger down the center of their hand.
- Wrap masking tape around the hand (over the straw) in layers with the sticky side facing OUT (smooth, non-sticky side touches the skin). This is important because if the sticky side were touching the skin, it would be difficult and dangerous to remove the hand from the “tape cast” that forms. From our experience, it works best if you start from the base of the hand and wrap your way up the hand and around the fingers!
- Once your hand is covered, do a final layer of tape so that the smooth side faces OUT, creating a smooth, non-sticky exterior.
- To extract the hand, carefully use scissors to cut from the base of the hand up the palm (almost to the fingers) along the straw. The hand model can wiggle their hand out and tape the cut in order to close the hand.
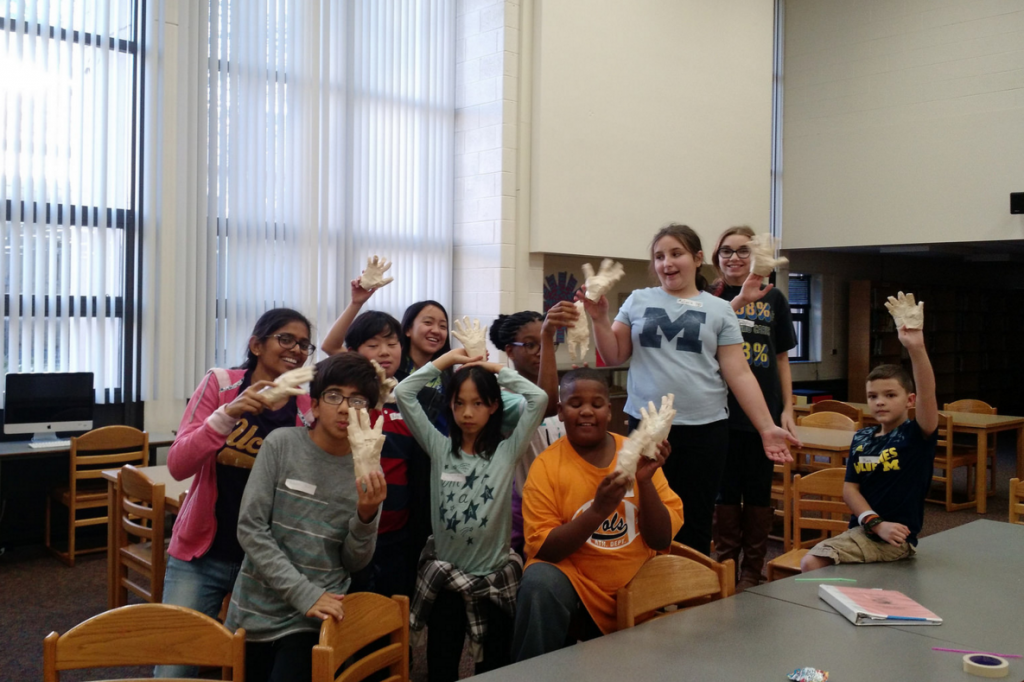
We had a bunch of fun with these! Some got creative with their hand poses and made claws with them. We heard kids talking about how cool it’d be to put lights into the hands or placing sensors in them to make noises when someone gets too close to the hand. Creating a mummy hand is just the beginning! What could YOU do with a mummy hand?
Comments are closed.