Page 2 of 9

So You’ve Got a Stack of Old Magazines, Eh?

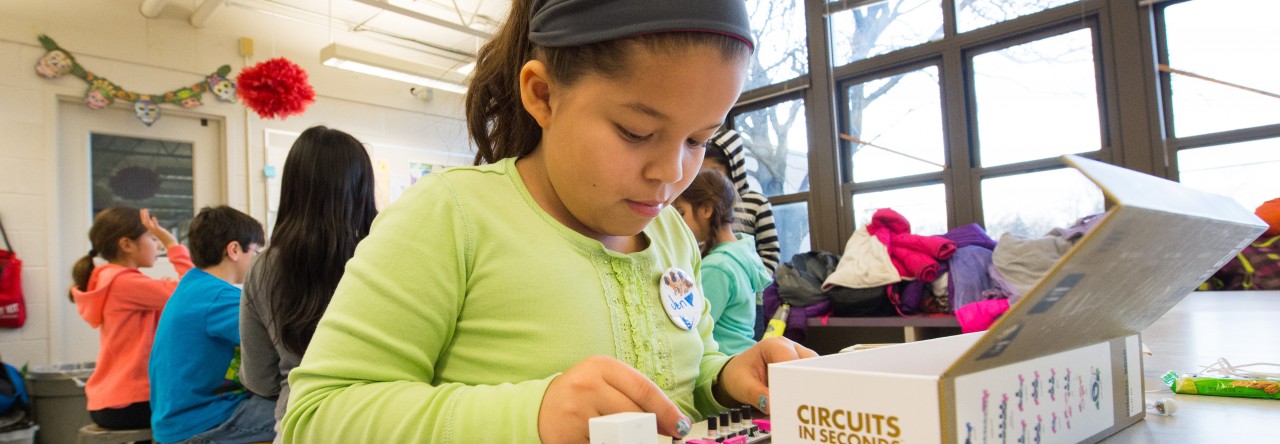
A big part of being a Maker is creating new things out of things you already have around you. After chatting with our middle school’s librarian, I learned that she had book shelves filled with old magazines, available for anyone in the school to take. It got me thinking about how we could repurpose old magazines and turn them into something new….

cut-paper-art12-600x4501

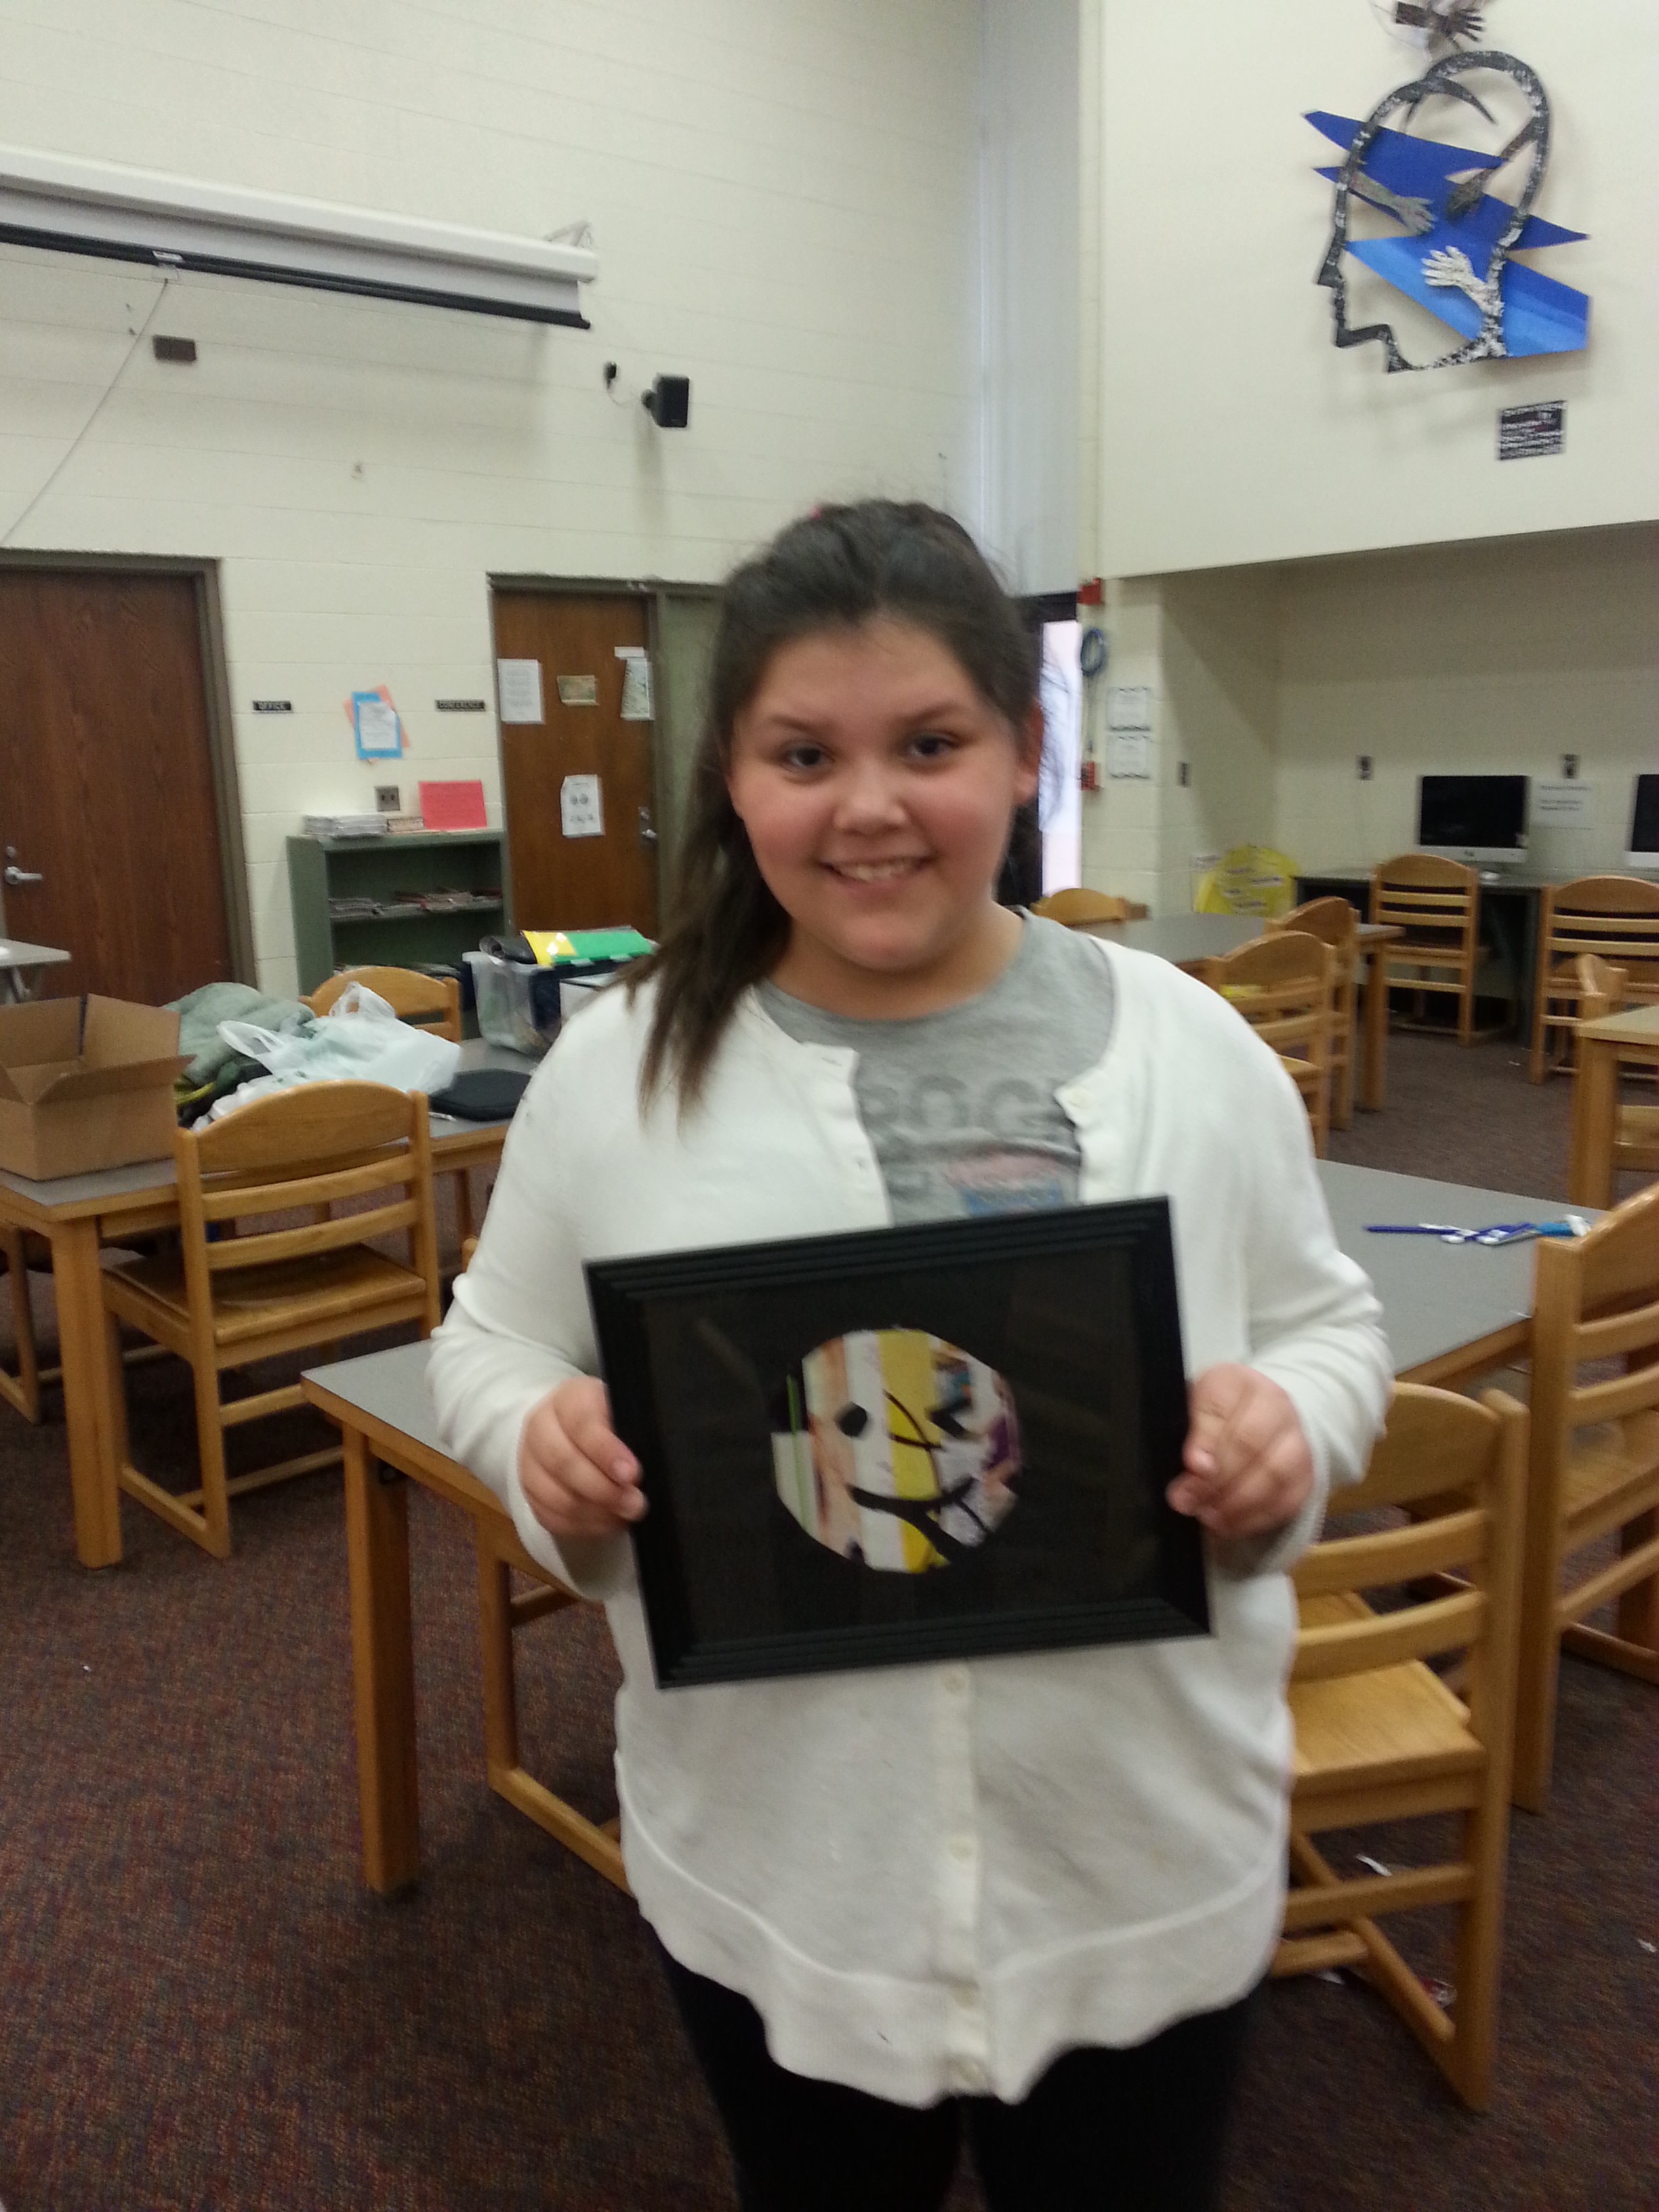
After poking around the internet for ideas, I came across this inspiration for magazine strip art: http://suzyssitcom.com/2012/06/feature-friday-cut-paper-art.html  We had stacks and stacks of colorful magazines at our disposal, and this artsy activity looked like something the students could get excited about.

The prep work didn’t take very long; After 30 minutes of tearing out magazine pages and slicing them up in a paper cutter (the kind that has a blade on a guillotine-like lever), we mentors had a box full of magazine strips ready for the students to create with!20160331_162808

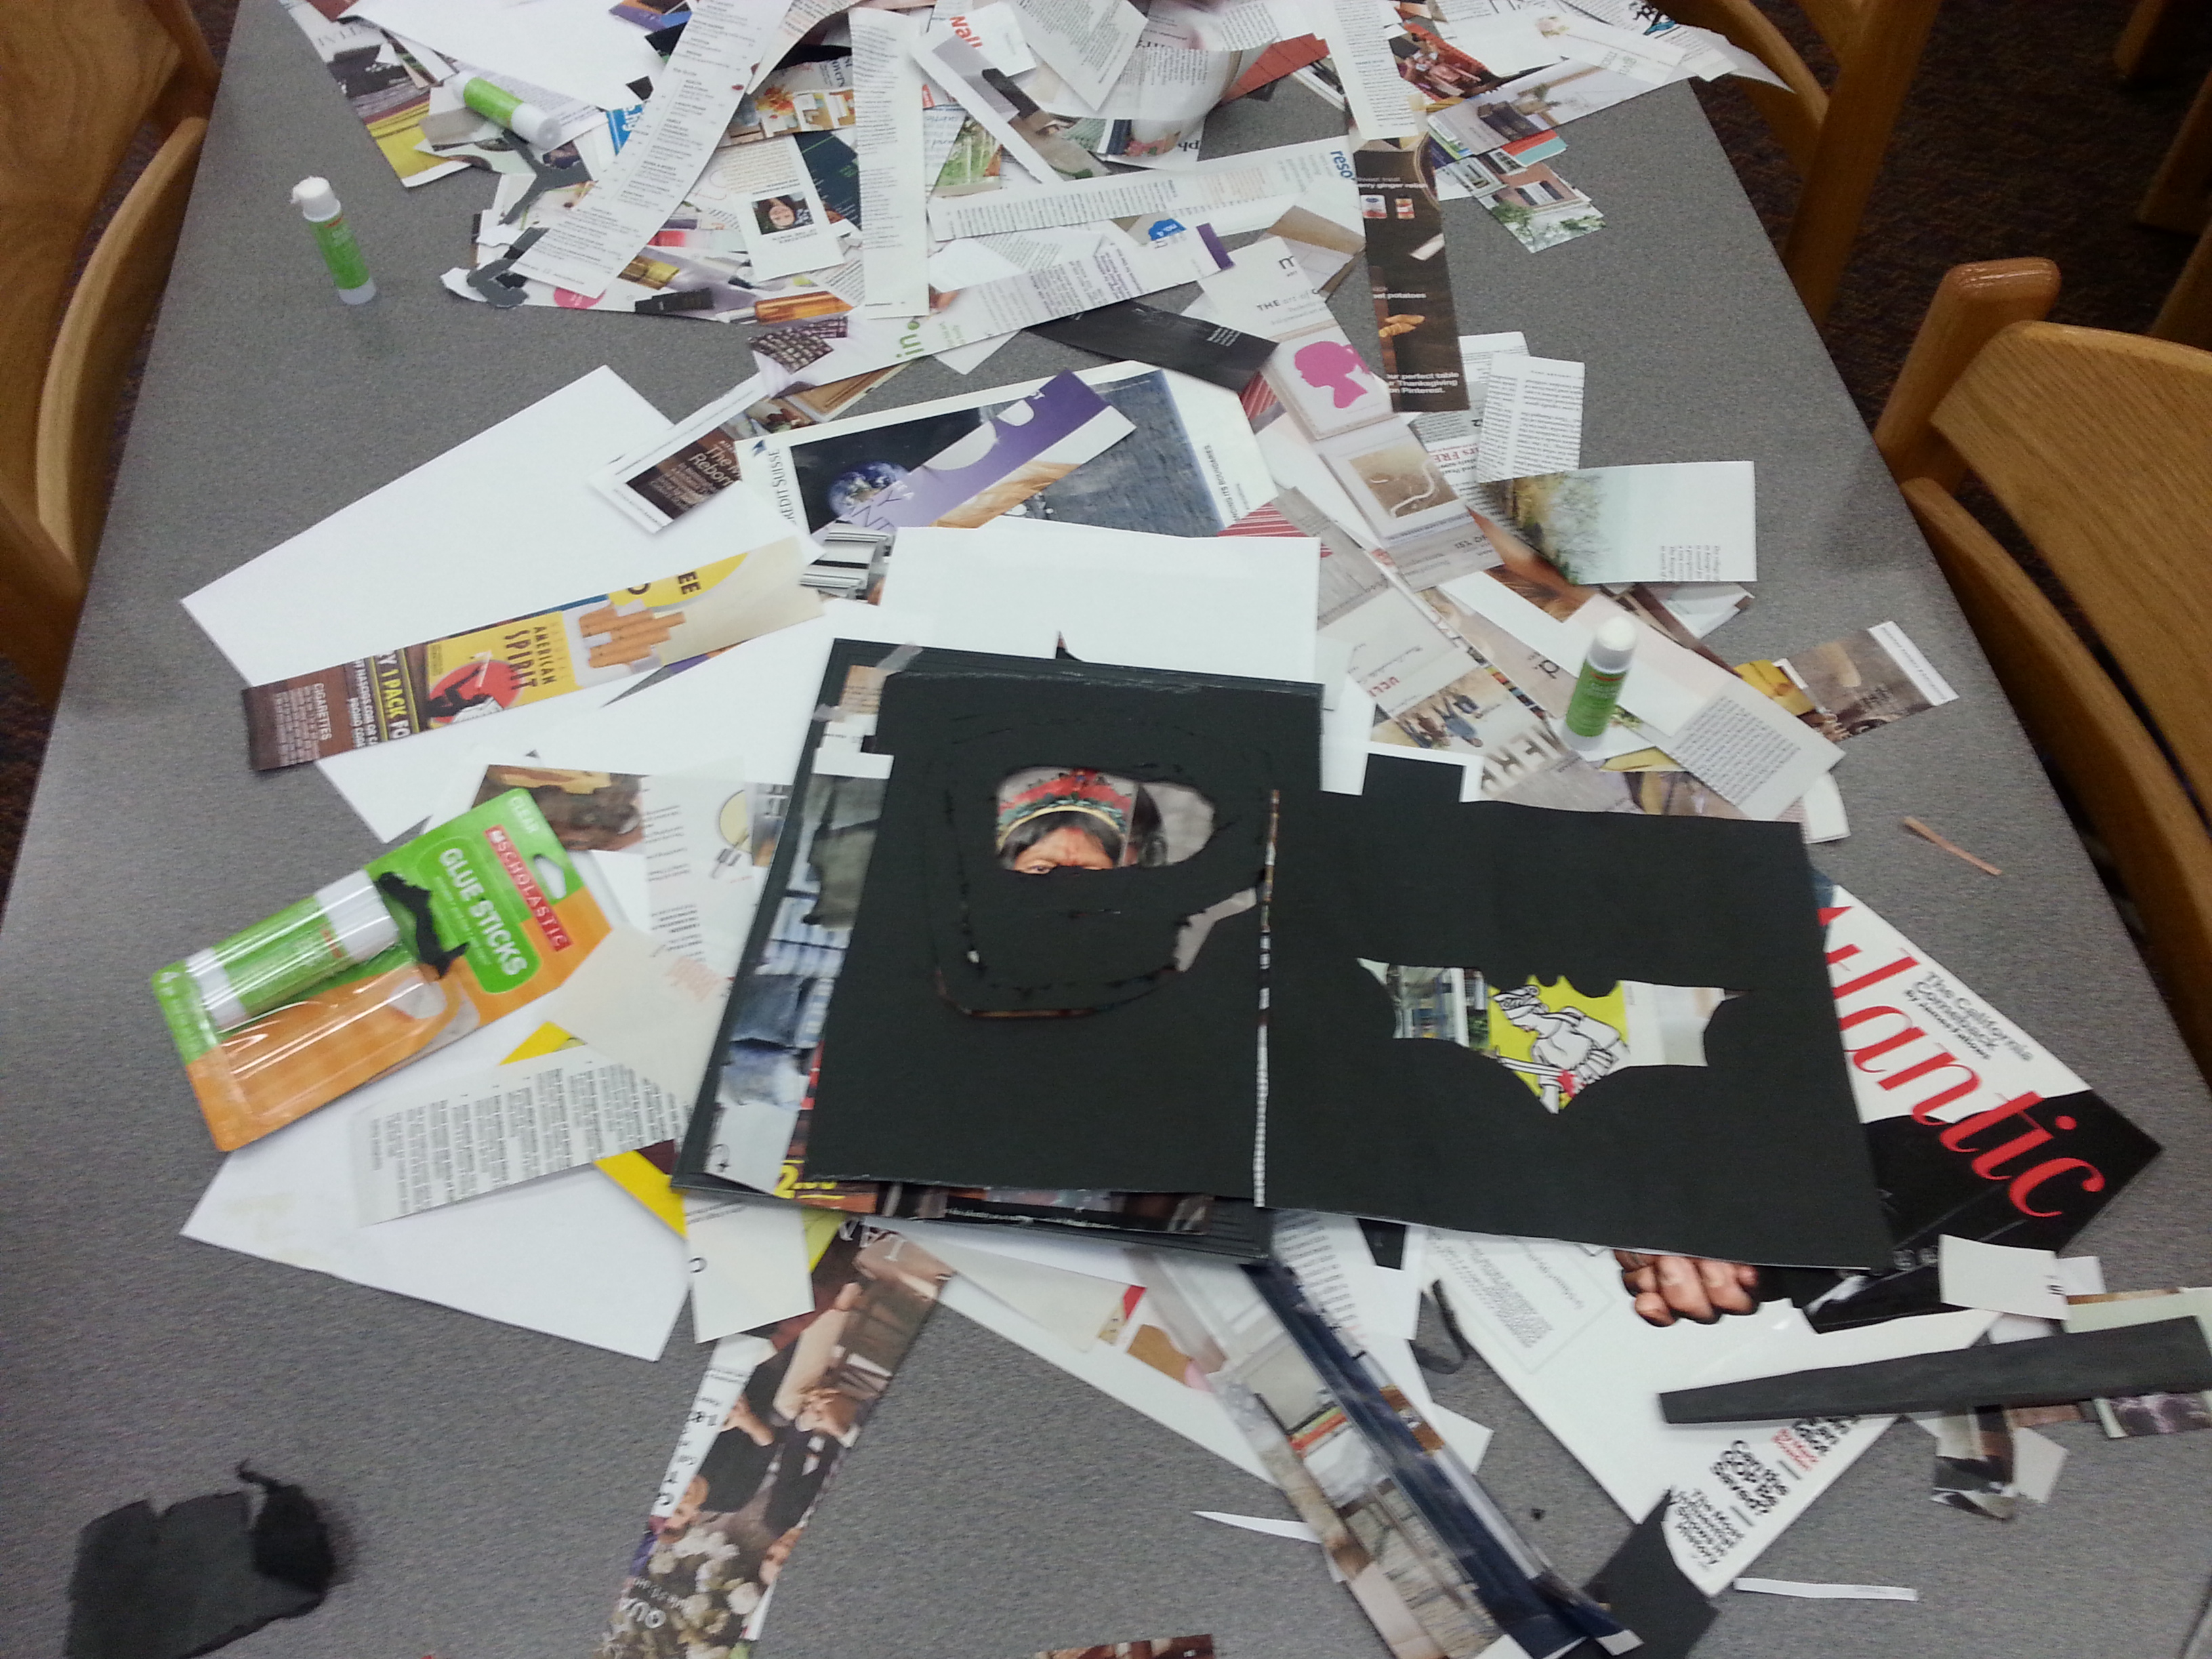
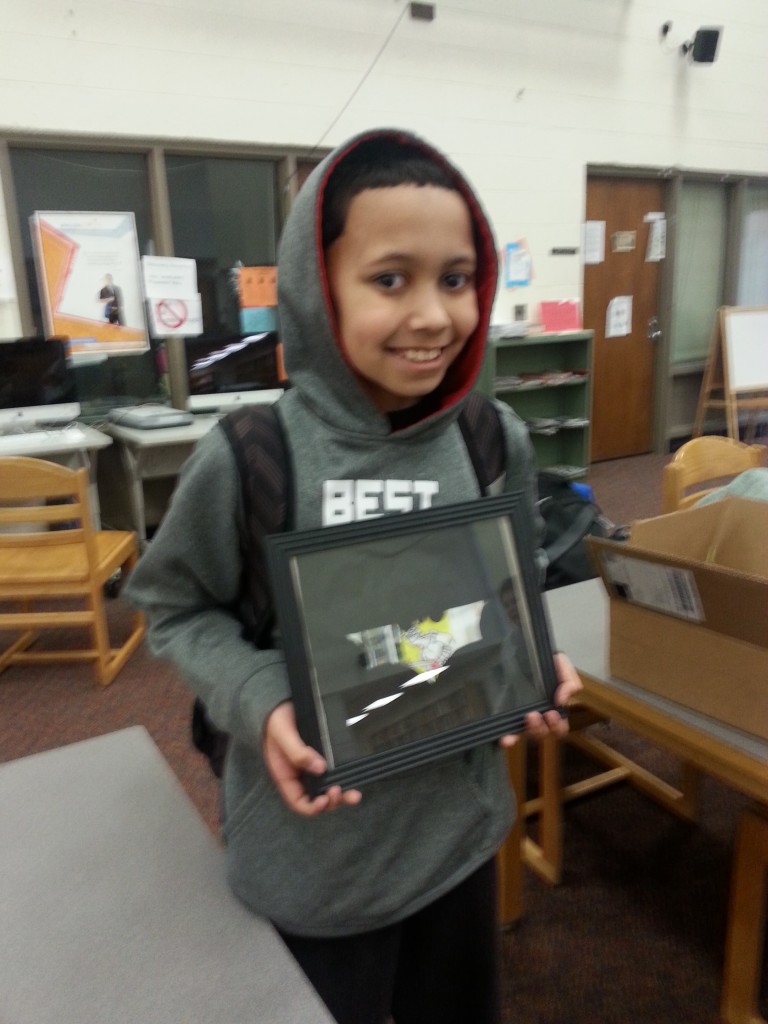
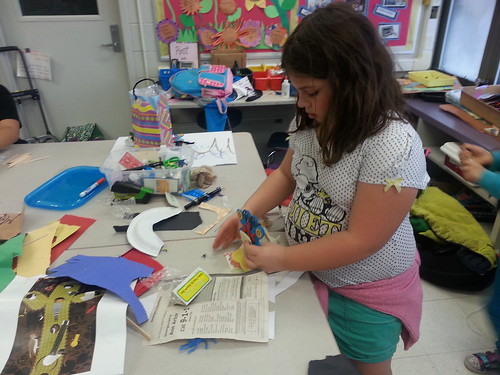
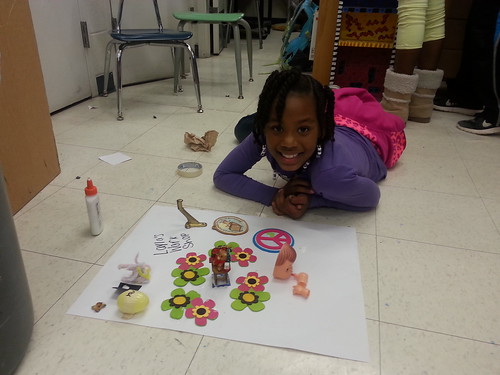
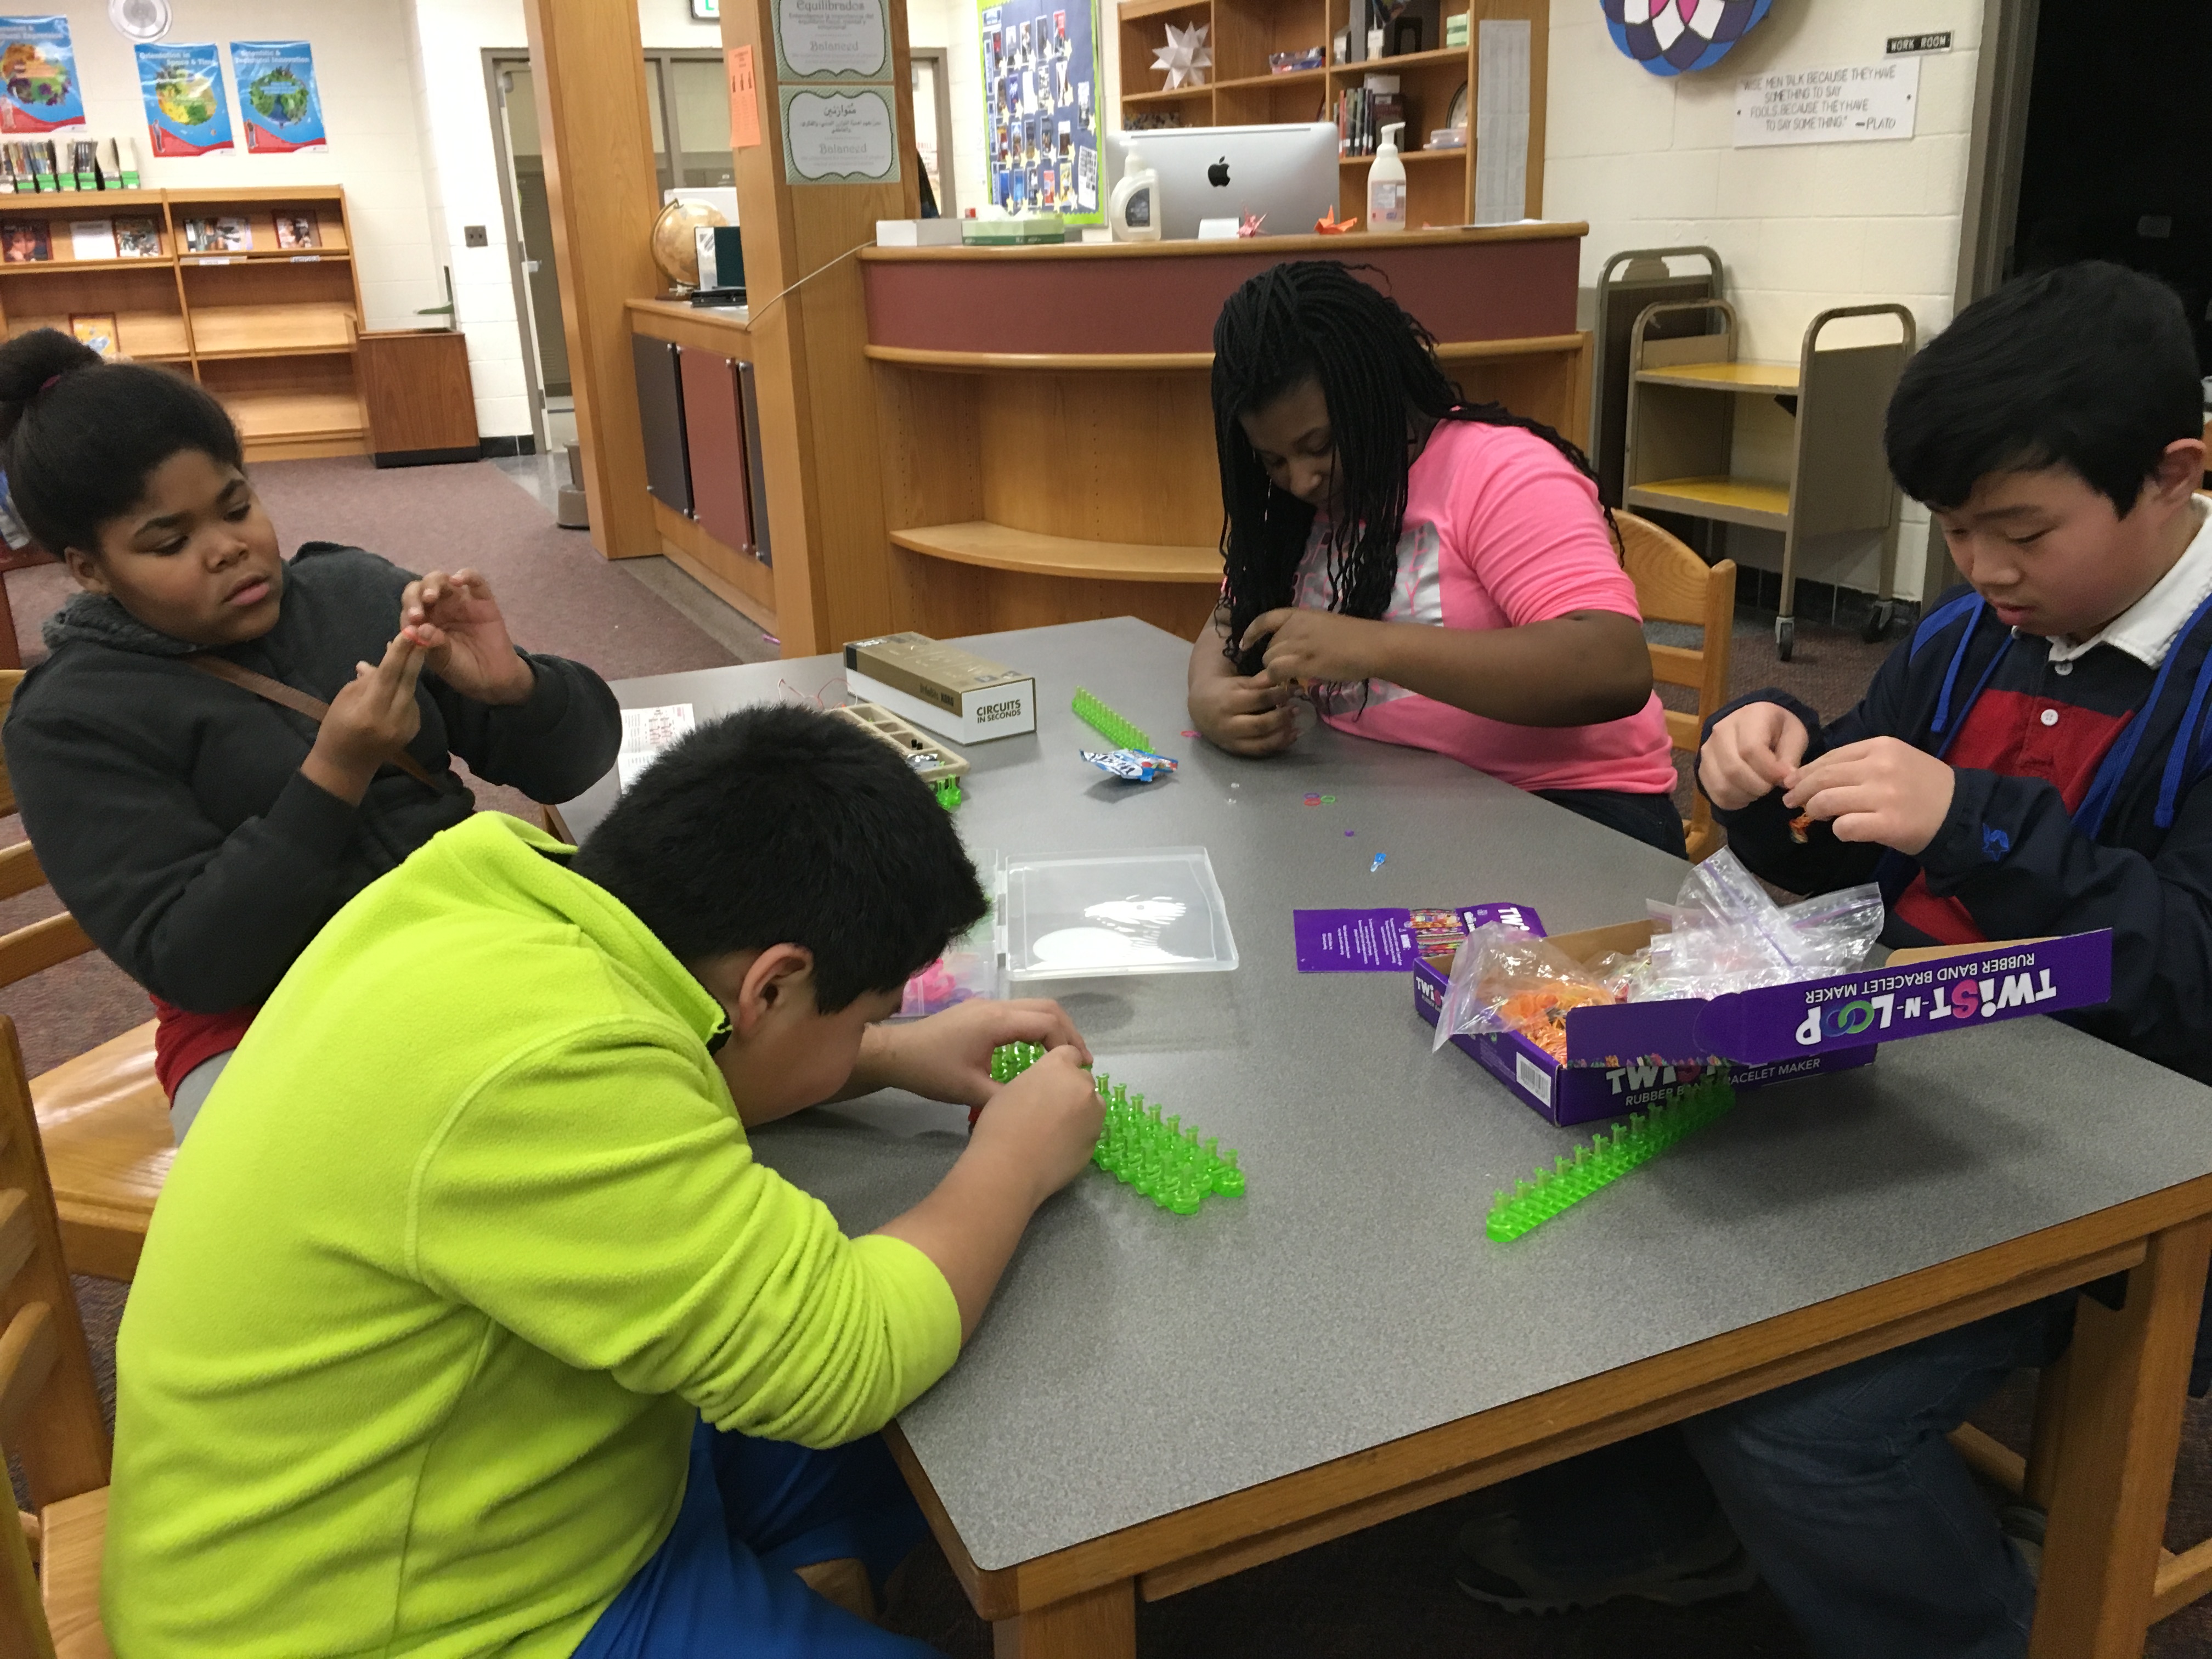
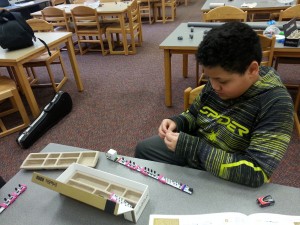
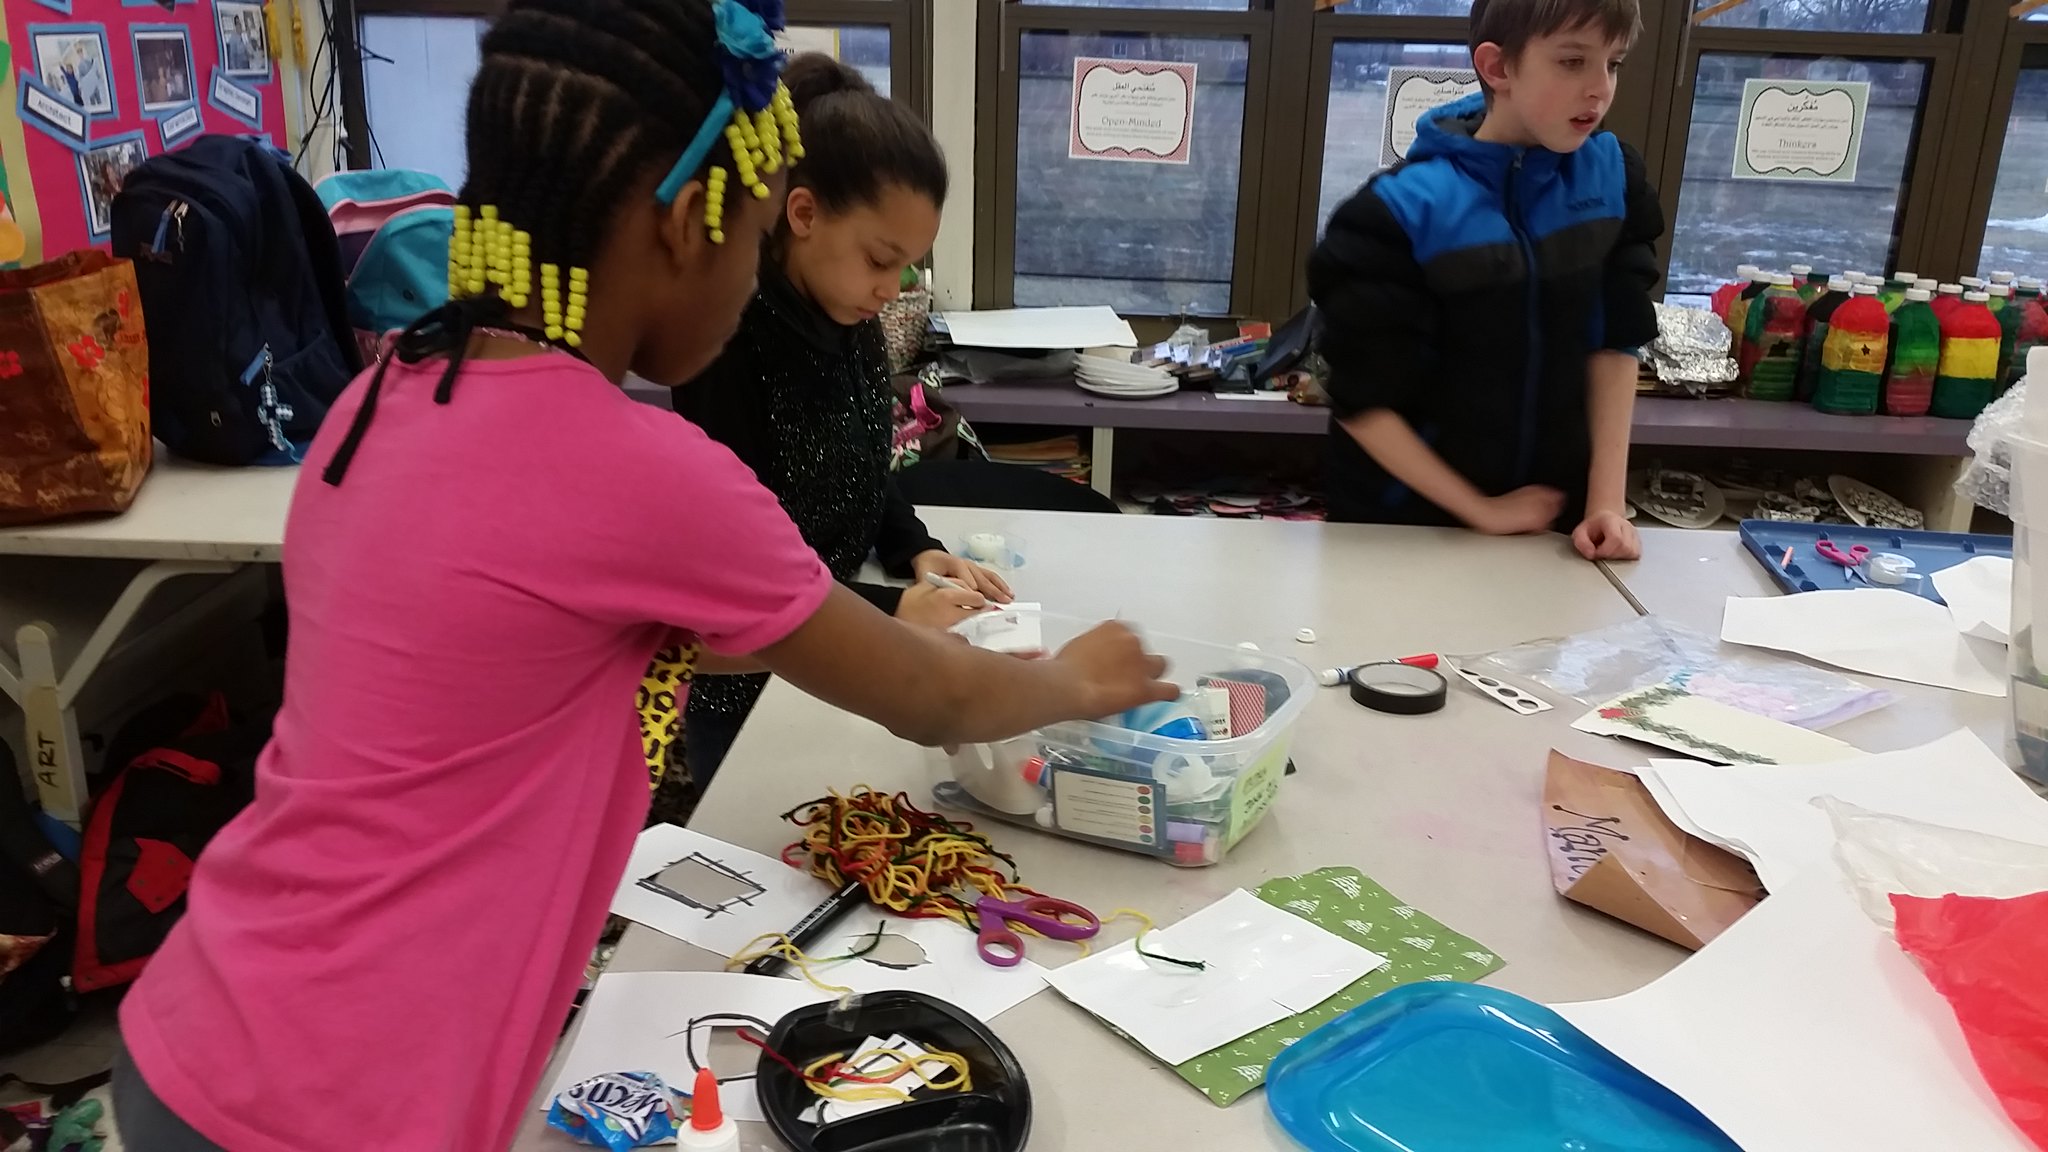
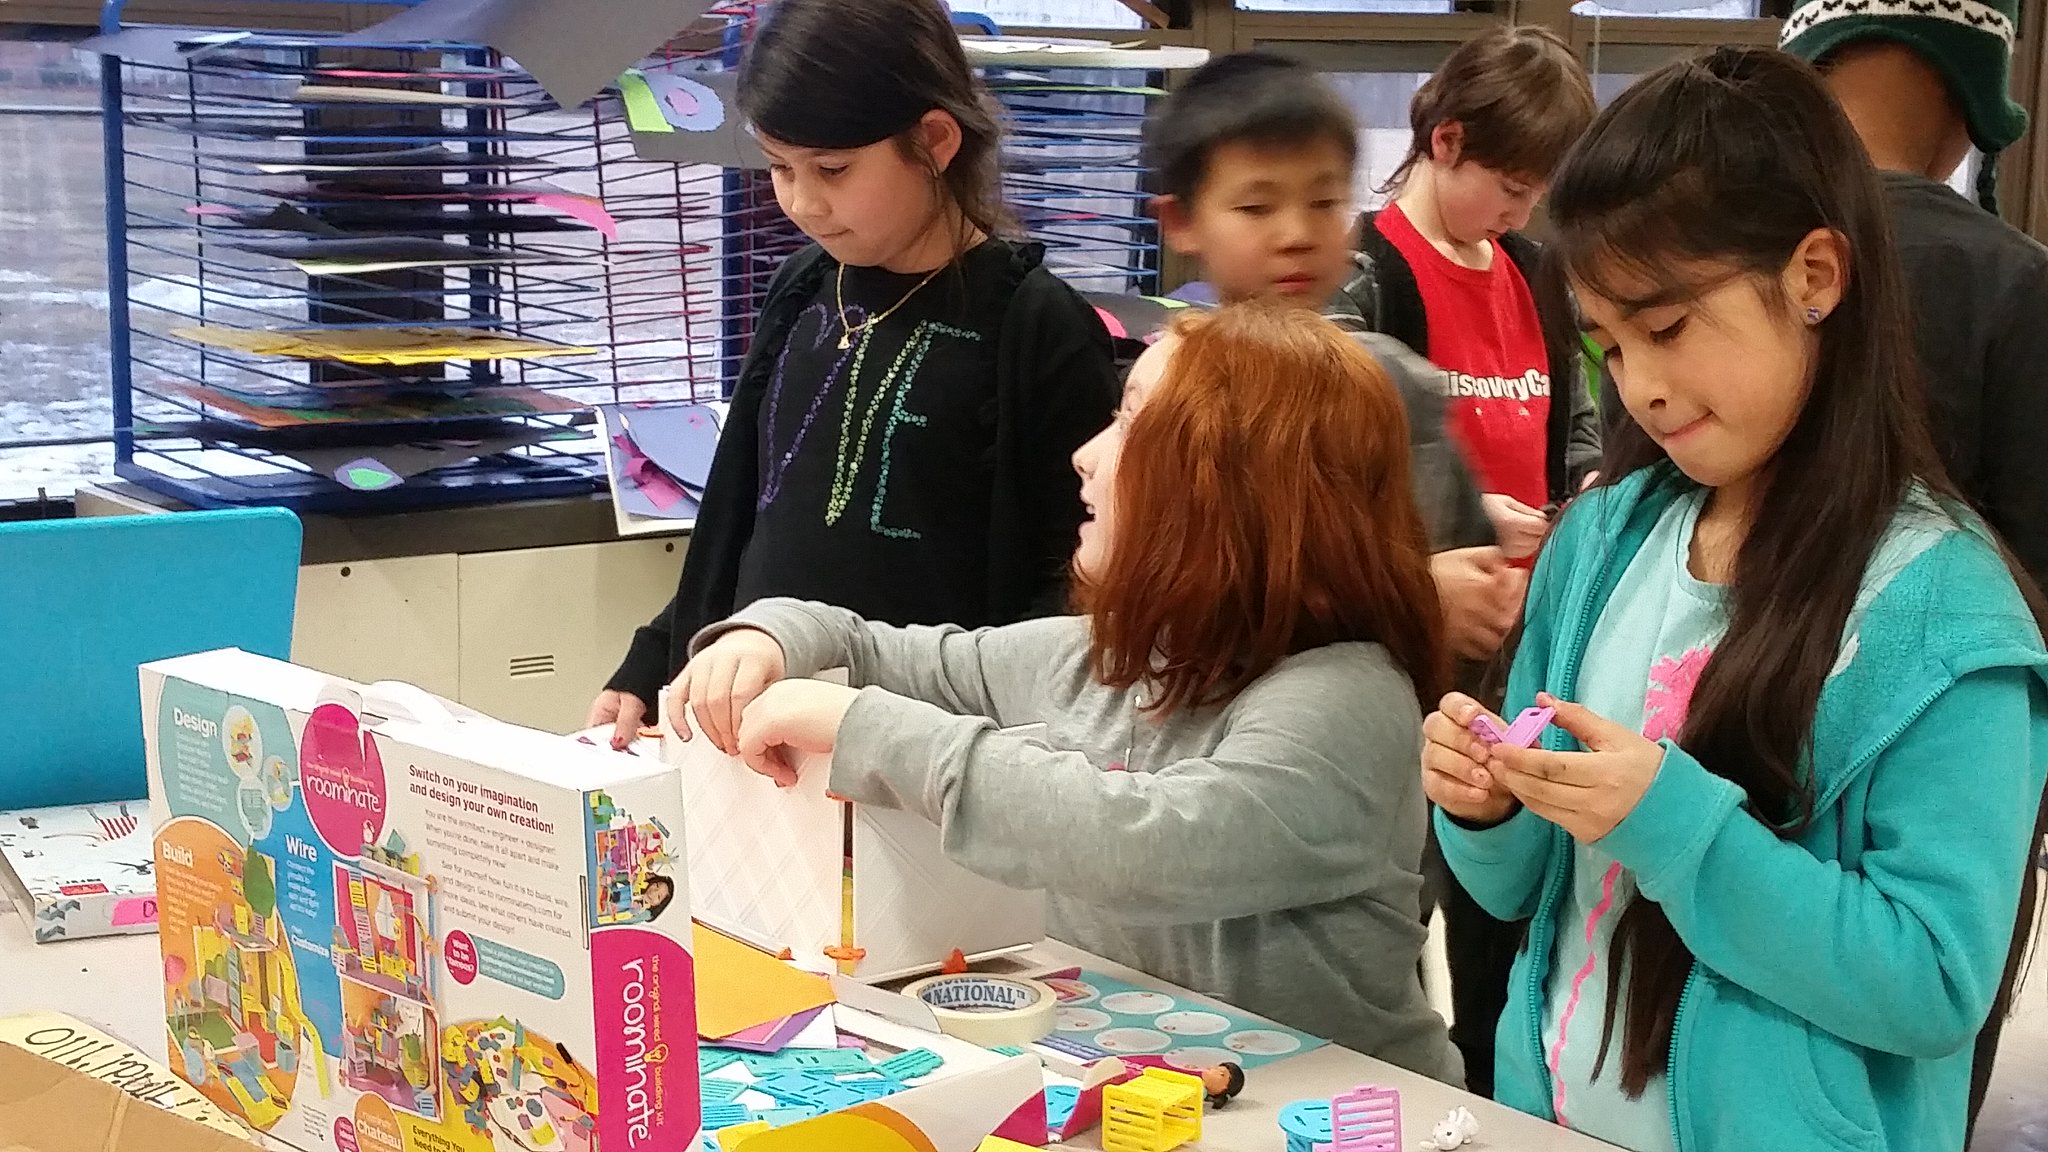
We let the students pick out the designs that they wanted to appear in their piece. It’s exciting to see the students get revved up about taking ownership of their work! We, the Mentors, might have given them some advice on selecting images, but it was they who pulled together designs and put their own spin on how they wanted the magazine strips to look.20160331_16061220160331_163334

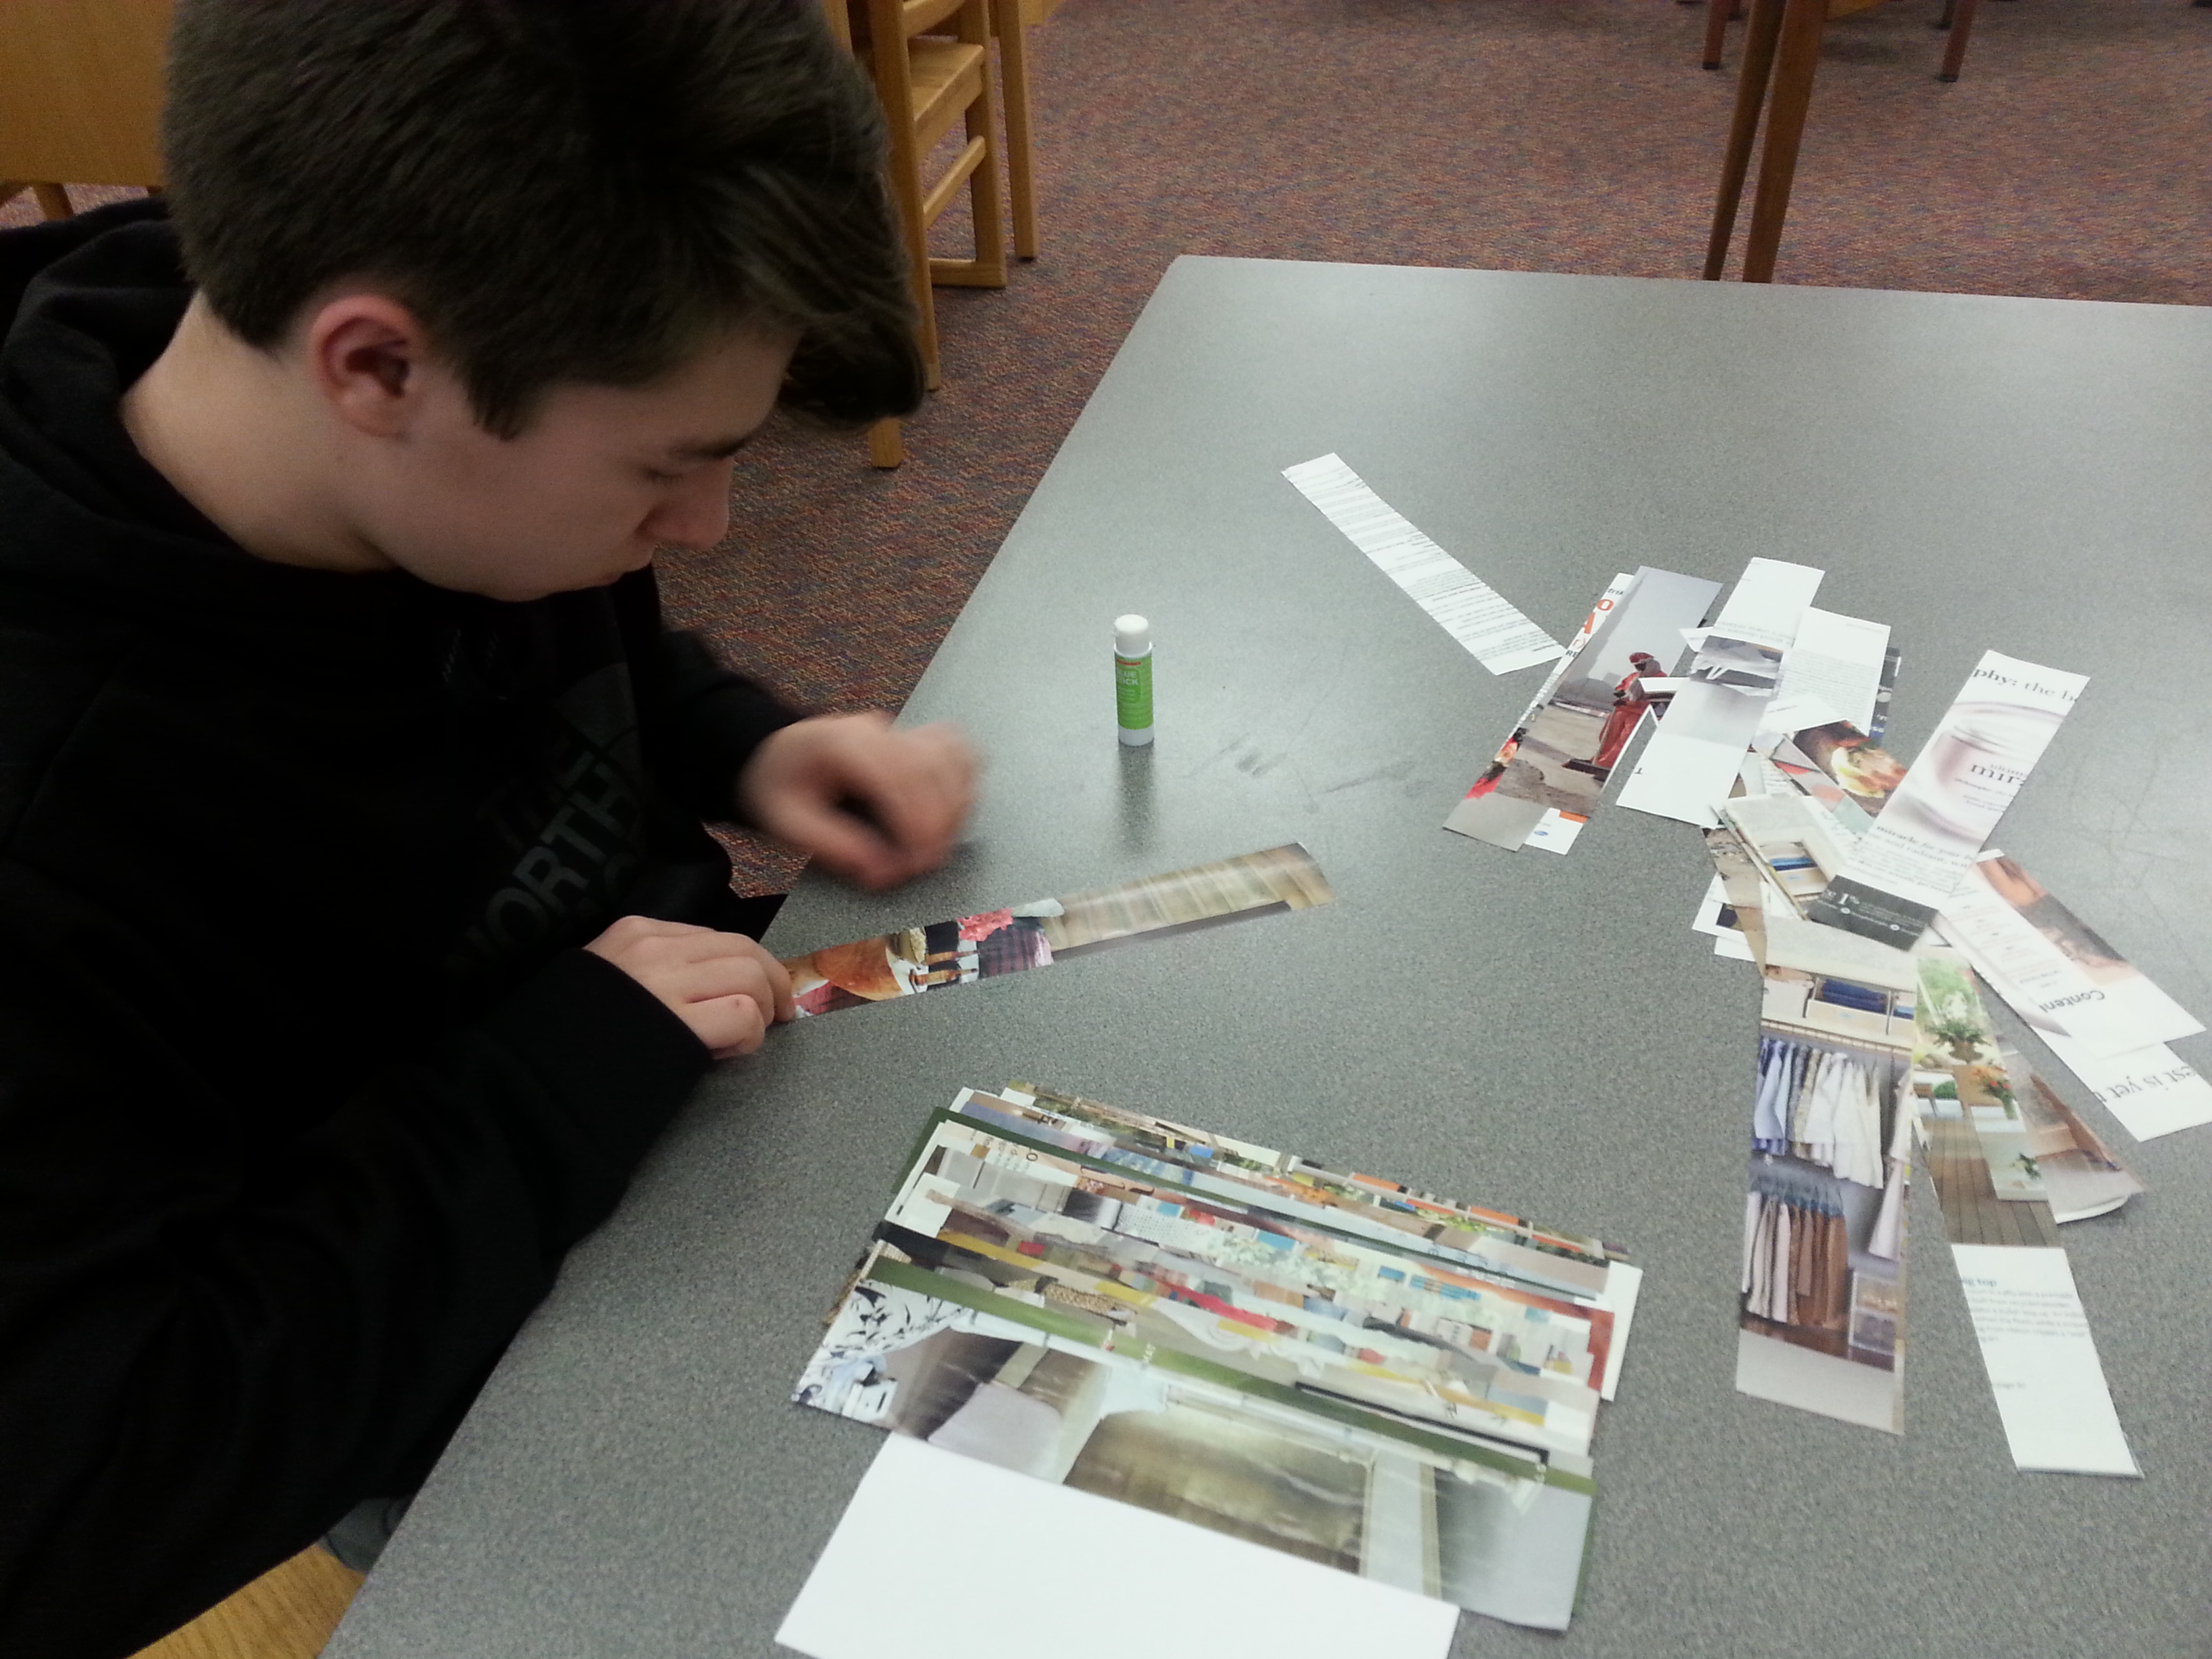
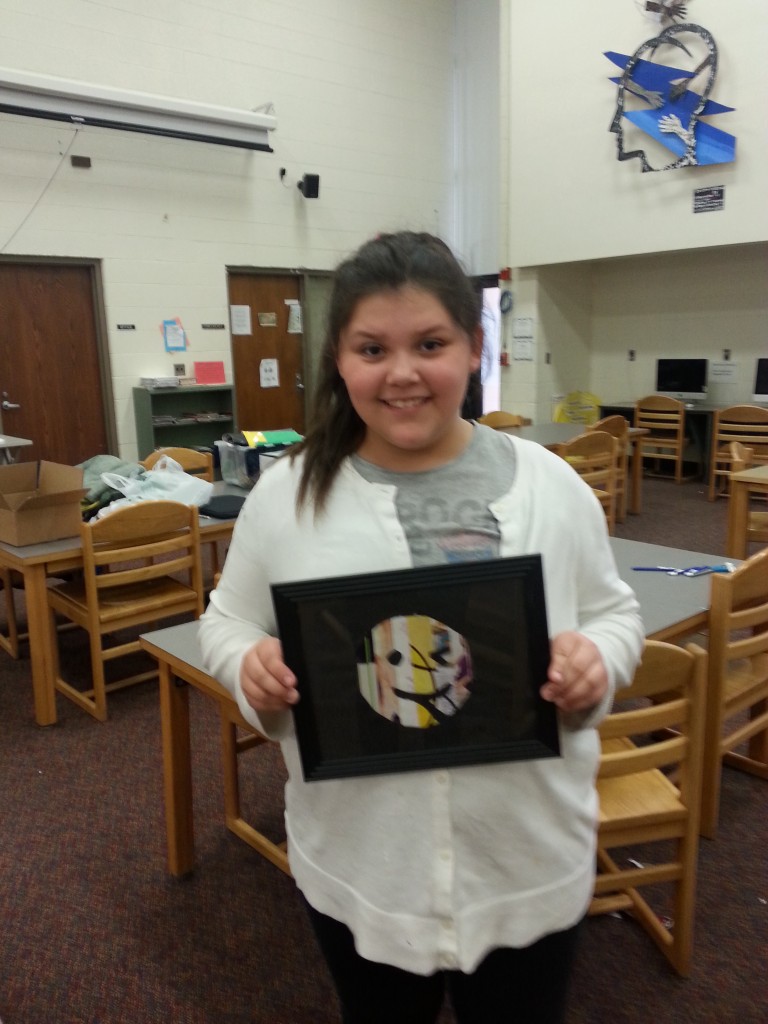
Some students looked at the sample we put out and instantly went, “Nope. I’m gonna do it a different way” and  confidently went in their own direction. And that’s okay! We want to see students think outside the box and experiment. There are so many ways to make this activity your own, and I’m glad to see students fearlessly creating something they hadn’t made before!


20160331_163125For a variation on this activity, check out this link: http://www.pinkstripeysocks.com/2014/02/diy-magazine-strip-silhouette-heart-art.html 

We’ve got more pics form this activity! Find them in our Flickr album HERE.

Etch-a-Glass

Have you ever walked into a souvenir shop and seen drinking glasses with frosty designs on its surface? As it turns out, you can make these yourself!  With the help of a Cameo machine, some Contact Paper, and some etching paint, we were well on our way to creating our own uniquely designed glassware.

20160317_162000

Because our students could put almost any design on their glass, the number of options was daunting. At the beginning, we heard a lot of “What should I put on mine?” . To get them started, we suggested ideas like their favorite video games, game characters, places to visit, their names, and famous logos. When selecting their designs, we recommended that they pick simple images with clean lines and few details since these tend to show up best on glass. A great place to look for images is The Noun Project.

Once they picked their designs, we loaded the designs into Cameo’s design software and etched the designs onto vinyl (think Contact Paper). The students then peeled and placed their vinyl designs onto their glasses, removing sections of vinyl and exposing glass that they wanted an etched (frosty) design to appear.

20160317_162041

Watch that Cameo go!

20160317_162051

It’s hard to see from here, but the Cameo machine is cutting the student’s design onto Contact Paper.

After slathering a coat of glass-etching paint onto their glasses, washing the paint off, and slowly removing the remaining vinyl off their glass, their etched design was finally revealed! They were excited to see something go from concept to final product and take it home. Our glass artists did a great job of asking for advice on implementing designs and helping each other along the way.

20160324_164117

Glasses are wrapped in vinyl (Contact Paper) and ready for etching paint!

20160324_163243

Personalized glass: check.

20160324_163344

Video game character on a glass? No problem.

20160324_163315

Na na na na na na na na BAT GLASS.

For instructions on how to etch your own glass, Mayank (a fellow Makers Mentor) has blogged them HERE.

Making in miniature

This week at Michigan Makers saw the junk box and 3D printer still going strong! We also brought back many of the same things from the past few weeks, including littleBits, Hour of Code, Lego, and Kinex. We also brought back the Dash robots as well as the tiny Ozobot, which follows the path you draw for it and changes the color of its lights accordingly.

We finally were able to draw a path for the Ozobot

We discovered through experimentation that drawing a path for the Ozobot takes some serious pigmentation, and also that it works best when the turns are gently curved instead of right angles.

Tiny table for some tiny Shopkins!

The junk box was as popular as ever, especially for making miniatures like the tiny table for Shopkins above, and an equally tiny teacup.

Hour of Code has become a real hit with some of the kids

Hour of Code has remained a hit with a lot of the kids, some of whom have spent the majority of the last two weeks on the Blockly-based coding activities. One student told me he can’t wait to keep practicing at home and show his mom what he has been up to!

Prying off 3D prints is harder than you would think

Last but certainly not least, we have been making progress ensuring that every student who wants to print something using the 3D printer has their chance. We have been consistently impressed with how careful the students are around the printer!

One more week to go, Makers!

Costumes and Coding

The 3D printer is back! And so was the junk box, with even more fresh supplies than last week.

Tulle makes for great costumes

Did I mention that among the junk box supplies was a huge pile of tulle? Between that and the Hawaiian leis and some discarded Valentine’s Day garland, there were some truly inspired costuming creations this week.

Getting the headband just right

Popular choices were headbands, crowns, and other more elaborate headdresses, but we also had belts and what I can only describe as an improvised chest-plate made from what may once have been a woven straw trivet.

littleBits Korg kits (and coding in the background!)

I was pleased to see more interest in the littleBits kits this week, and since we were 3D printing, we had some kids ask to do Hour of Code or Build with Chrome. It’s always a little bit heartwarming to have kids asking you if they are allowed to practice computer coding.

3D design using Cookie Caster

The 3D printer was back and loaded with some gold-colored filament this week. We had some really intricate 3D creations printed this week using Cookie Caster (Kristin and I didn’t even know it was possible to make such detailed creations using that program)!

See you again next week, Makers!

littleBits Musicians

After a few weeks without Michigan Makers, this week showed a renewed burst of energy and creativity. We had to carry on with Michigan Makers this week without Kristin, who was on a whirlwind conference schedule. Thankfully, we had a parent volunteer and Sandy from Scarlett to help fill the gap! We weren’t able to bring the 3D printer this week, but we brought a lot of the old staples including the junk box, Snap Circuits, Lego and Kinex (with a new donation of Kinex from our lovely parent volunteer!).

Junk box remains as popular as ever!

We also brought in all of our littleBits kits – something which we have brought in past weeks but which has so far not gotten much attention. Because littleBits can take a bit of concentration and perseverance to master, I made a point of encouraging kids this week to give them a try.

Making music with littleBits!

It turns out, the key was just to provide a little motivation, in the form of the Korg synthesizer kits. Once some of the students realized they could make music with littleBits, they were sold. And having listened to some of their beats myself, I have to admit they may be onto something.

Cool Circuits Puzzle

We also had a fresh bout of supplies for our junk box, which translated to some extraordinary bursts of creativity! One of the creations included a video camera complete with tiny folding viewscreen on the side.

Showing off her camera

Others went very avant-garde today, choosing to express themselves through a landscape of items that they deemed representative of their “workshop.”

Fresh junk box supplies!

Great job makers – looking forward to future weeks and the return of the 3D printer.

Floating On: Life Vests and Army Men

Recently, I came across some STEM activities by The Ardent Teacher. The “Designing Life Jackets for Babies” looked like a great activity for getting students to experiment and think critically about design. I adapted the activity so that we would use weighted plastic army men instead.

We posed the following challenge: Create a life jacket that will keep your army man face-up above the water with just a piece of foam and 2 small rubber bands.

Since the army men float easily on their won, we attached weights to them (nuts from the hardware store were $.05 each!) to make it more challenging to float.

IMG_4018

Despite attaching these weights, the students quickly found out how to keep their army men afloat. Anticipating this, we put different spins on the challenge:

  • Imagine that 2 army men must share one flotation device. How could you modify your flotation device so that both men could stay face-up above water?
  • In the real world, engineers face challenges all the time. Sometimes, you don’t have as much material as you’d like to create a design. But engineers find a way to make their designs work! Now, with half of the material you start with, create a life vest to keep 1 (or 2 if you want to challenge yourself!) army man afloat.
  • Imagine that your army man is parachuting out of the sky and will be landing in the water. With the materials given, design a flotation device such that when he’s dropped from 1 or 2 feet above the water, he is able to safely float to the surface and keep his head above the water.

IMG_4016 IMG_4013

These variations kept the students engaged and trying new things. Sometimes the army man floated face-down or barely stayed above water, and the students would try placing the foam on different areas of the army man to counter his weight and help him float upright.

To wind down, our students switched gears and worked with Little Bits and Rainbow Looms! 20160310_160429
IMG_4020

20160310_160532 

Mitchell’s Budding 3D Designers

After last week’s successful debut of the 3D printer, we couldn’t wait to have the kids experiment with creating their own designs. We decided to try using CookieCaster.com, a website from MakerBot which allows you to draw an outline of an object using a line tool or upload and trace images, which the website automatically extrudes into 3D printed objects that are just like a cookie cutter!

Designing 3D prints using CookieCaster

We had a little bit of a hiccup getting the website to work initially, so not everyone ended up designing something today. But, we will definitely be bringing this back in future weeks so everyone can have a chance to design and 3D print an object.

3D printed house, designed using CookieCaster

It was great to see what the kids came up with. CookieCaster forced them to think very carefully about what they were going to make, since they could only use lines and had to make sure the lines connected to make an outline. Some kids said it was too hard at first – but they focused, perservered, and created some amazing stuff, like a heart, a panther, and a house.

Sweet Two-Story House Built with Roominate

This week we also finally had some girls who were able to figure out the electronic components of Roominate, which they added to the creation above. Check out a video demonstration on our Flickr!.

Hour of Code – Check out that focus!

And after an exhasting day of 3D printing, what’s a maker to do? Relax with some Hour of Code, of course.

Can’t wait to see what these kids come up with next!

3D Printer Debut at Mitchell

We had quite the menu of options this week at Mitchell!

Along with the regular offerings of Lego, Kinex, Tinker Toys, and the junk box, we also brought back the Dash robots, Roominate, the Design Studio game, and Snap Circuits as well.

Powering a fan with Snap Circuits.

And, for the fans of Snap Circuits, we also brought a few littleBits kits this week. These kits include modules that snap together and allow kids (and adults!) to build a variety of projects as they learn about inputs, outputs, and circuits.

Trying out the littleBits Space Kit.

However, the most exciting activity this week was the debut of the 3D printer!

3D Printing the Michigan “M.”

Kristin and I have seen the 3D printer operate a fair number of times, but watching the kids become entranced by the printing reminded us of how cool this technology really is to watch. Some kids spent the whole day today just watching the printer chug along!

Lego Nyan cat meets junk box UFO.

We are really looking forward to future weeks, and hoping we can give everyone the opportunity to create something of their own using the 3D printer.


Printing in Plastic: 3-D Printing Has Arrived

In the spirit of trying new things (this is a Makers group after all!), we brought in a 3-D printer for the students. One of our Maker mentors, Mayank, had been diligently repairing our 3-D printer for the past few months, and we were ready to take it for a spin. To say they were excited about it would be an understatement. We mentors provided the resources (the printer, links to websites to develop designs), and the students provided the creativity.

Watching the 3-D printer in action

Watching the 3-D printer in action

Each of the students had an opportunity to develop their own designs and get them printed. We directed them to https://www.tinkercad.com/, an easy-to-learn website where they could create their designs. Our students took to it without much help from us mentors and were willing to help each other modify their designs with tricks they learned while using the site.

Working in TinkerCad

Working in TinkerCad

20160204_155154

Which comic book character will this design become?

The site had numerous shapes, designs, and letters for them to pick from. We had designs ranging from human skulls, comic book characters, initials, and even a pair of dice for board games! We loaded the designs into a laptop that was hooked up to the printer. Slowly but surely, the designs were then transformed into 3-D objects before our eyes.

20160204_160445

Learning about the printer from our Maker Mentor and resident 3-D printing expert, Mayank!

20160204_162125

Sometimes, the printer has difficulty printing intricate designs. When designs came out looking kind of funny or lost some of their detail, our students instinctively looked at the designs and thought of ways they could improve the design so that next time their designs would print the way they intended. Problem solving and iteration in action! With this initial printing experience under their belts, what will they print next? It’ll be exciting to see them take these concepts and experiences and build on them in the coming weeks.

Check out more pics and activities from this week HERE.

Robots & Roominate

Another successful week of Michigan Makers!

New today were our always popular Dash robots, a design and prototyping game called Design Studio, as well as Roominate, a building set which also lets you set up lights and motors to control different aspects of your creation. We also brought some new Snap Circuits kits since that was such a popular activity last week.

Design Thinking with The Extraordinaires’ Design Studio

The junk box, Lego, Kinex, and Tinker Toys made a reappearance to round out today’s menu. And this week, we had two more family members volunteer, which made a huge difference for Kristin and me!

Building with Roominate

A few girls were the first to explore using our Roominate kit and were able to create a two-story house which they were working on furnishing and decorating, as well as exploring using some of the electronic components.

As usual, we had a flurry of interest in Dash and were glad that the kids were able to negotiate turns with each other so everyone who wanted to experience the robots today was able to have a chance.

Snap Circuits was a success again this week, with two girls creating a project that let them recharge a battery by winding a crank and regulating the voltage output.

The best part (for Kristin and I) was how well the kids cleaned up – they even cleaned up early, without being asked! We suspect this may be due to the positive influence of our excellent volunteers.

Keep tuned for future weeks – the 3D printer might even make an appearance at Mitchell one of these days!


Page 2 of 9

Images © 2015 Regents of the University of Michigan. Text available under Creative Commons Attribution-NonCommercial-ShareAlike license unless otherwise stated. This project was made possible in part by the Institute of​ ​Museum and Library Services RE-05-15-0021-15.