Page 3 of 9

Tinkering in the New Year: Circuits, Design Challenges, and Teamwork

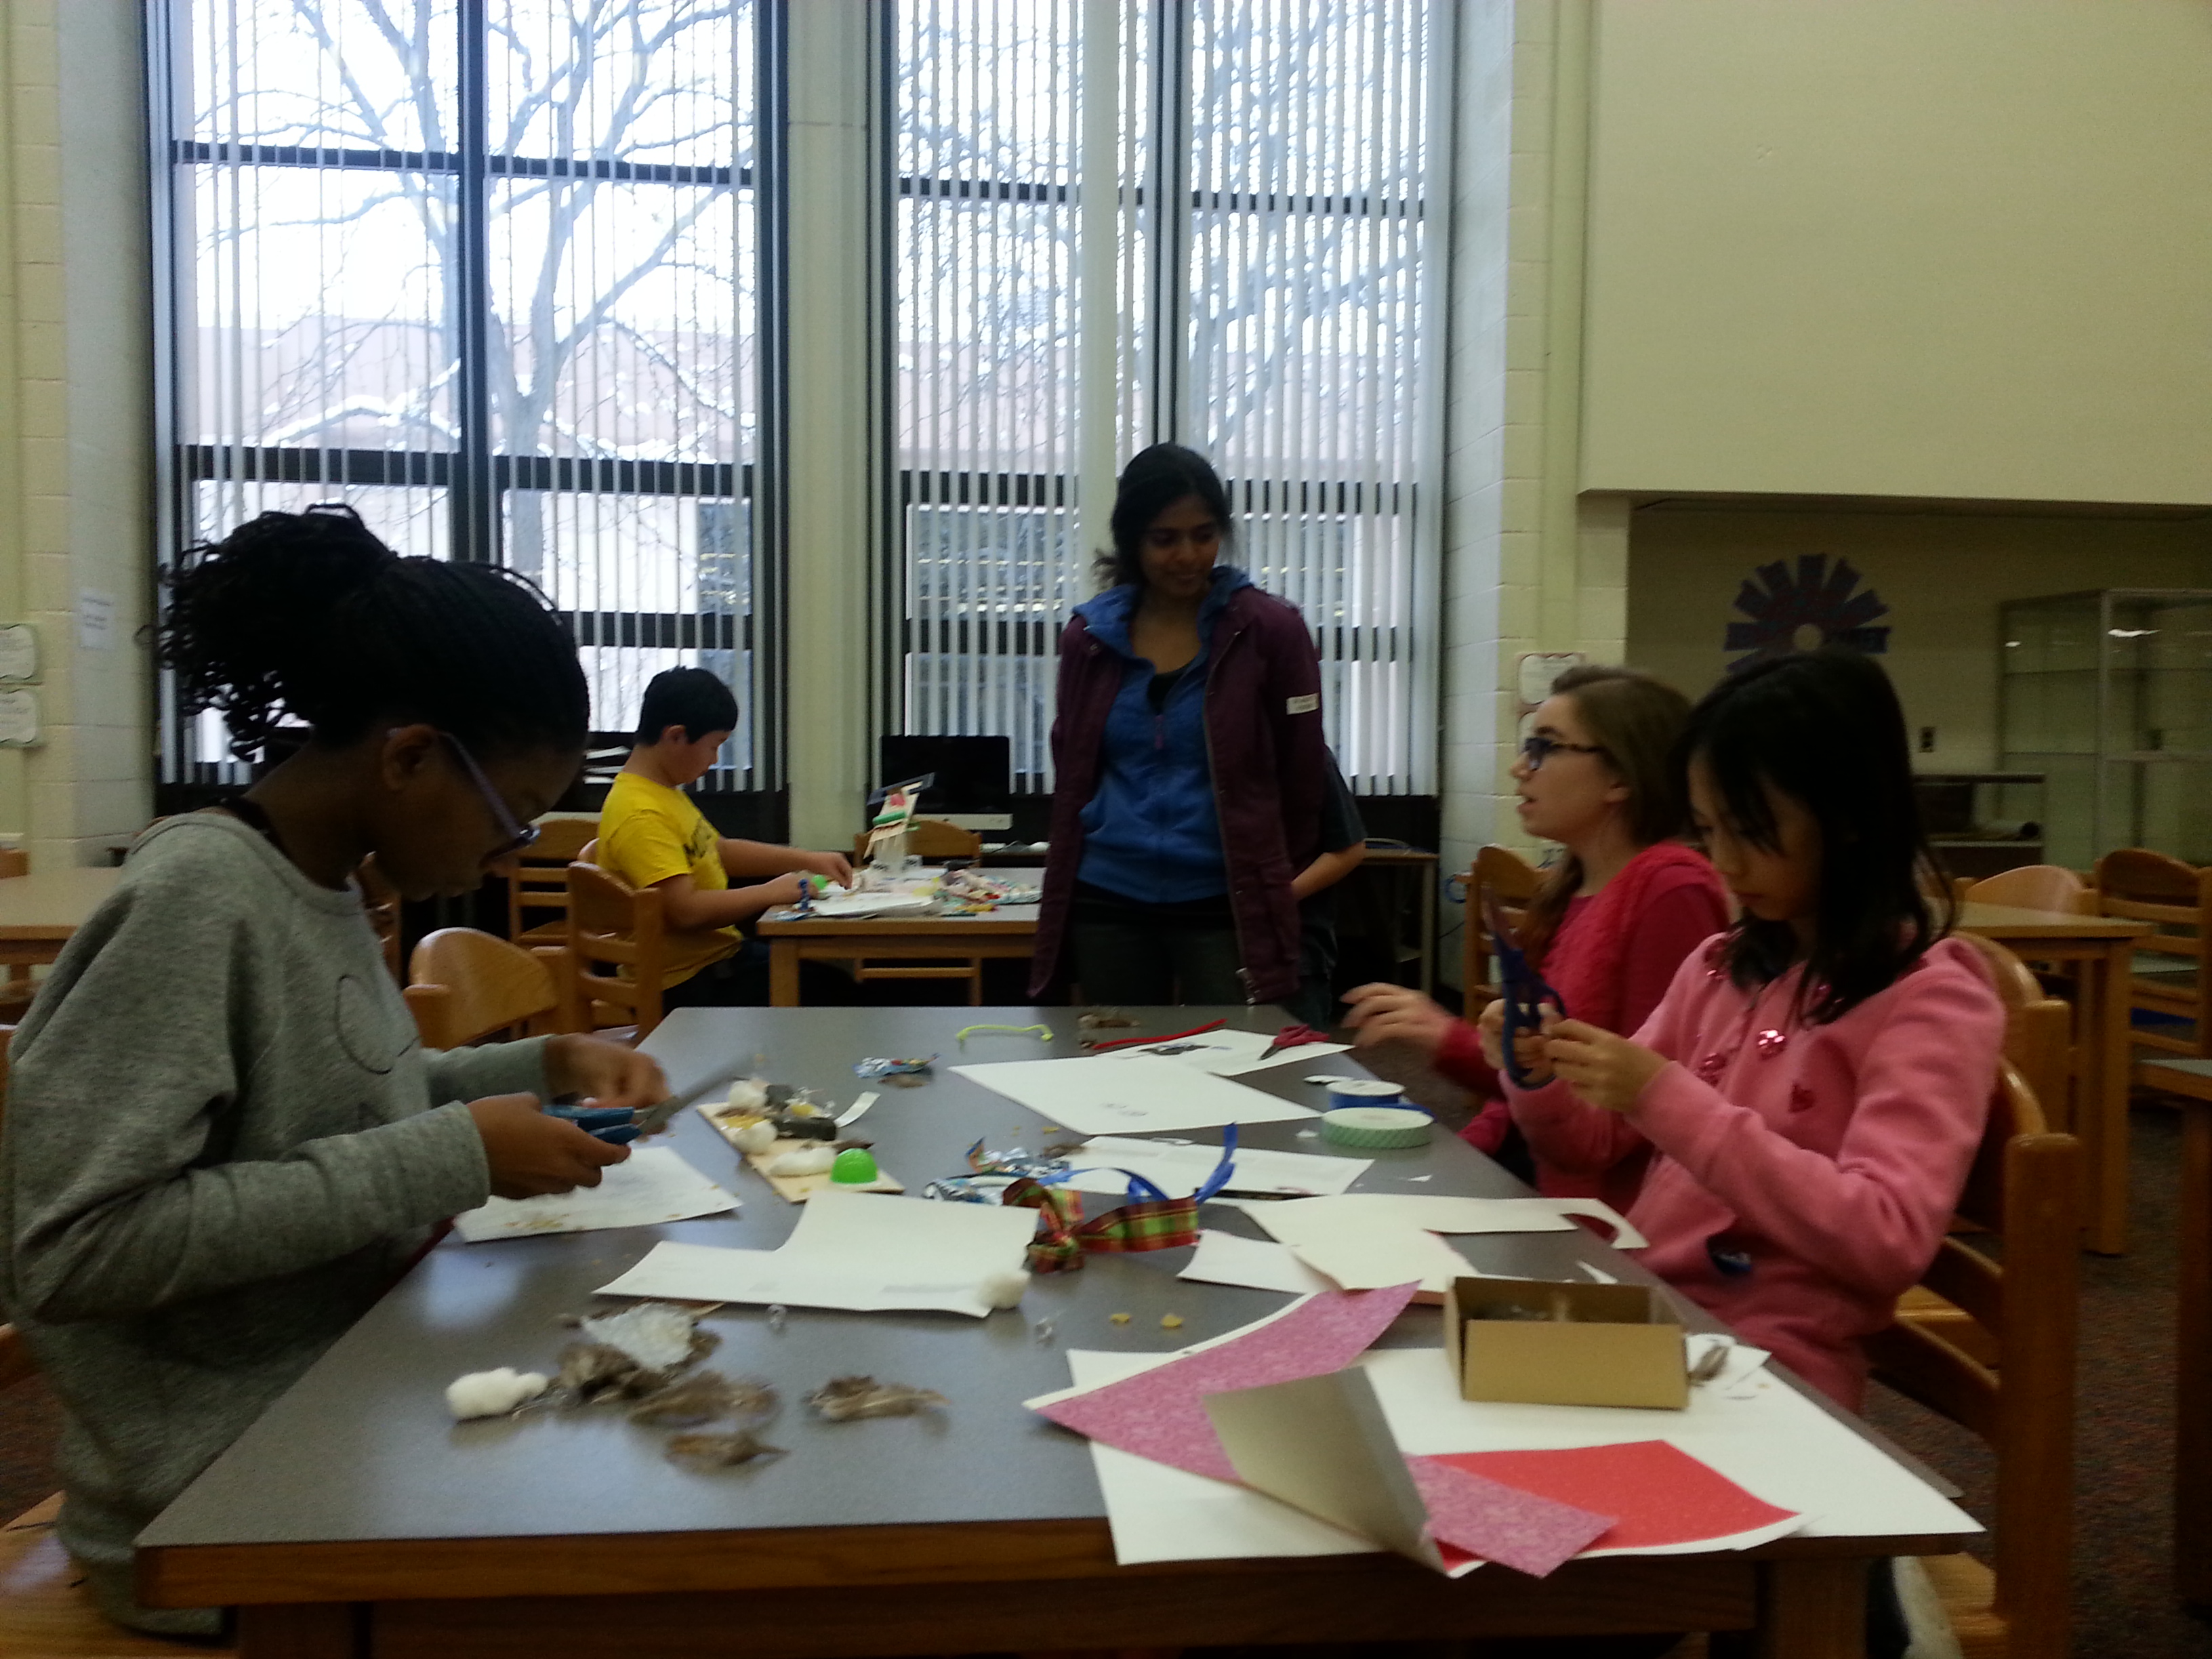
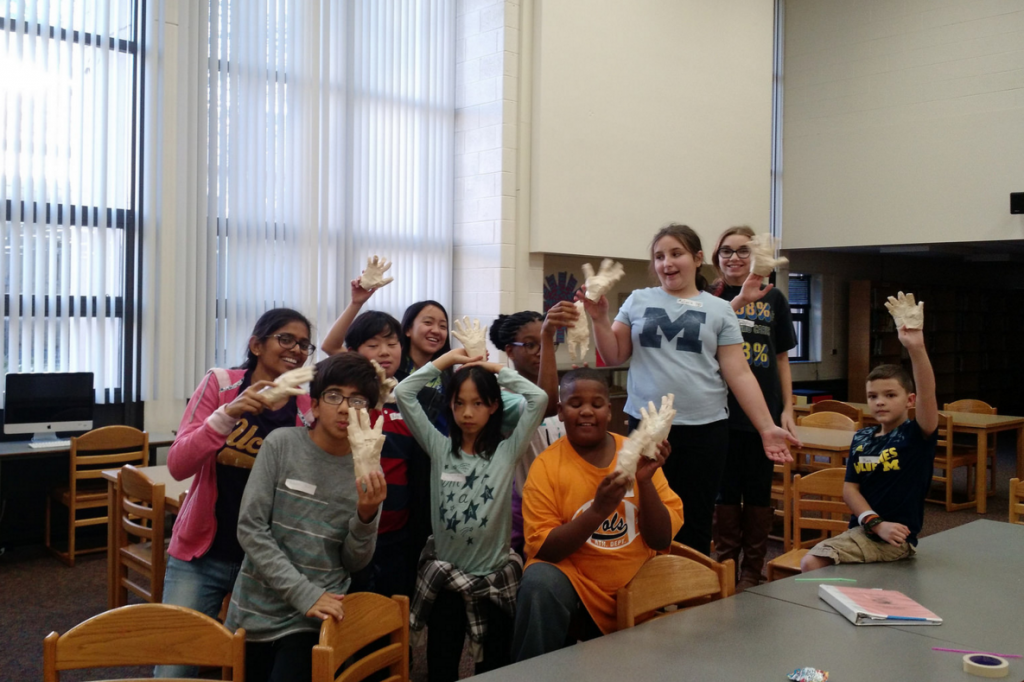
After a brief hiatus, we are back in action! It feels great to be tinkering again. This semester, we are seeing a bunch of new faces joining Makers, and we’re happy to have them with us. Now let’s make stuff!

Jan28_2016

Jan28_2016

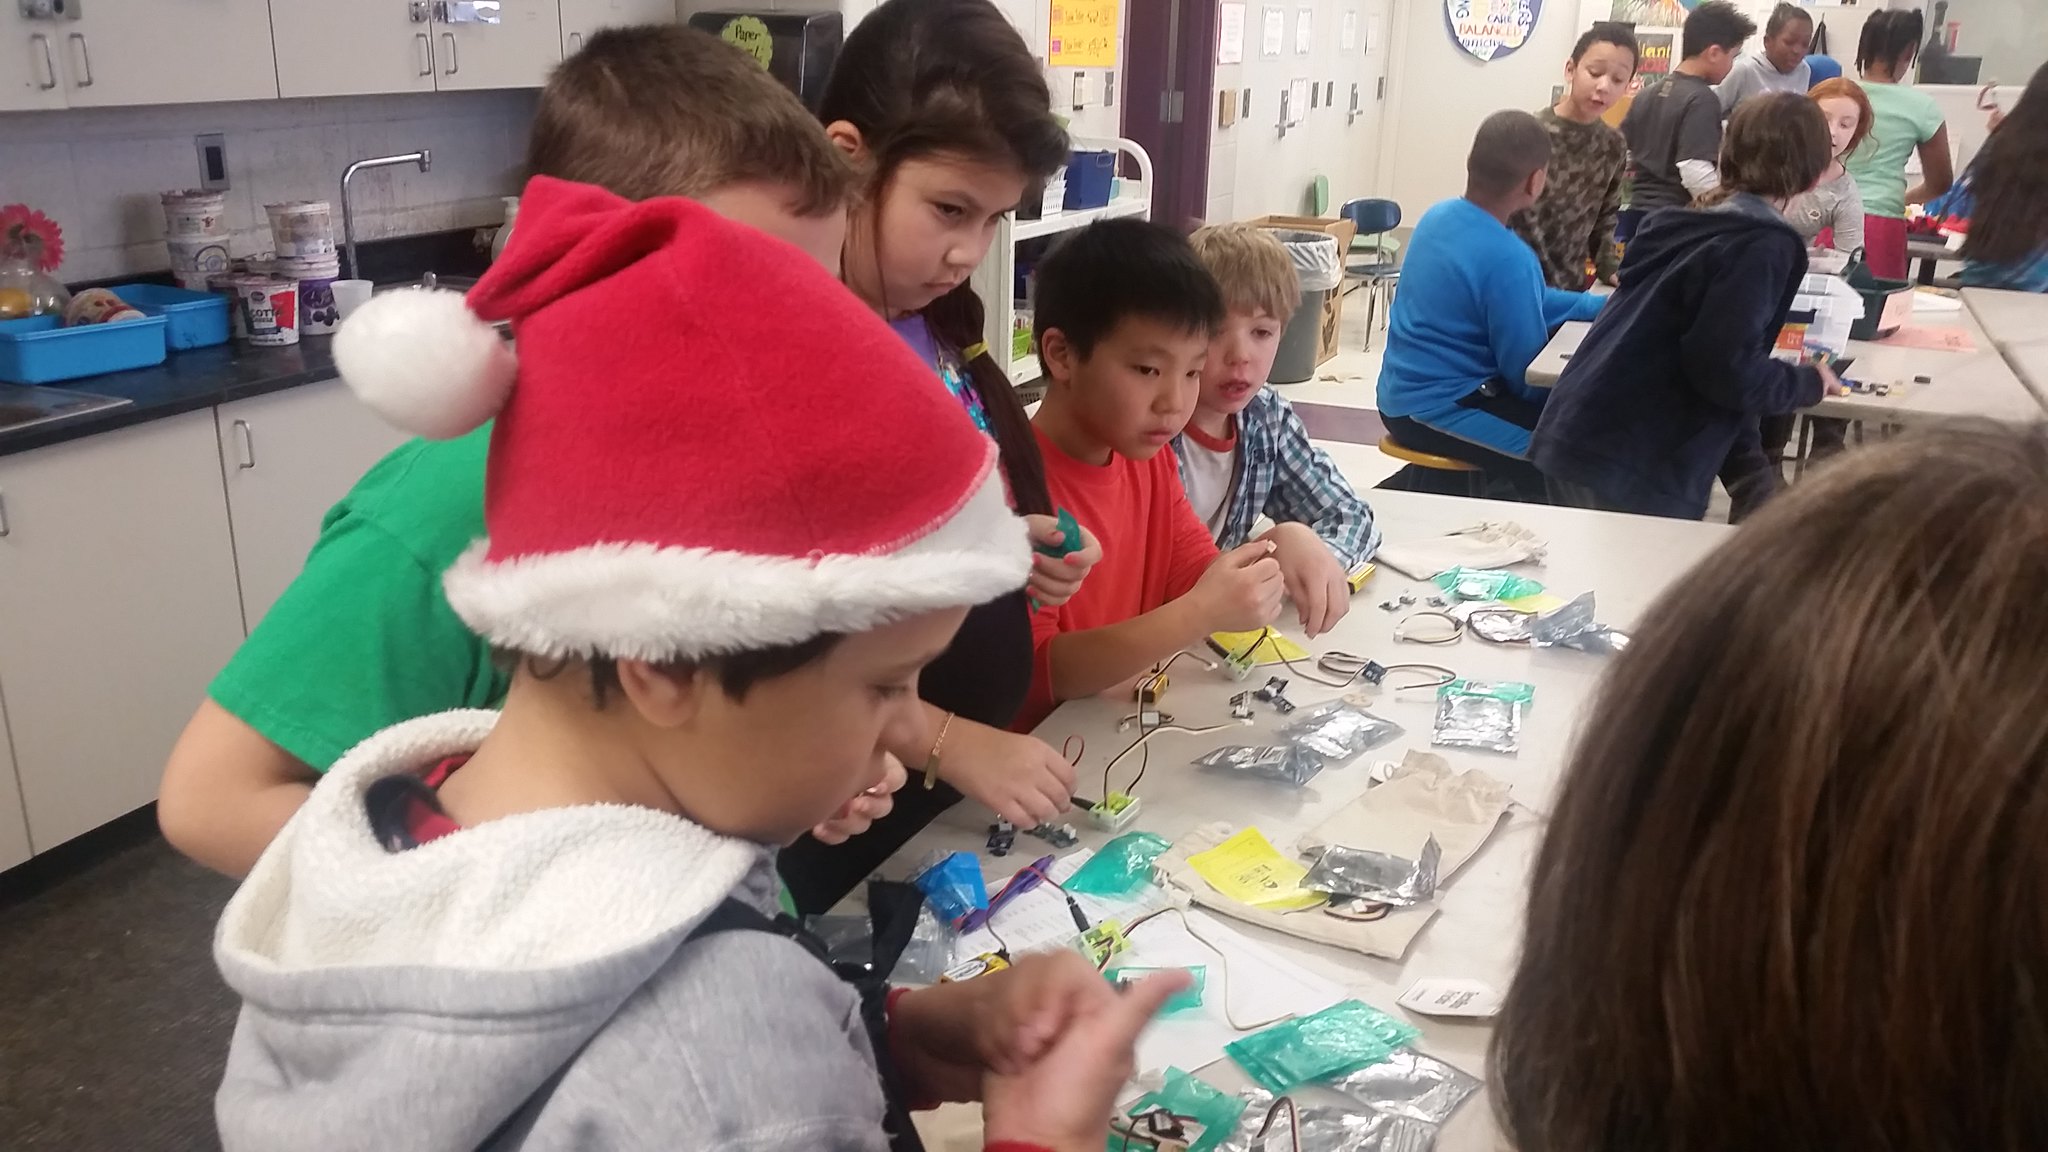
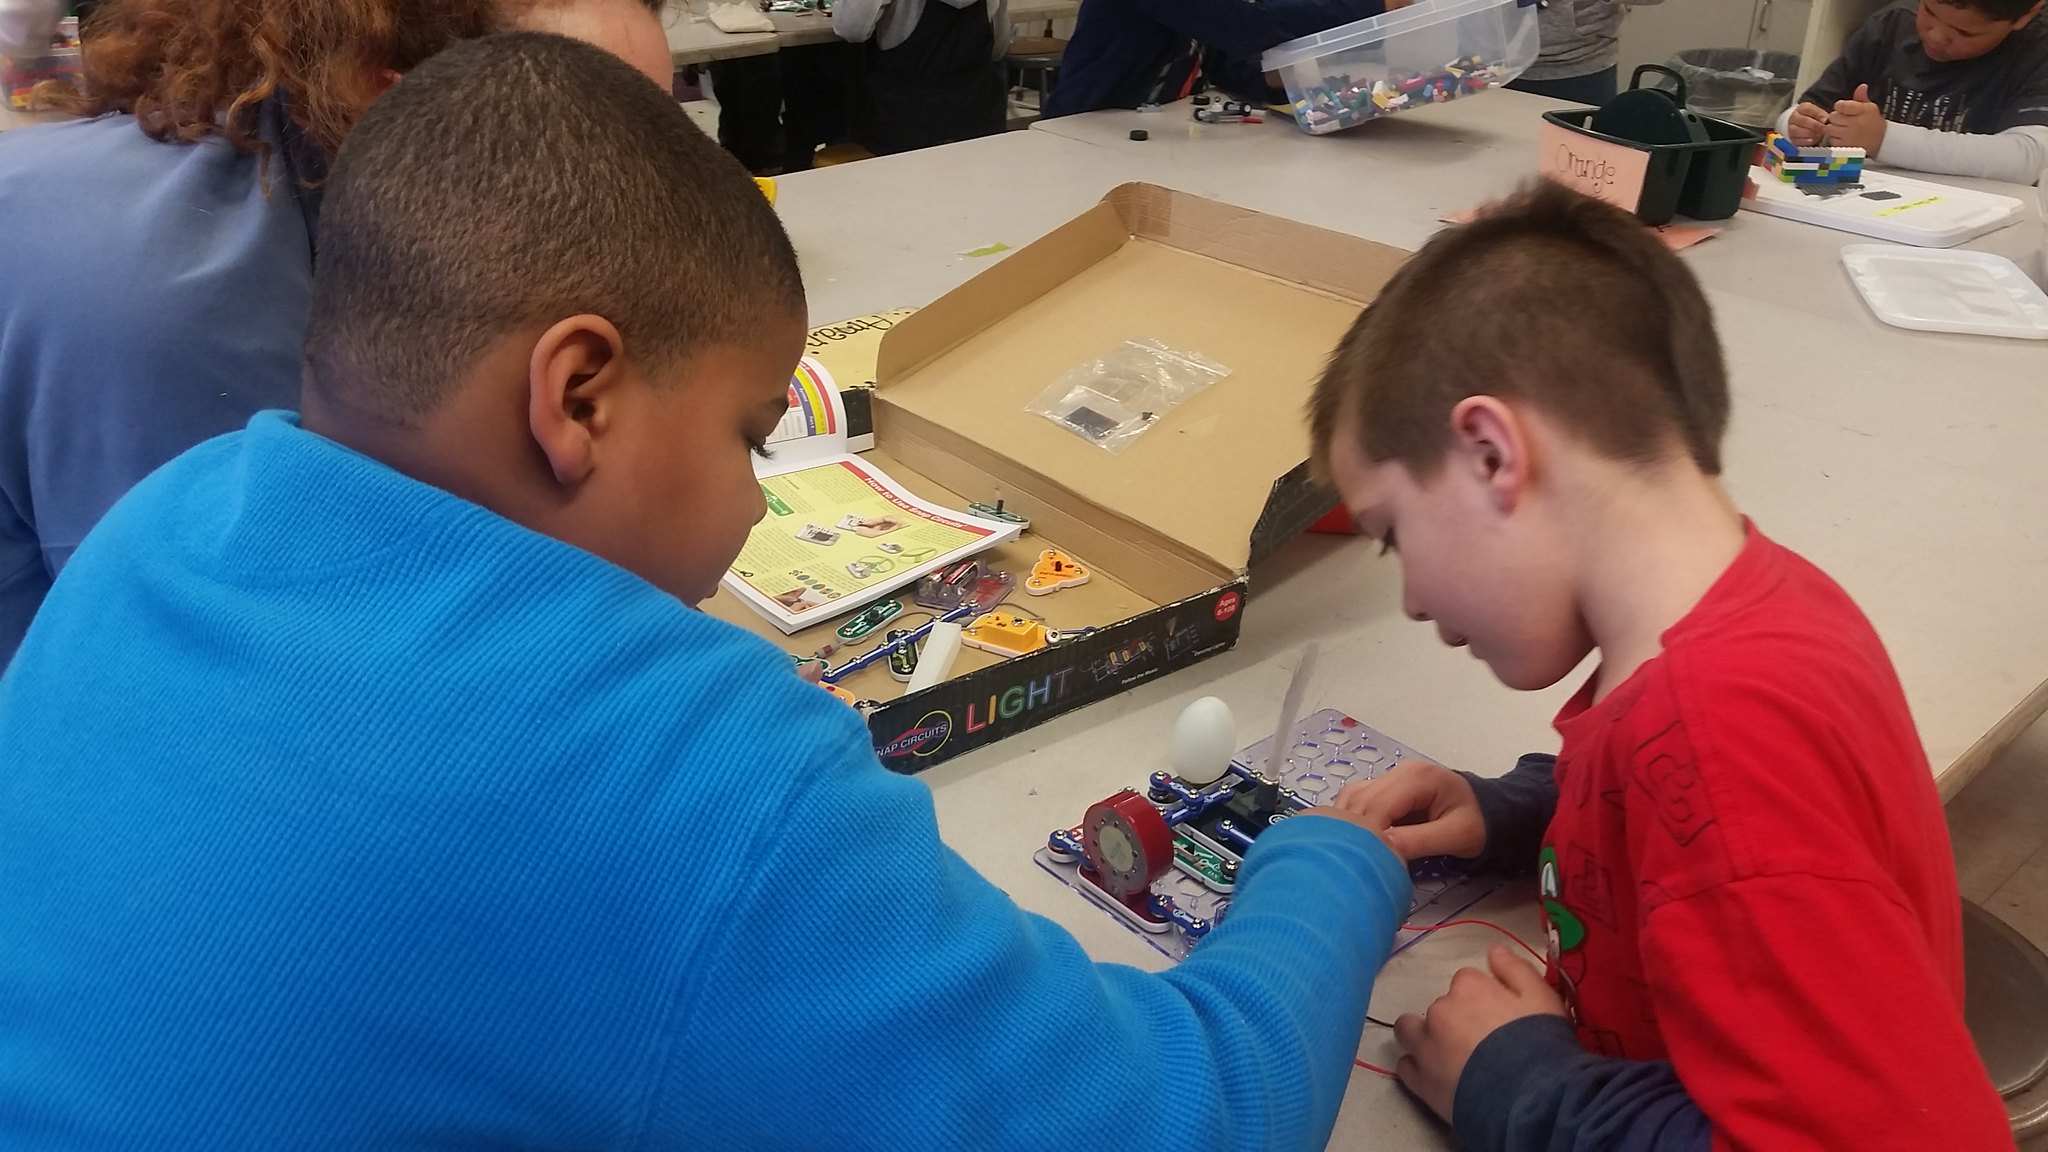
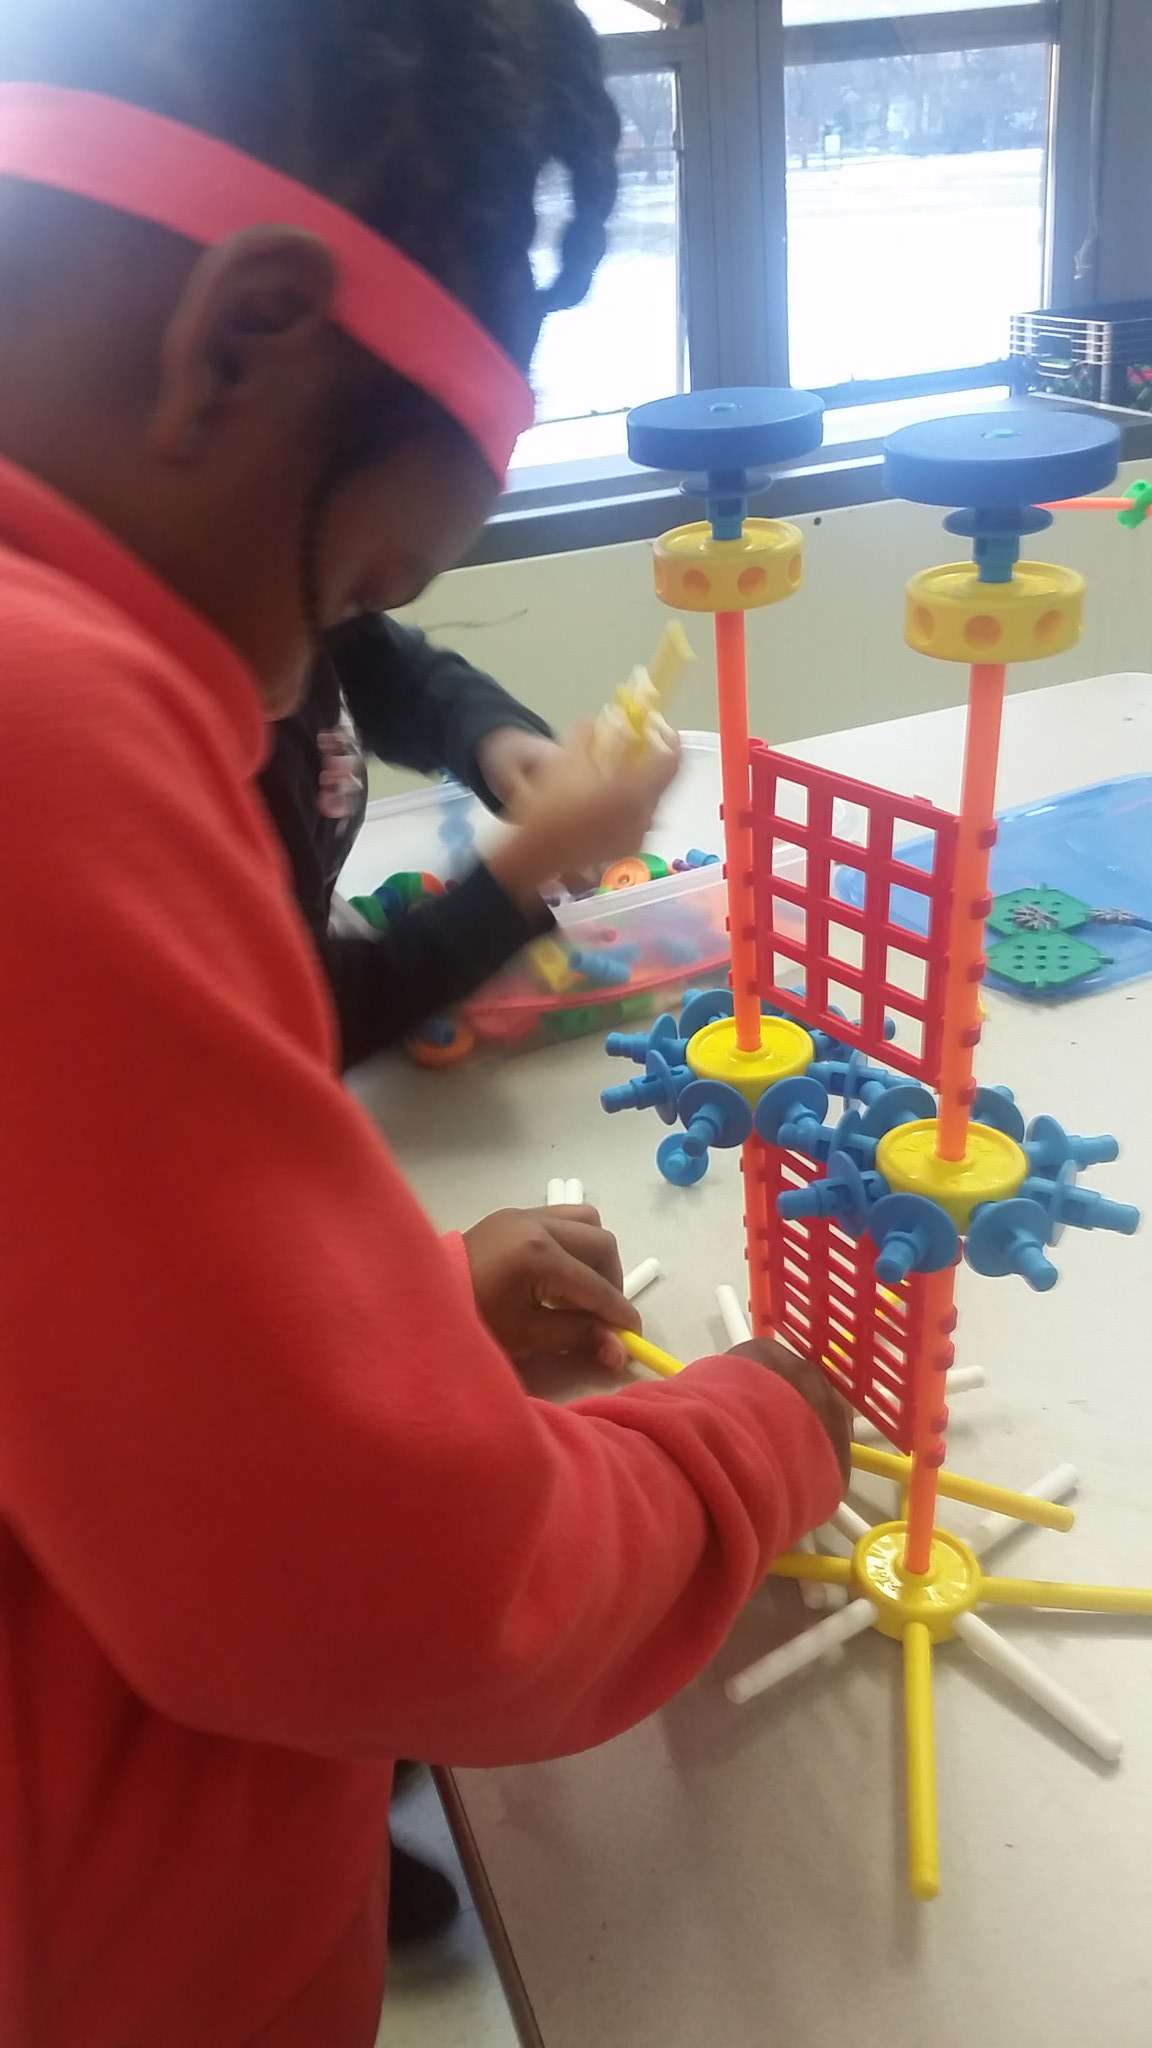
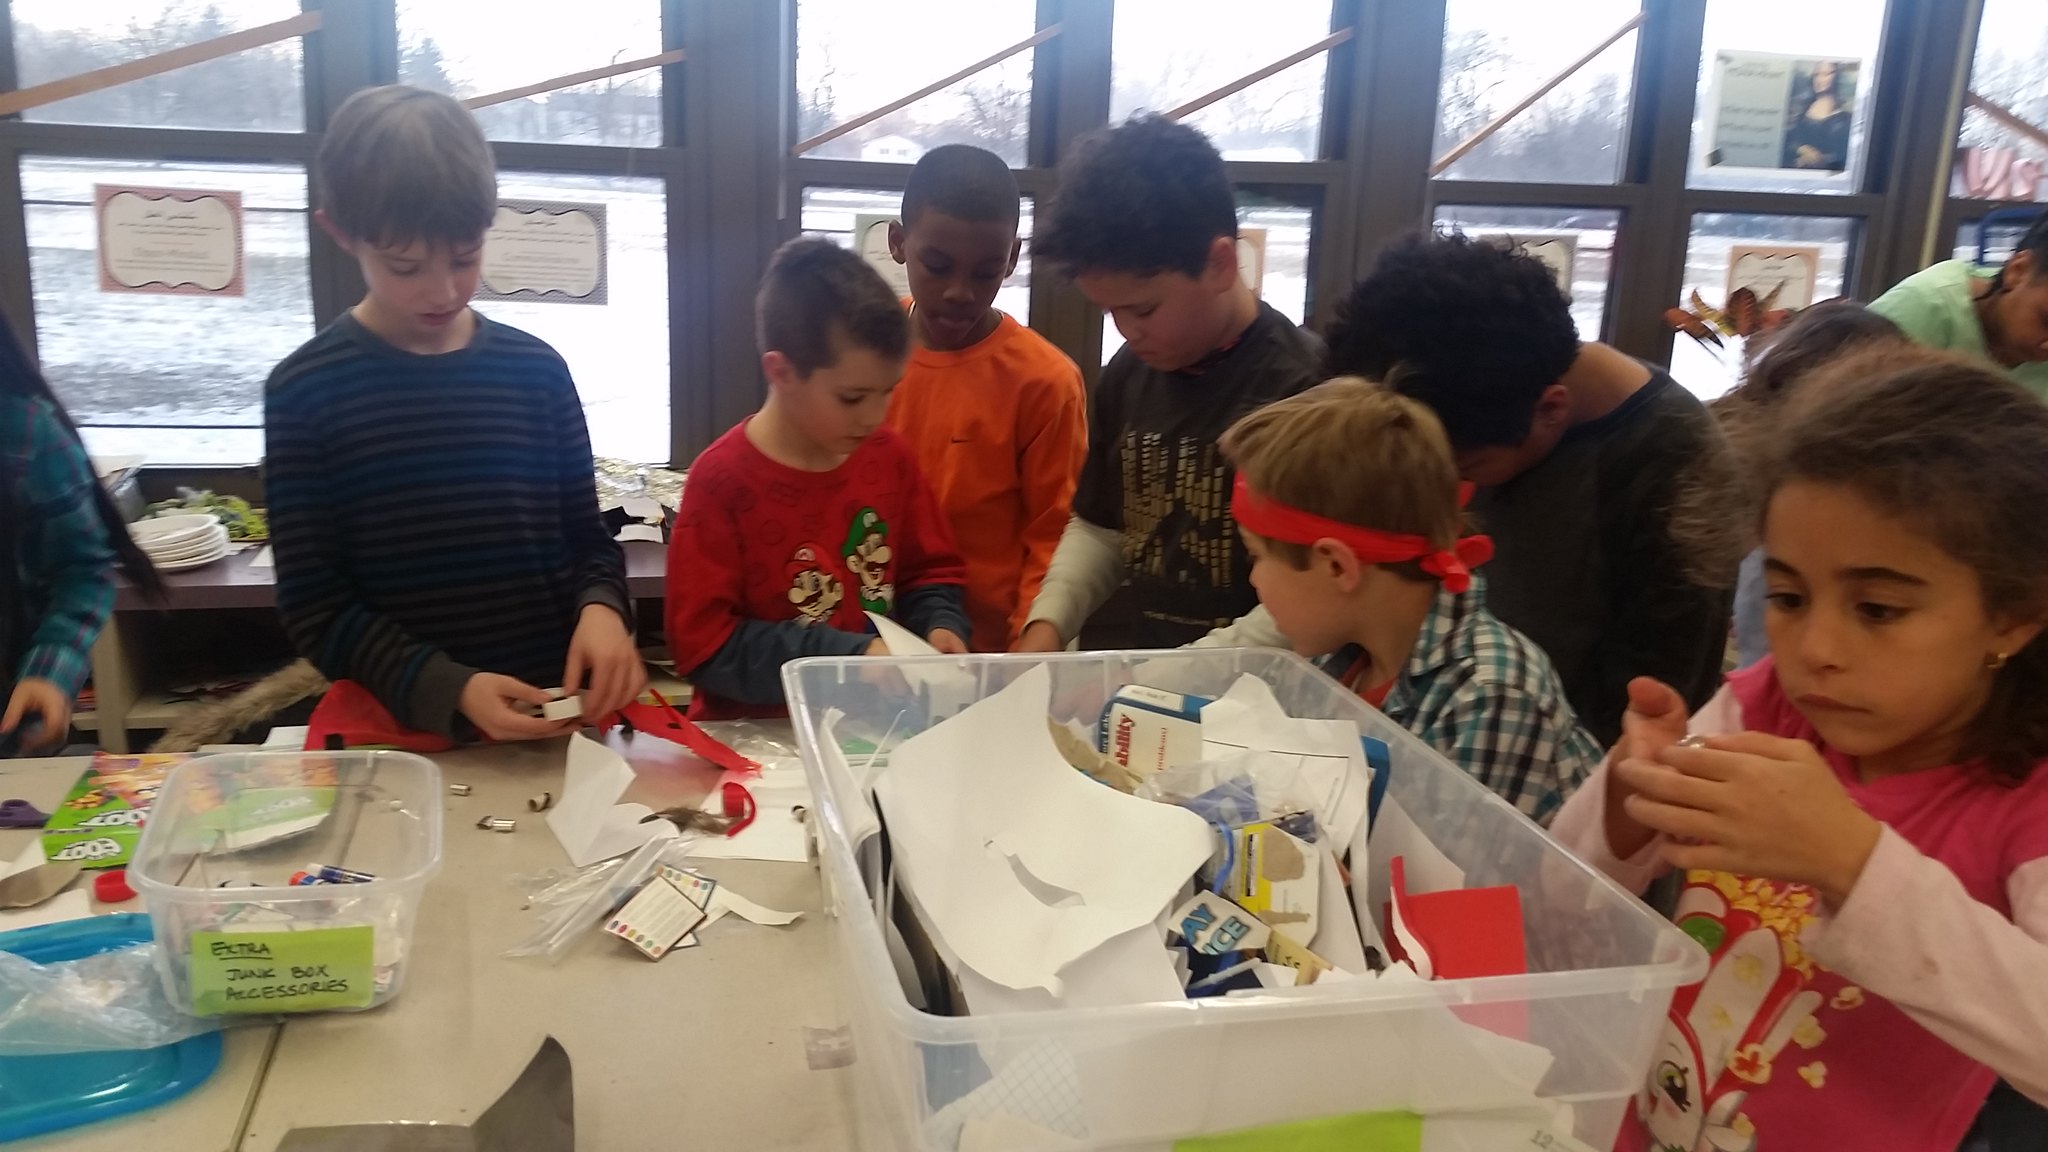
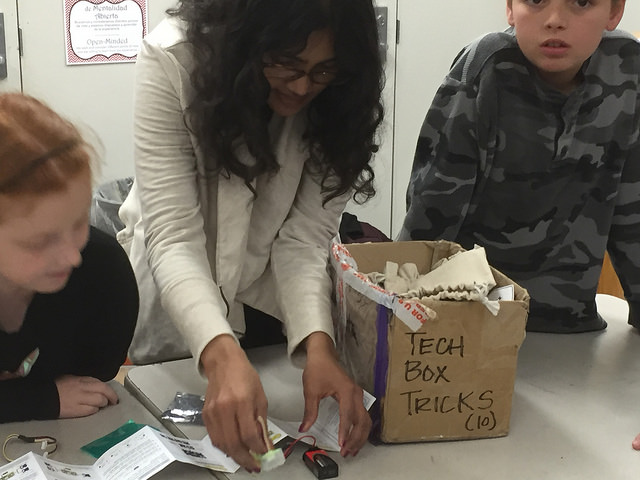
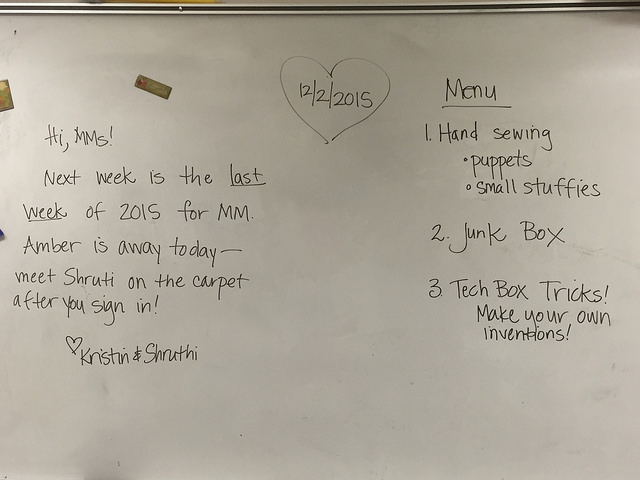
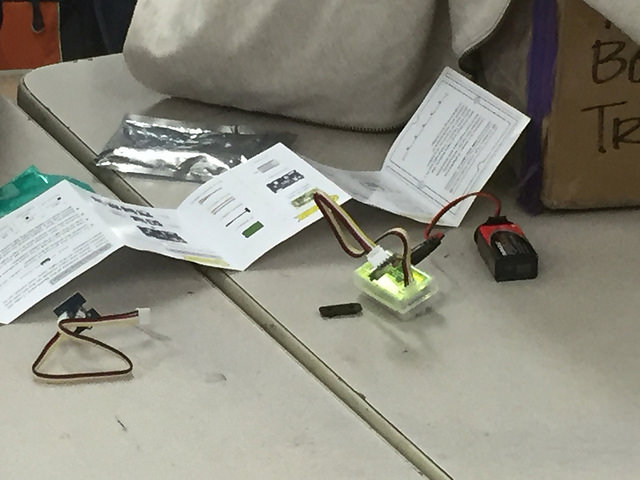
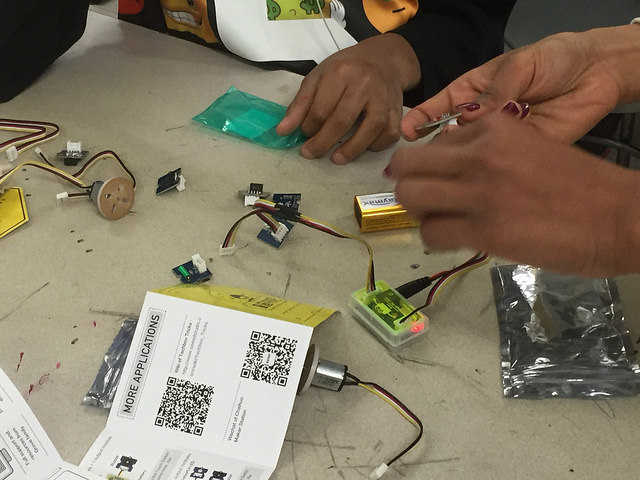
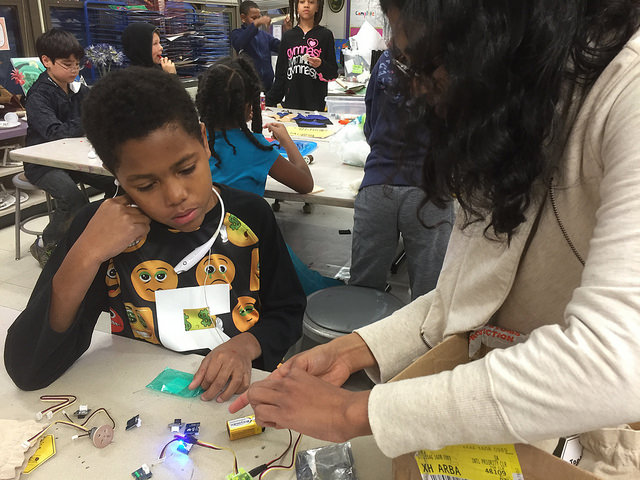
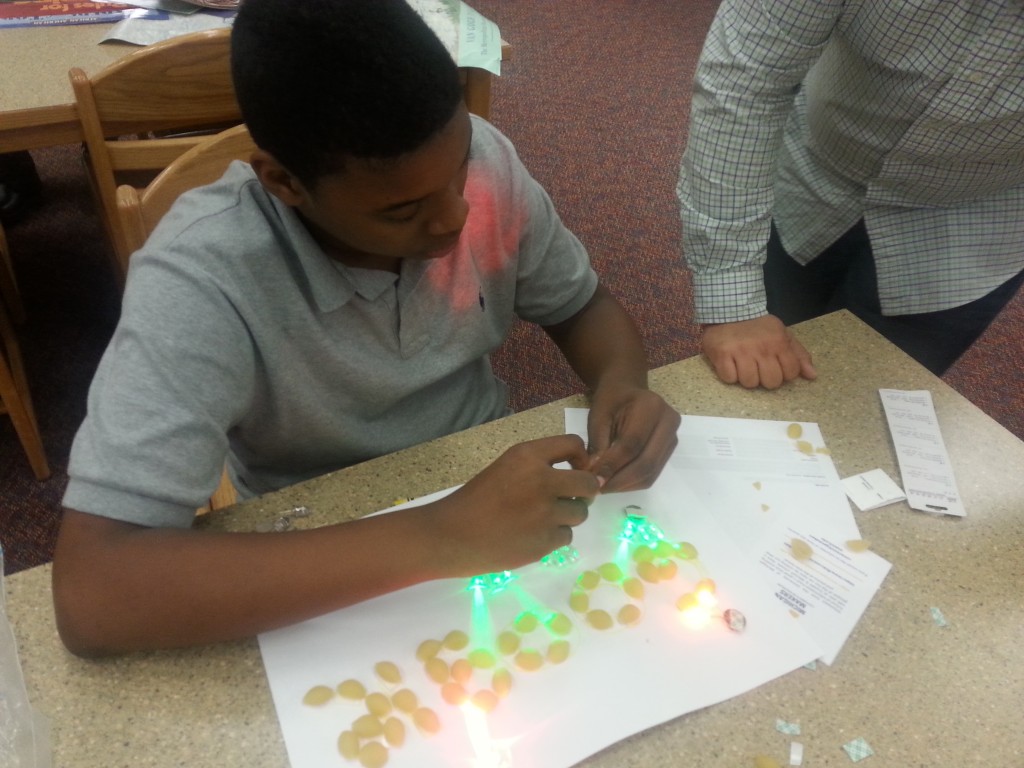
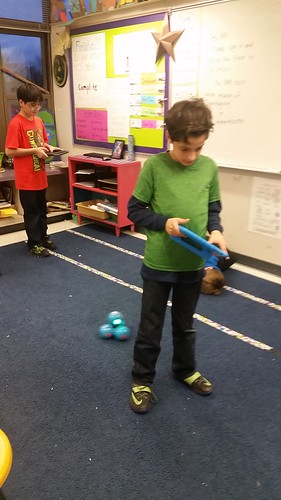
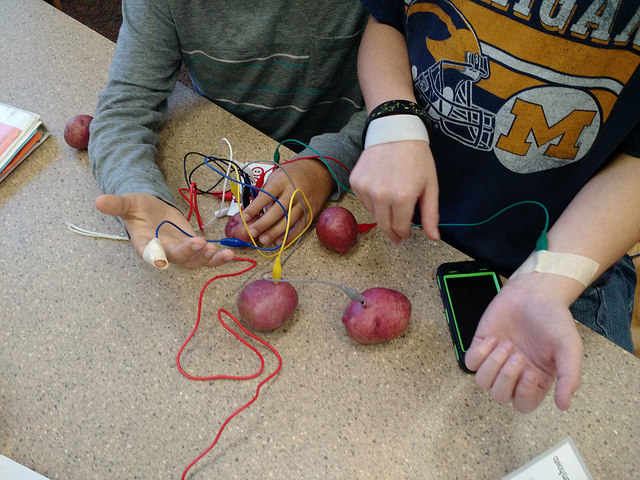
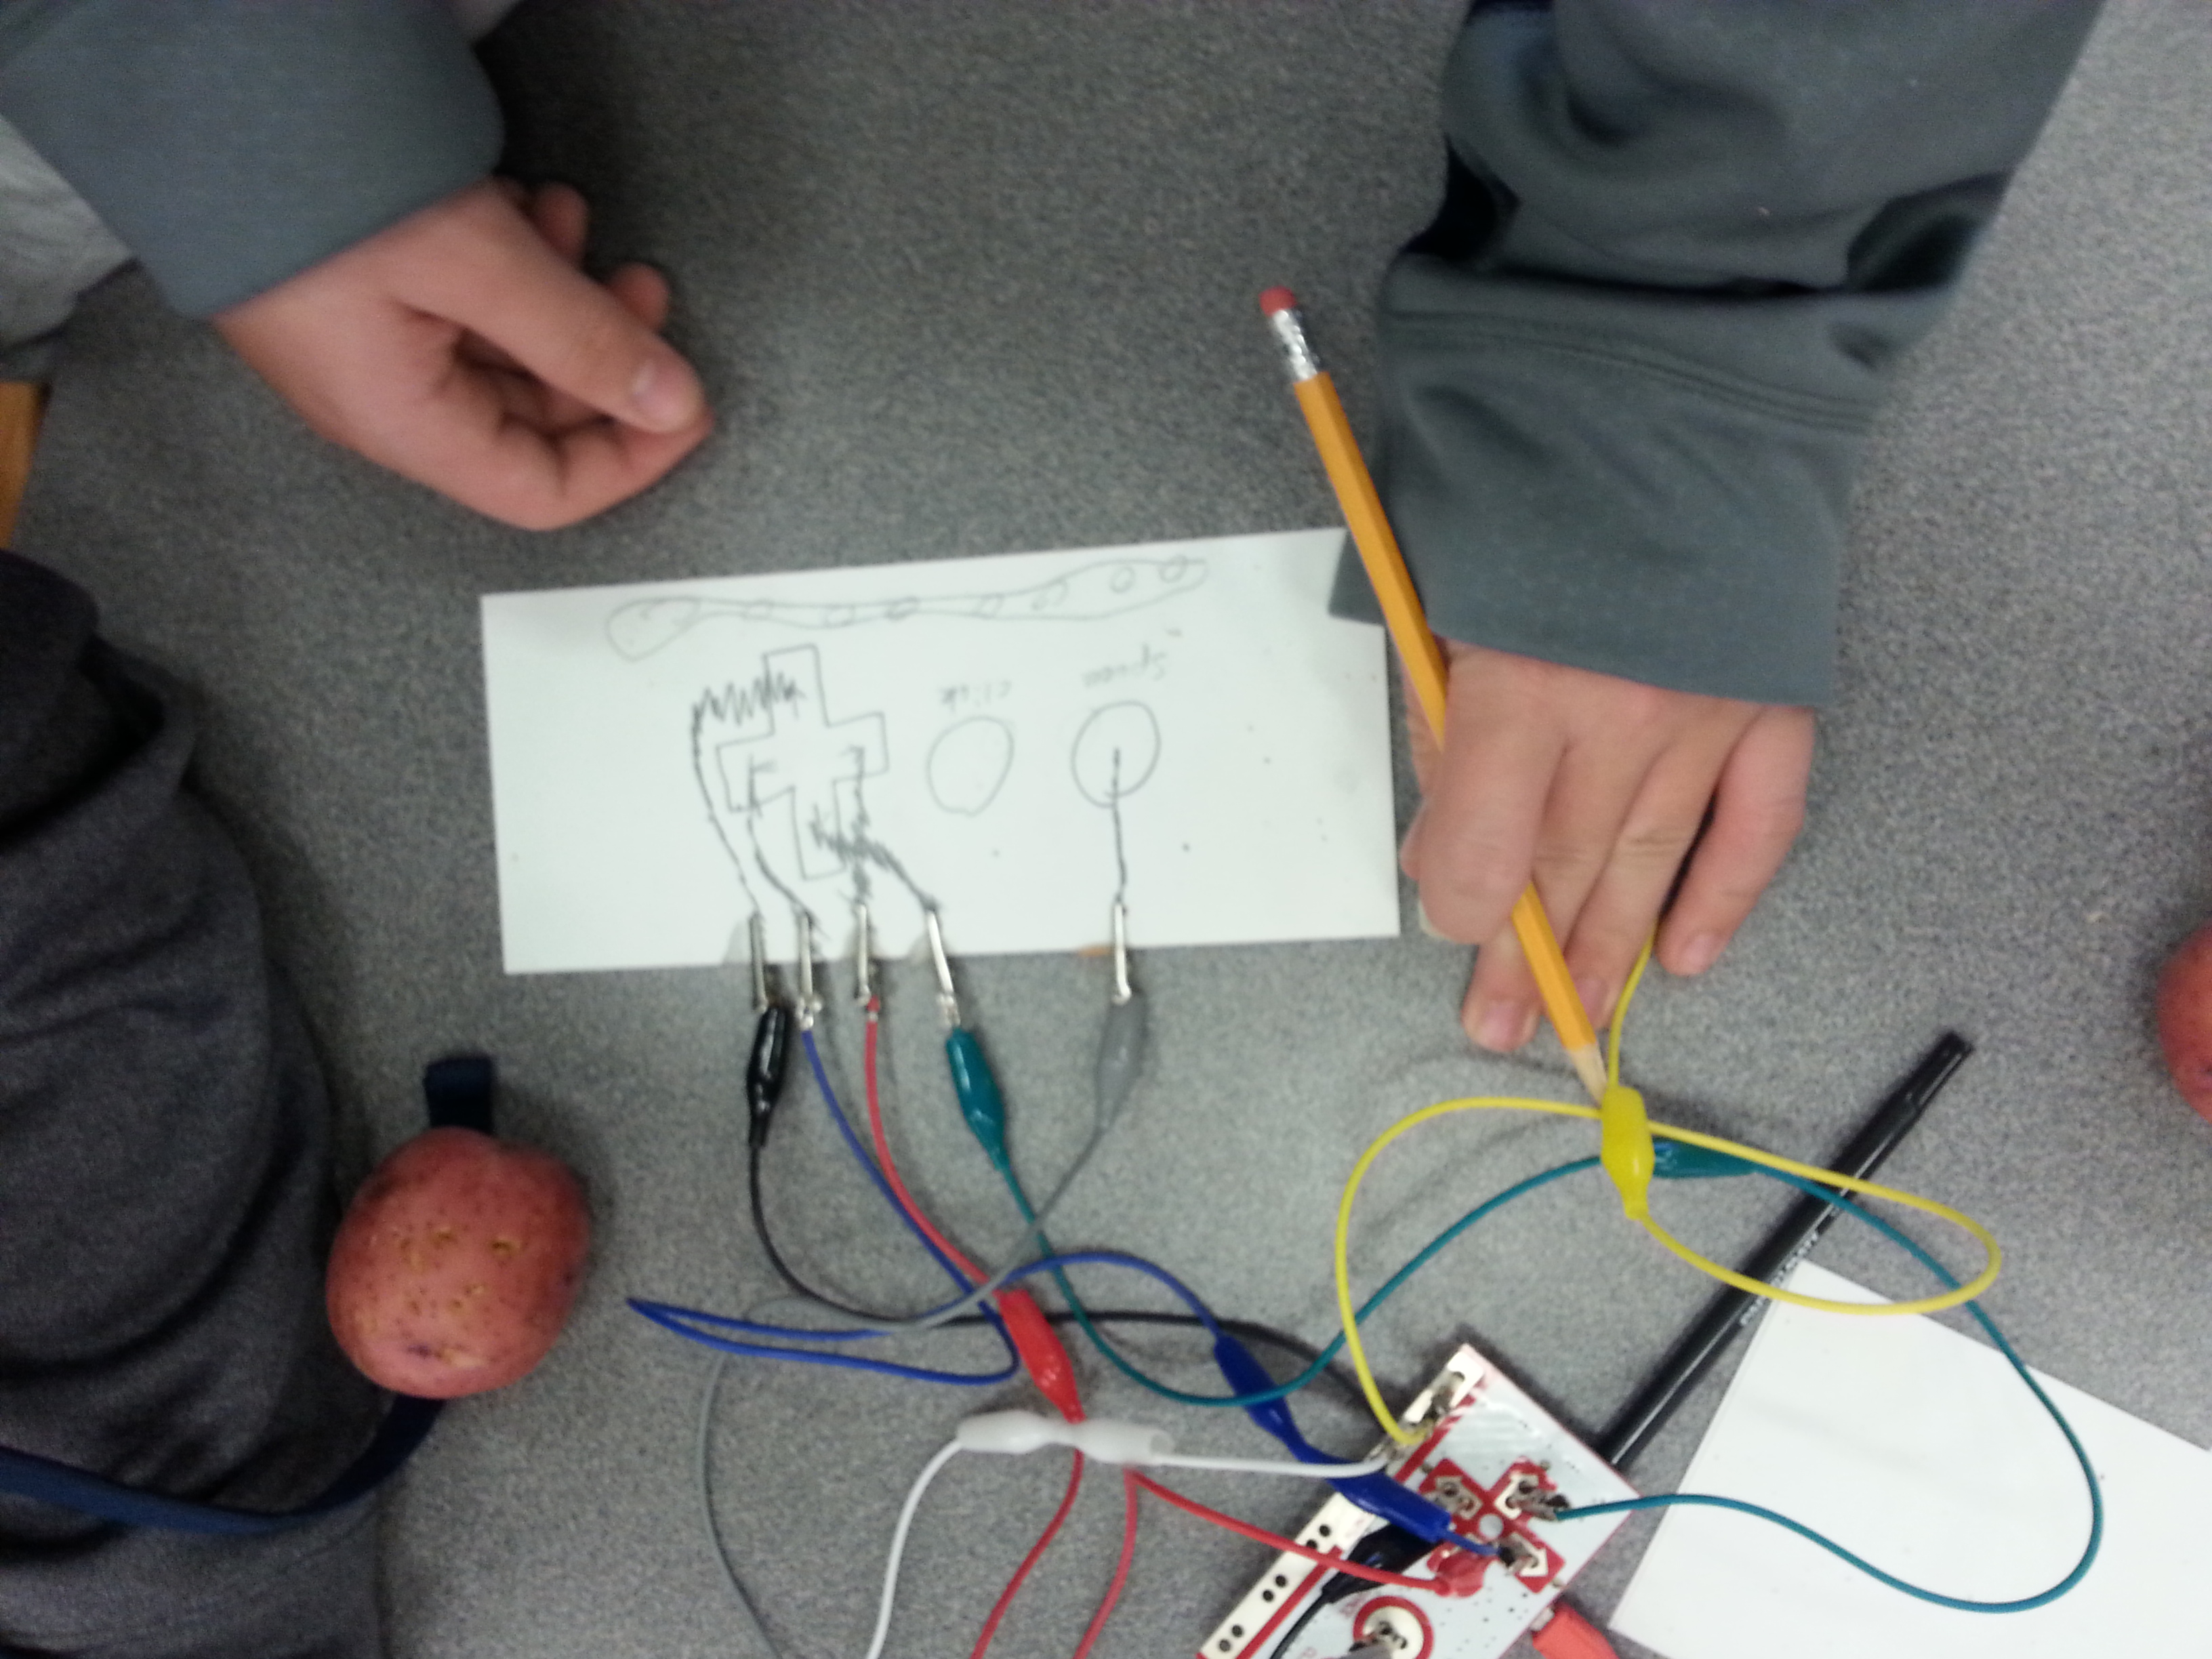
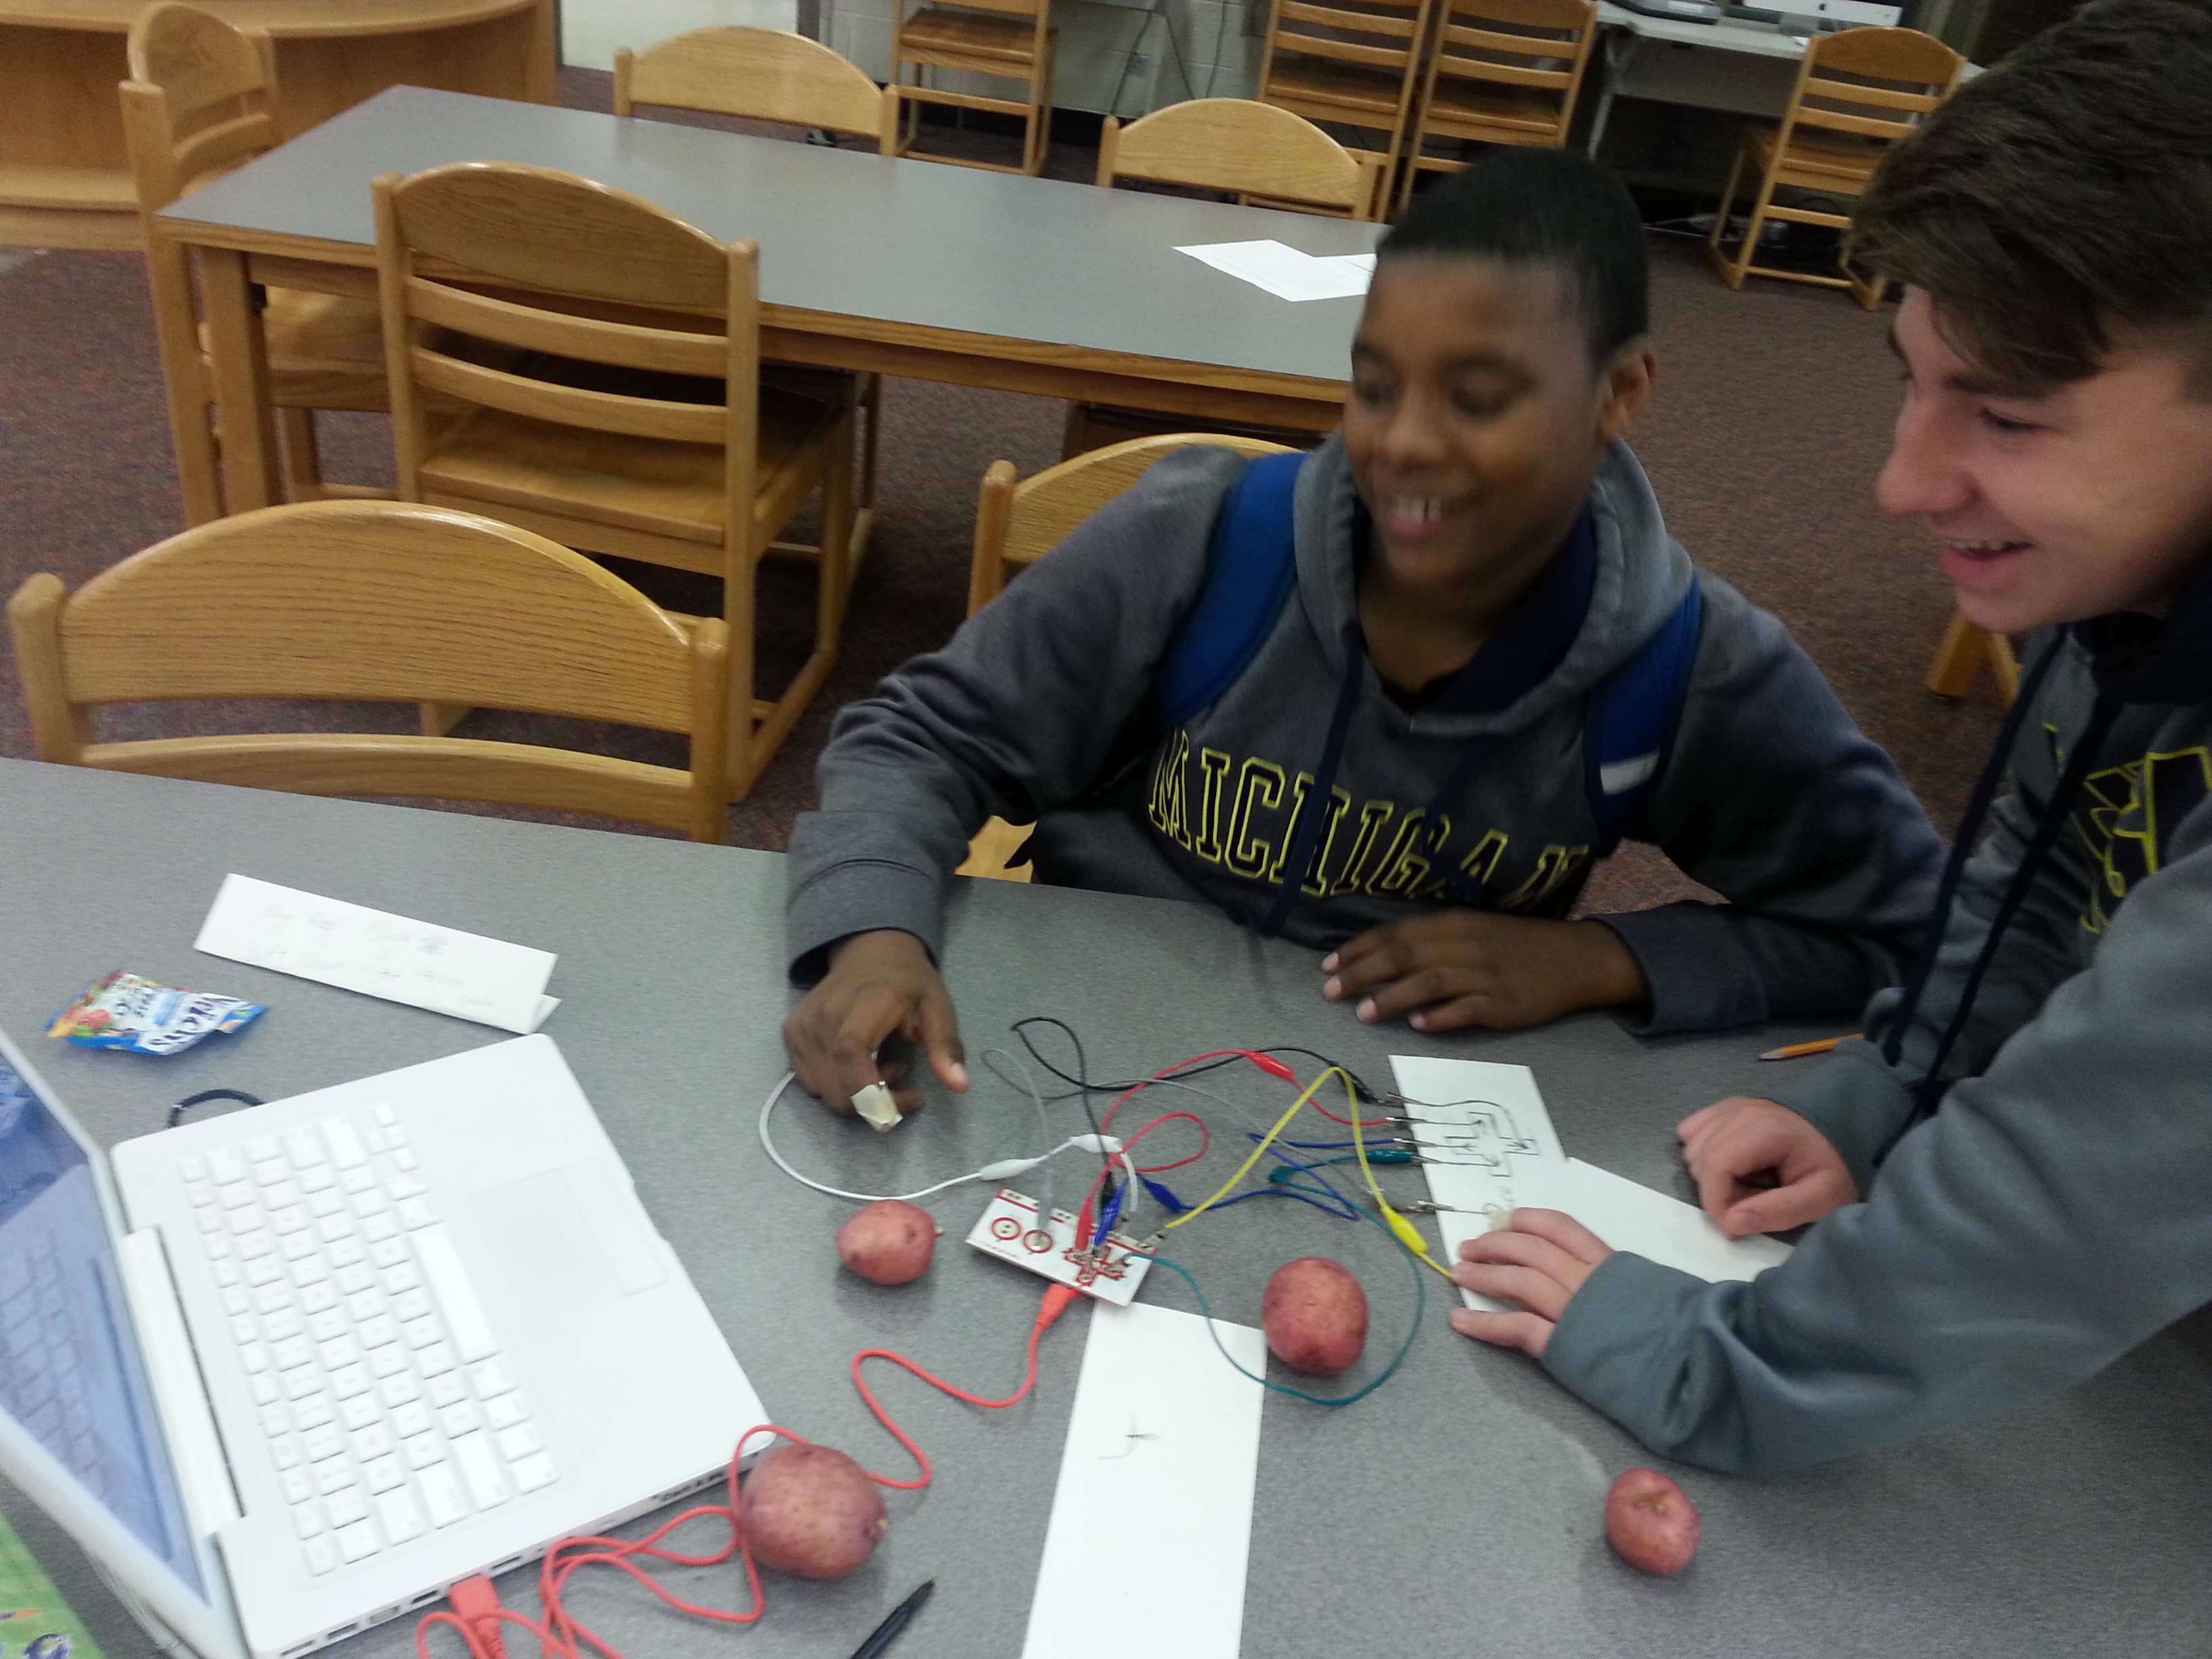
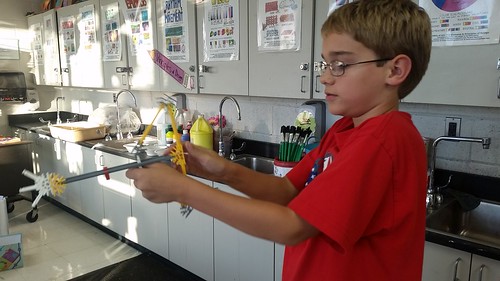
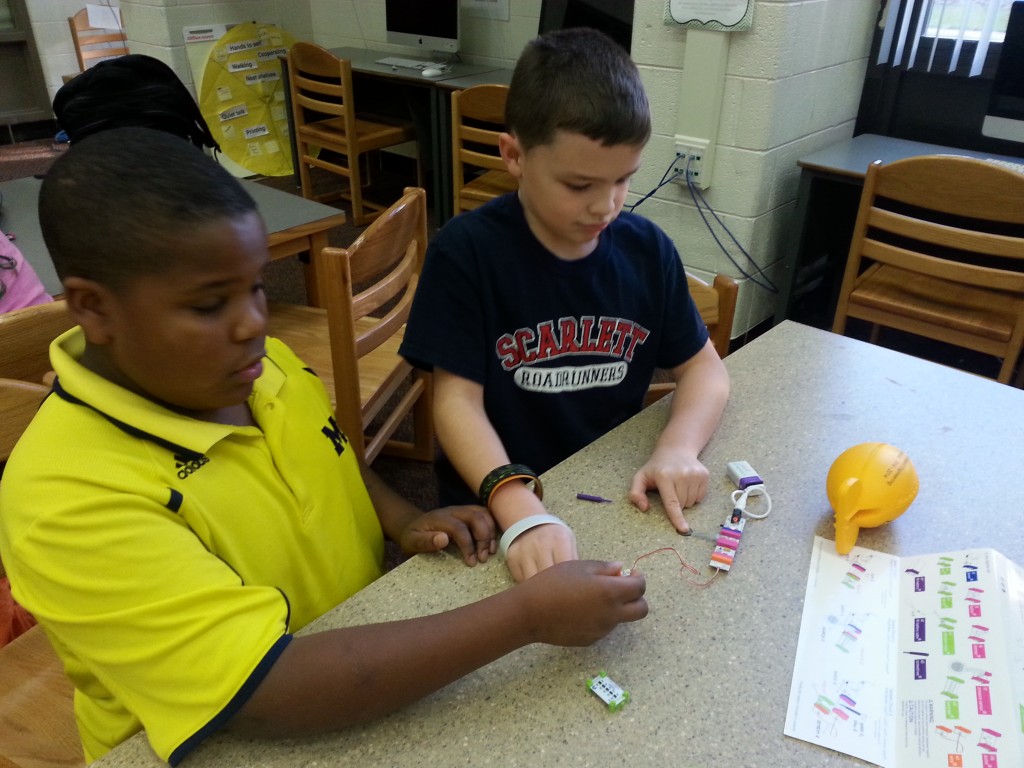
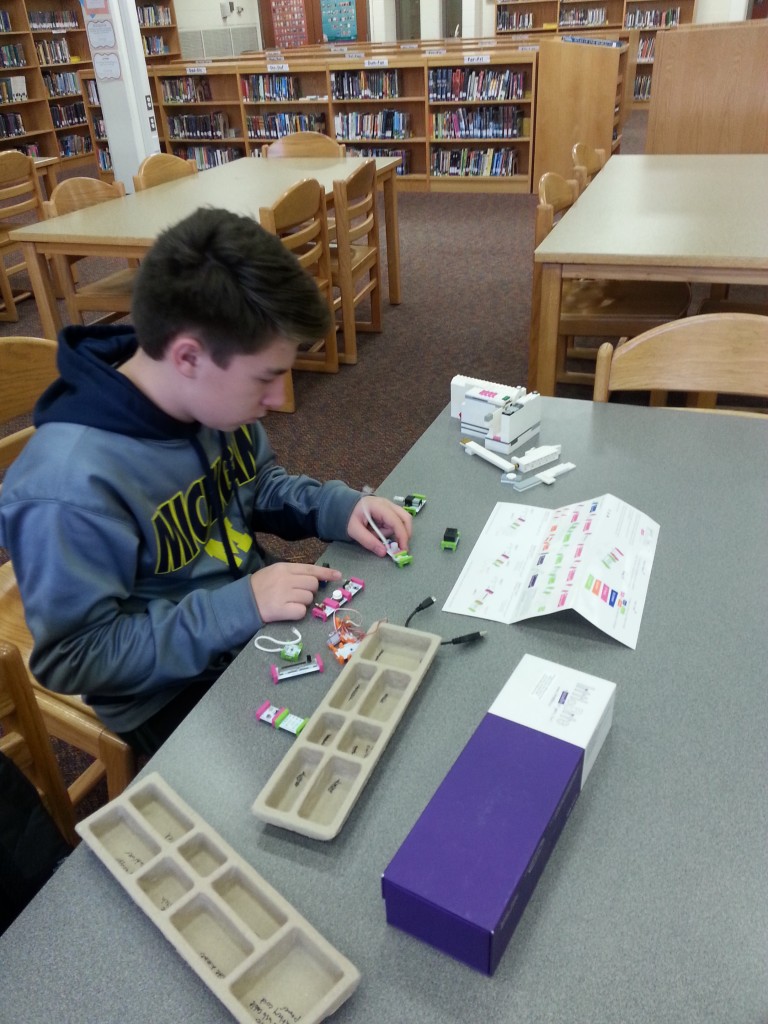
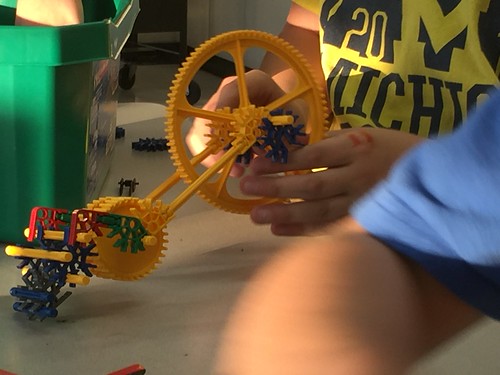
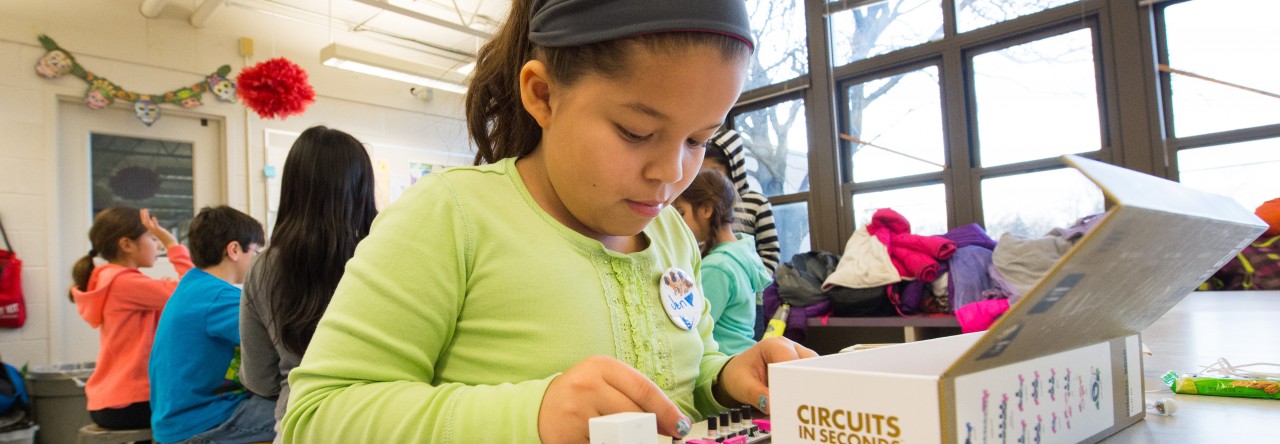
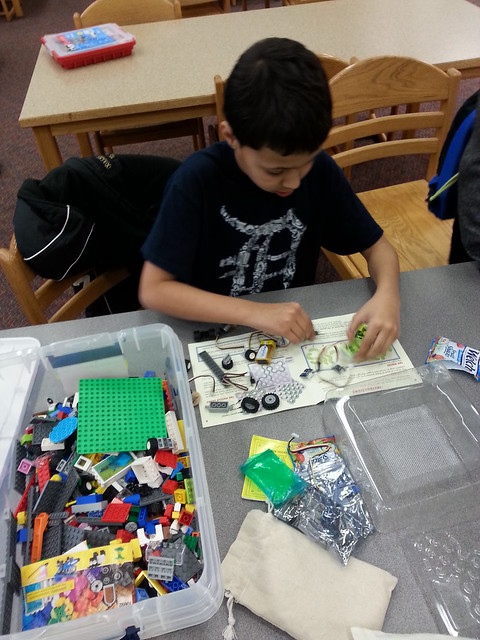
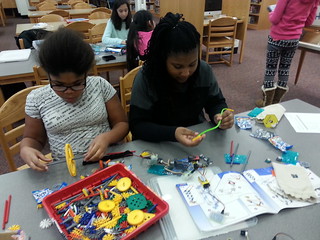
We brought back some old favorites like TechBox Tricks and K’nex. Our new Makers hadn’t seen TechBox Tricks before and were eager to figure out what to do with the kits. When one student connected pieces from the TechBox Tricks kit together to turn on a spinning motor by just waving his hand, other students wanted to try it too! Some students would put the pieces together but didn’t know why theirs weren’t working. This became a great opportunity for us slow down and figure out how the kit’s circuit worked. We figured out the differences between circuit inputs and outputs and why their order in a circuit mattered.

Jan28_2016

Jan28_2016

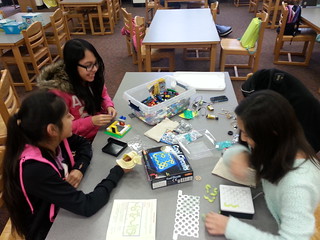
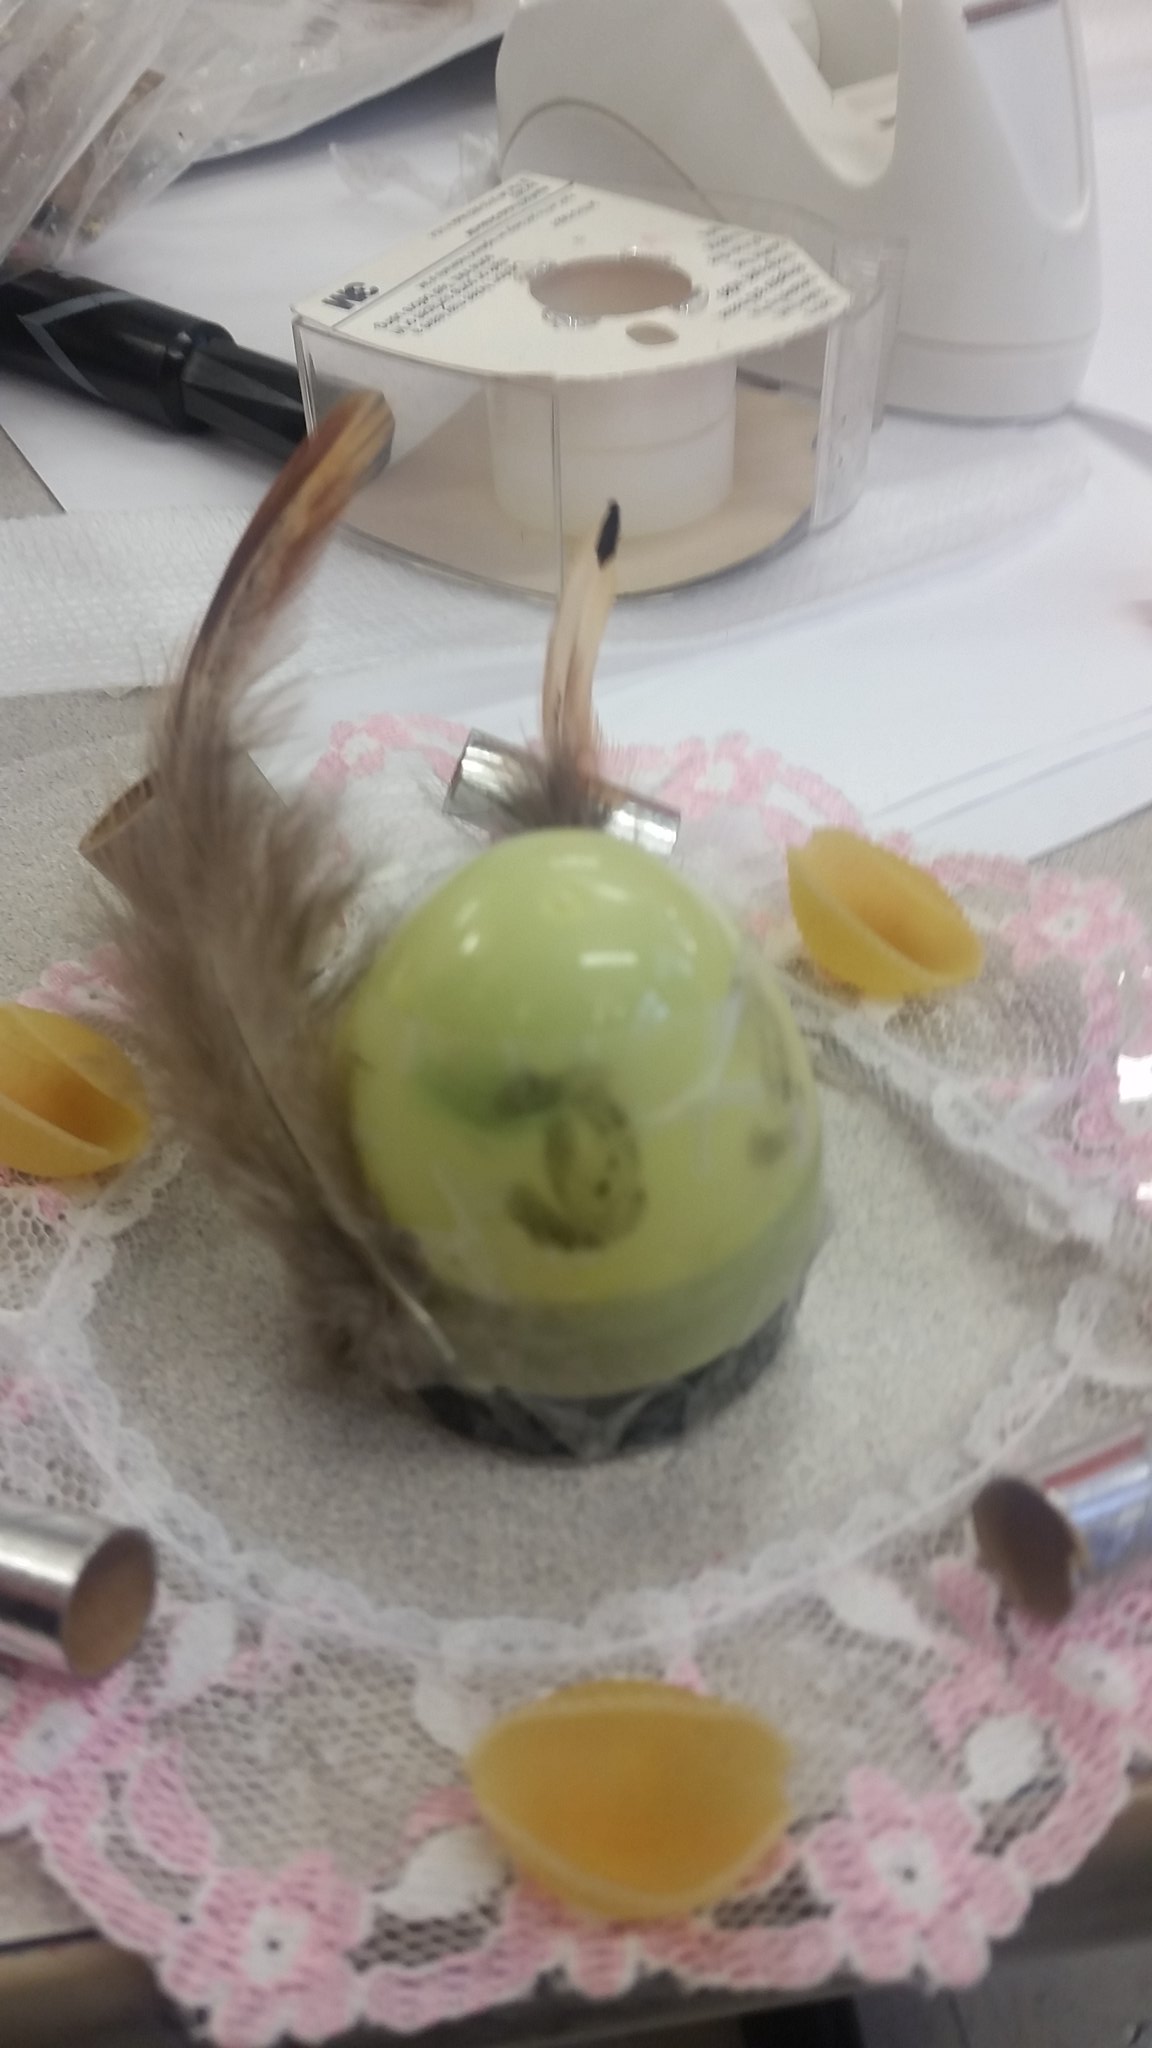
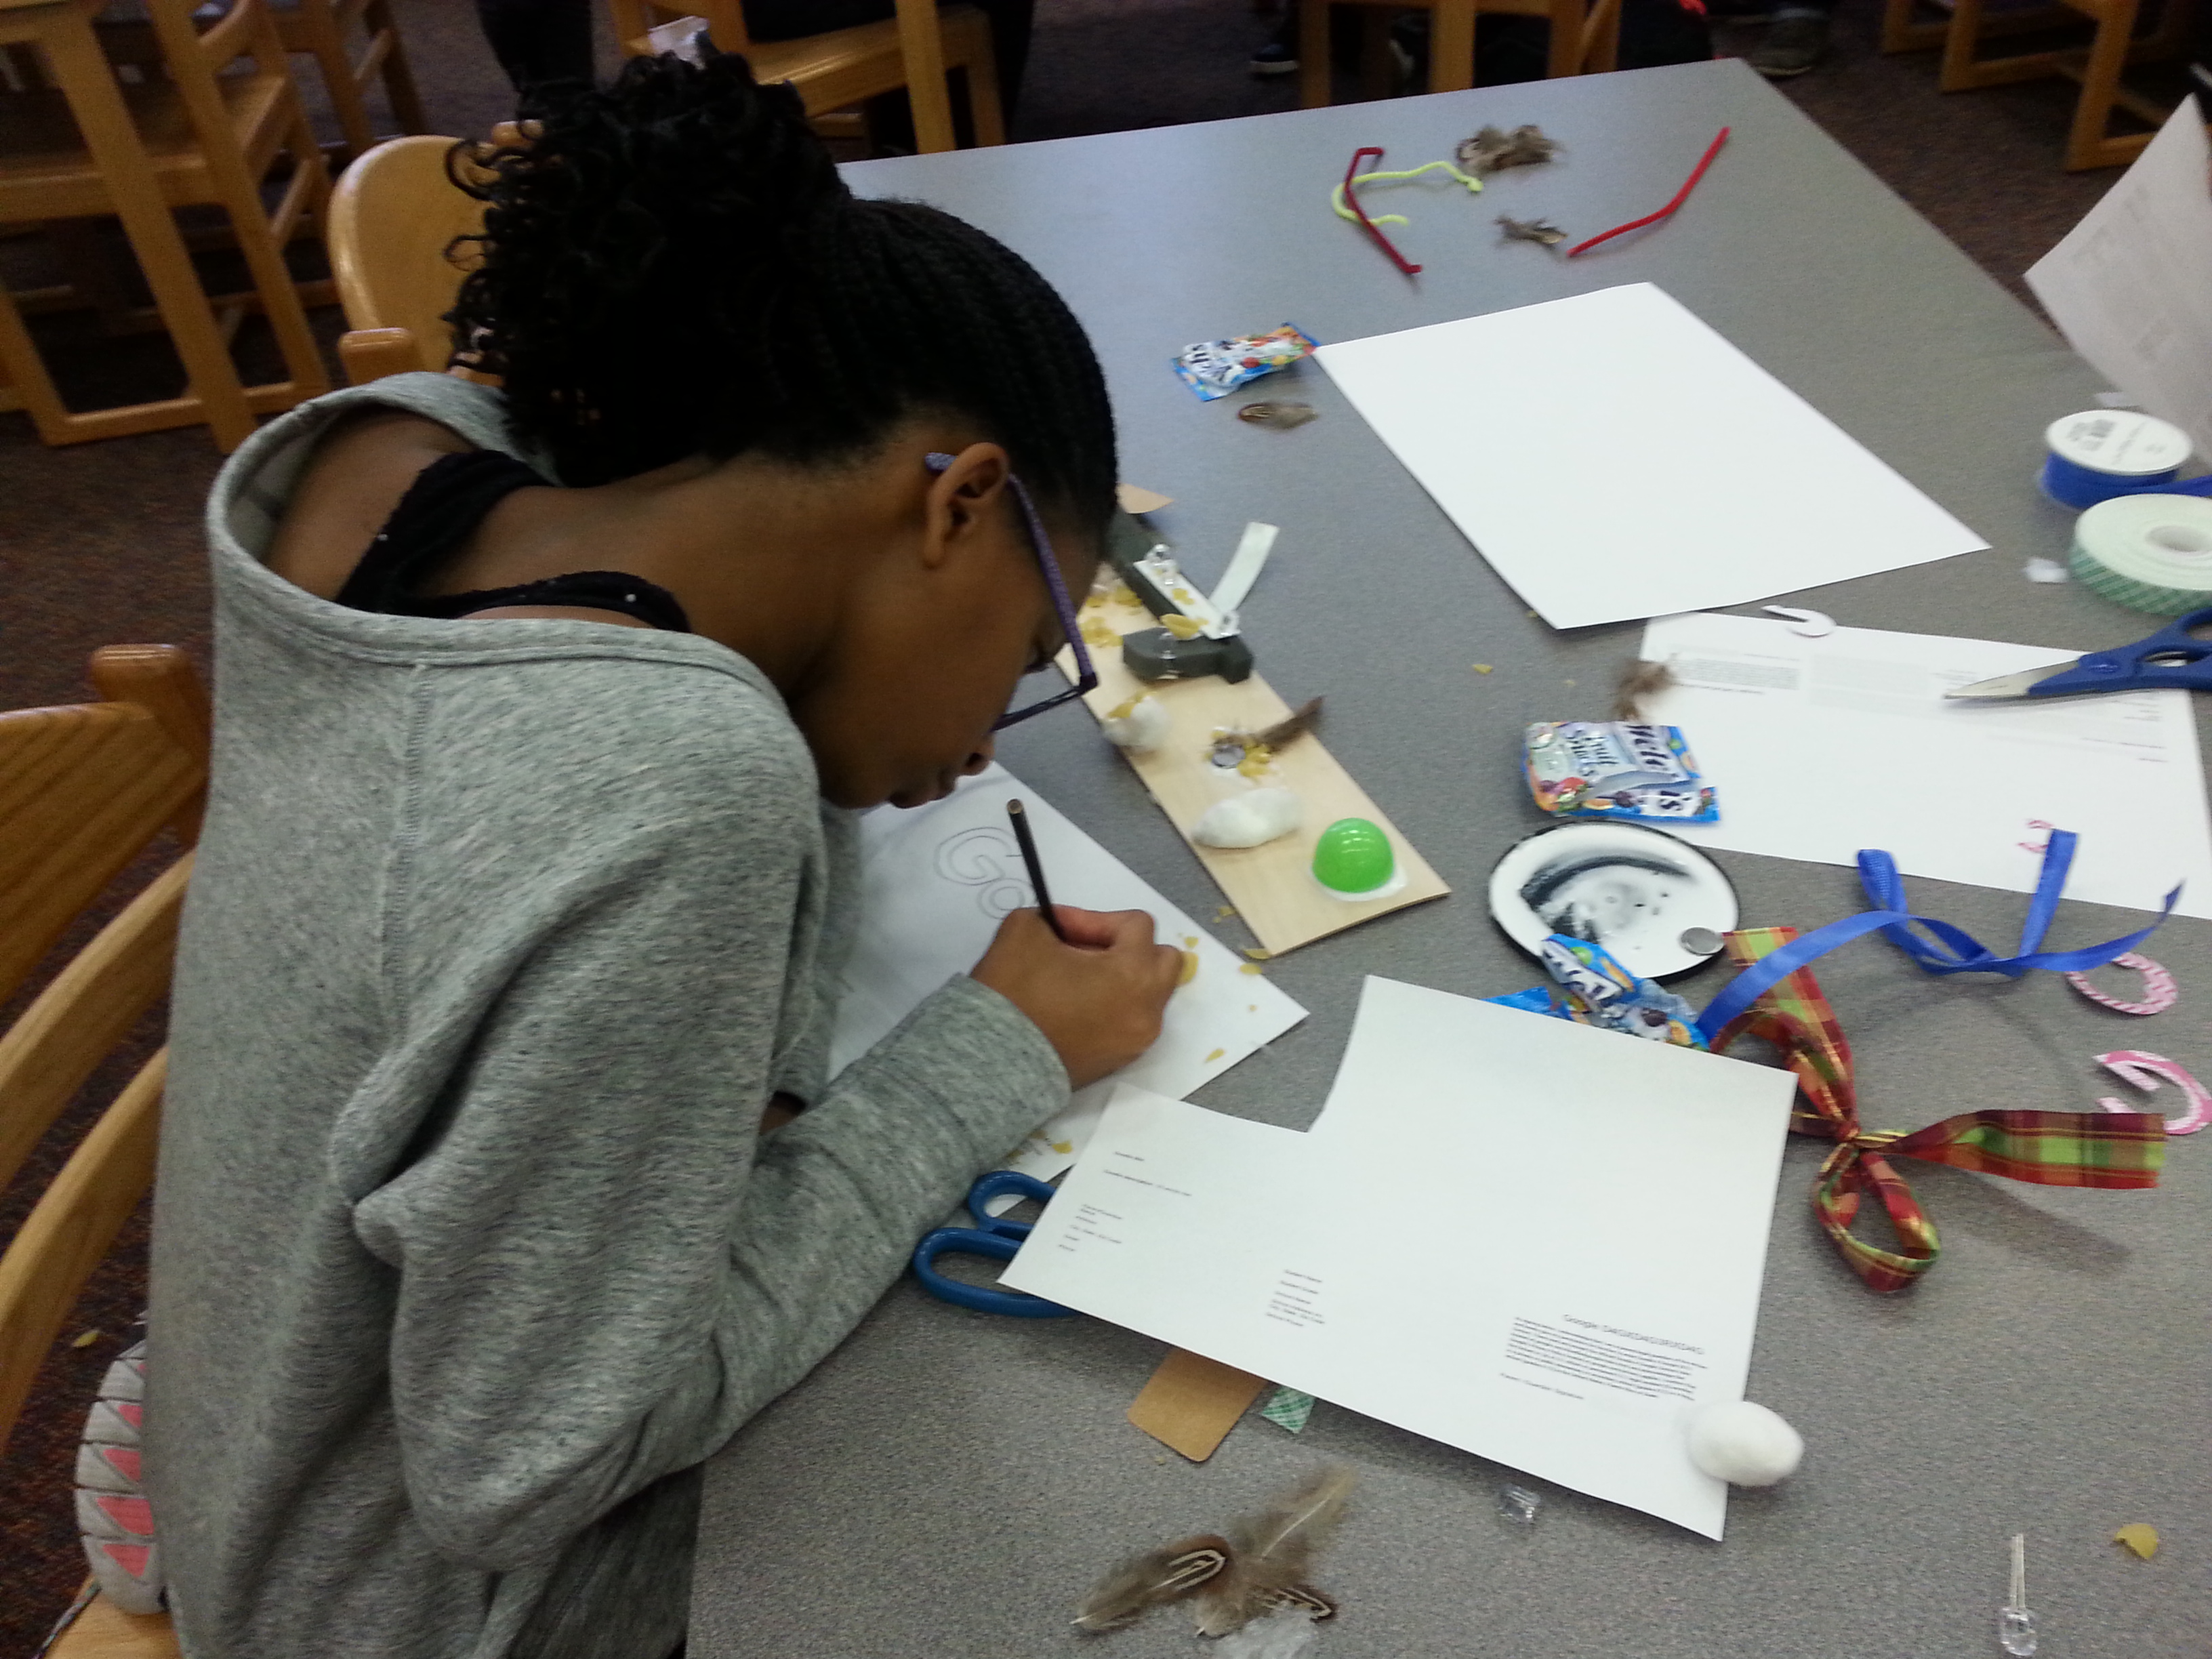
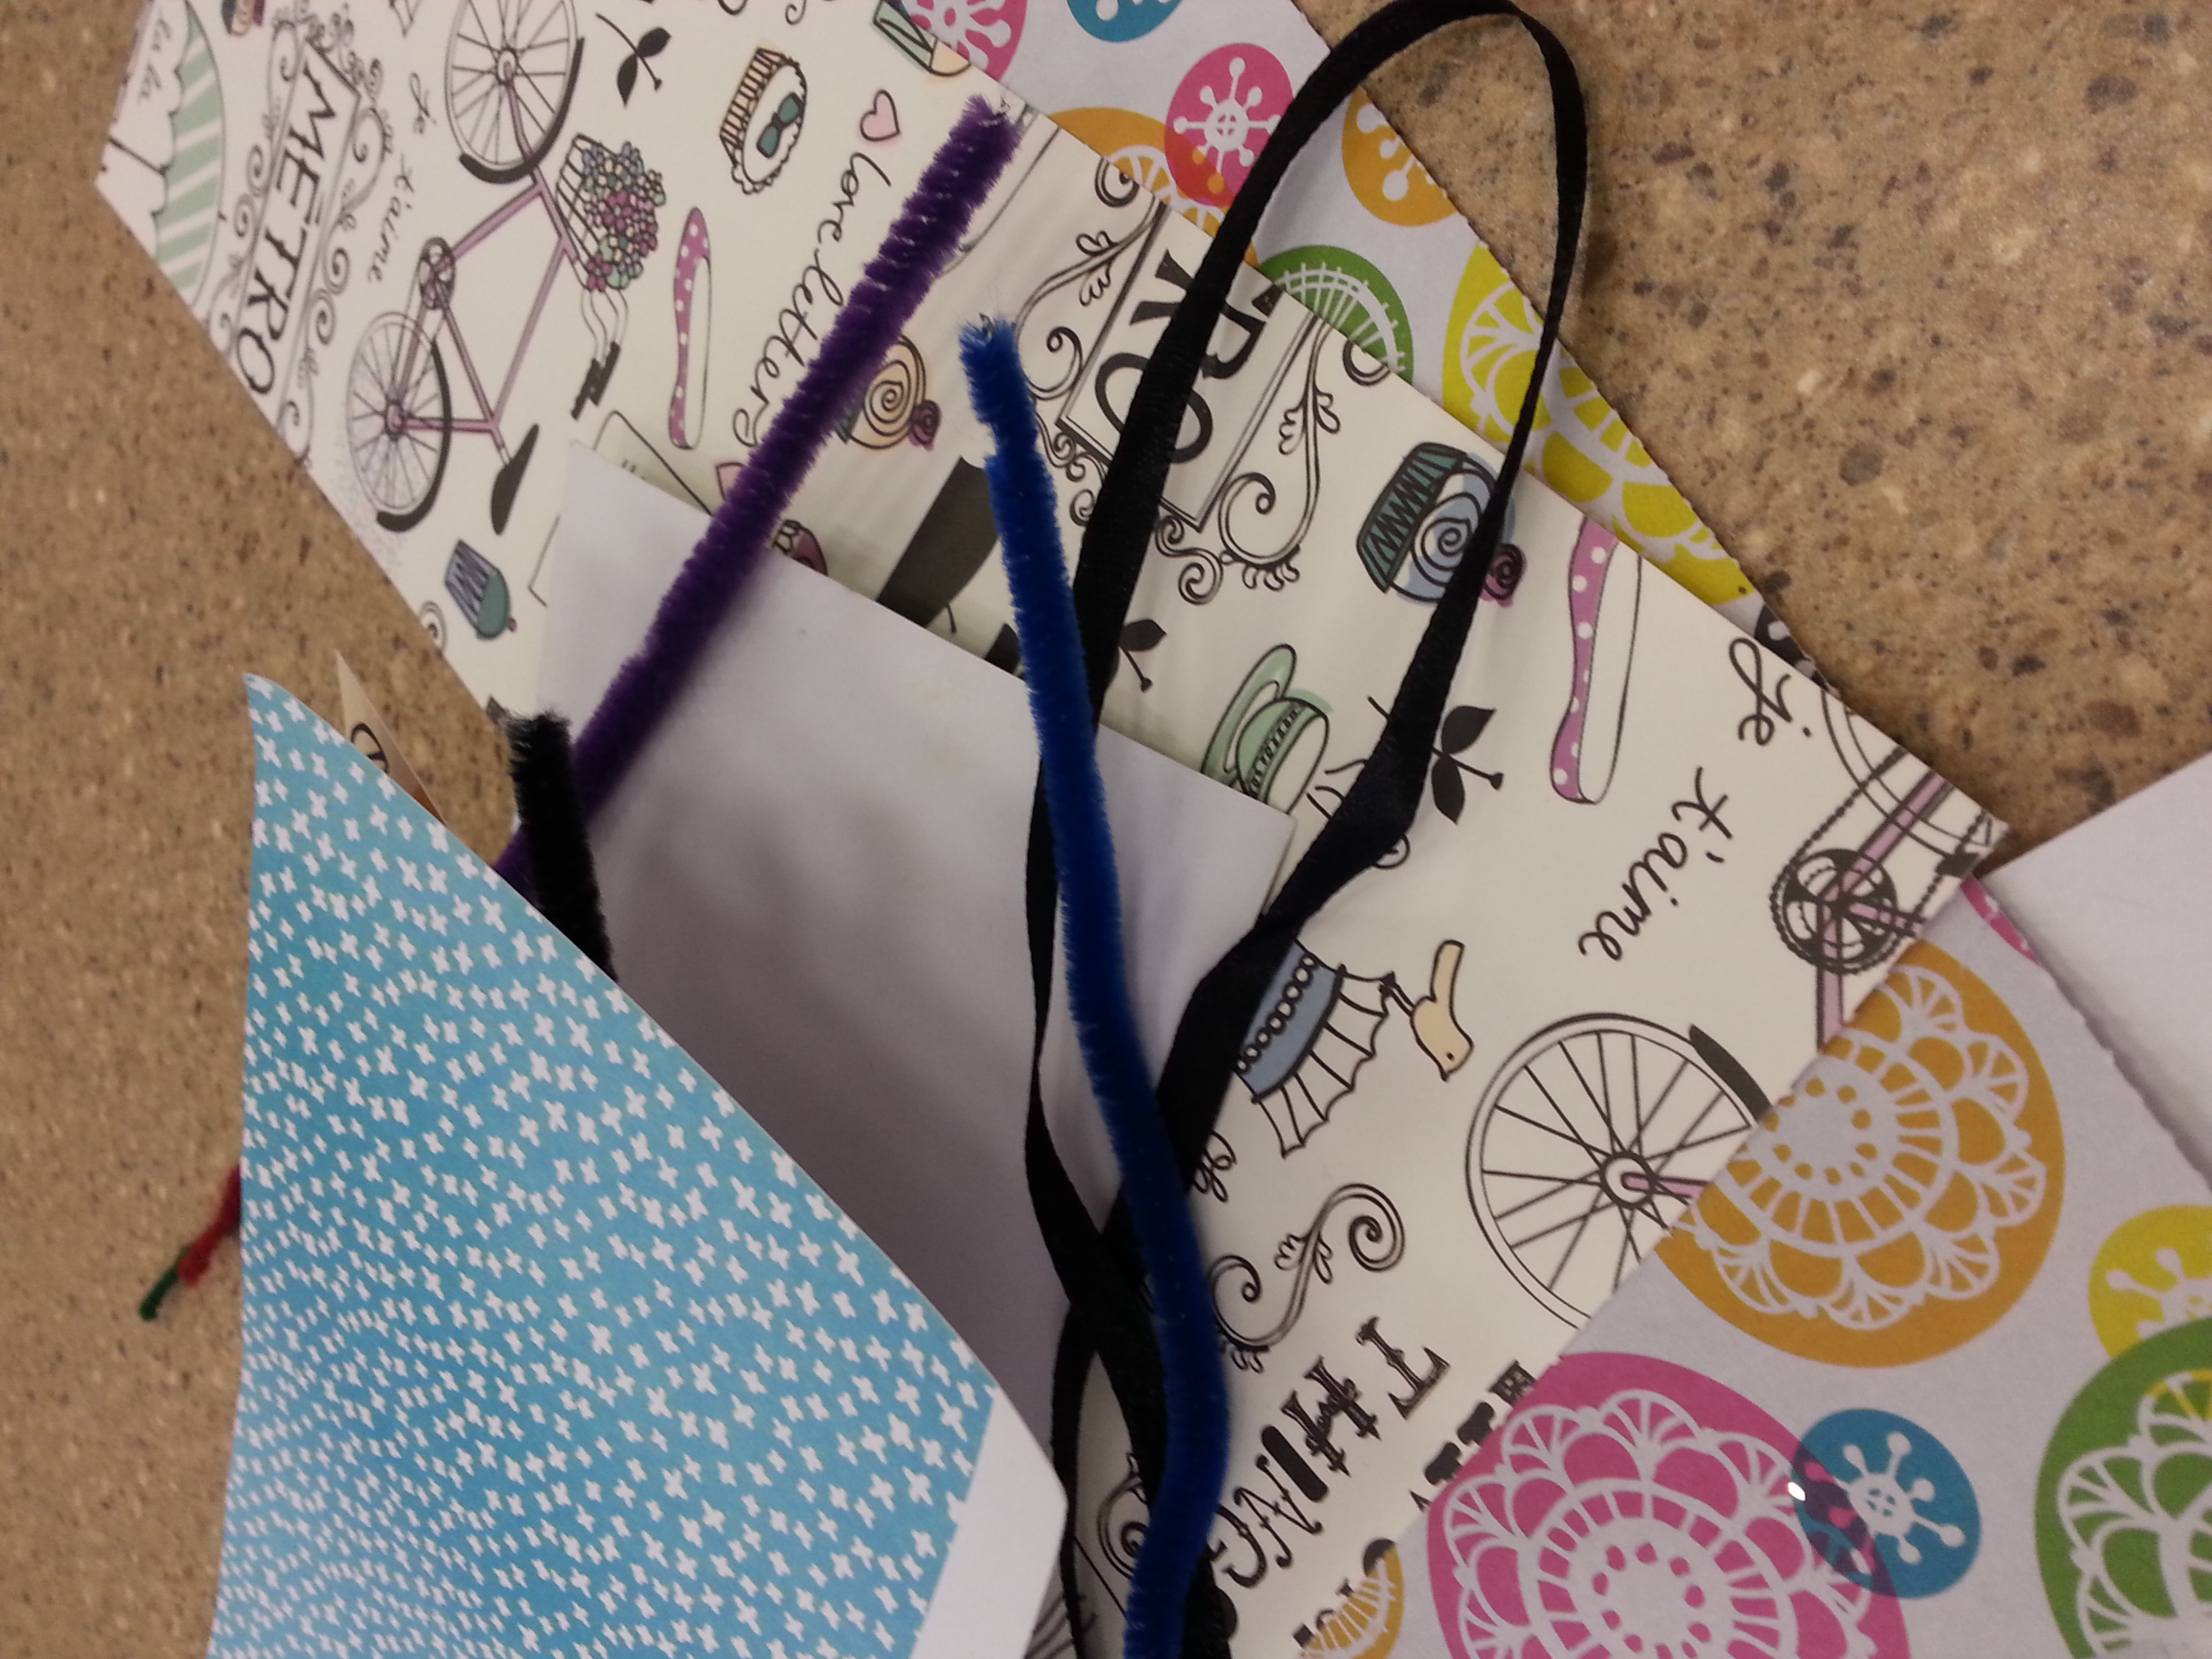
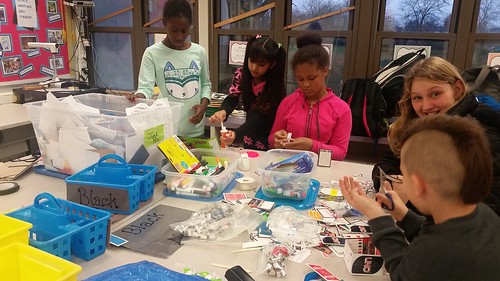
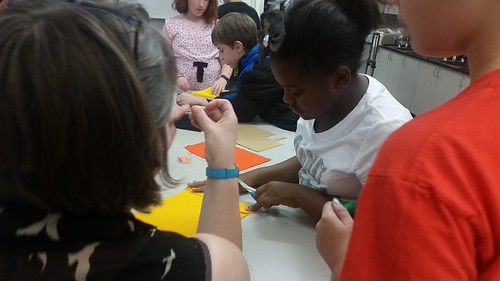
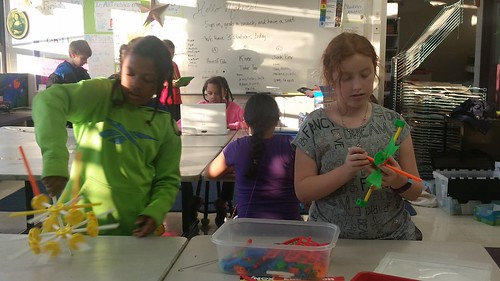
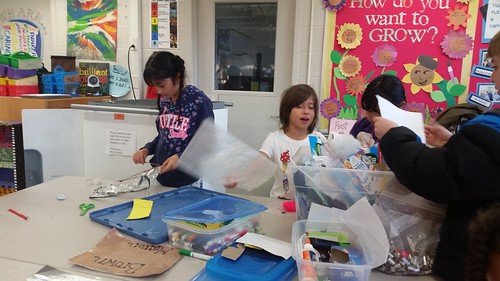
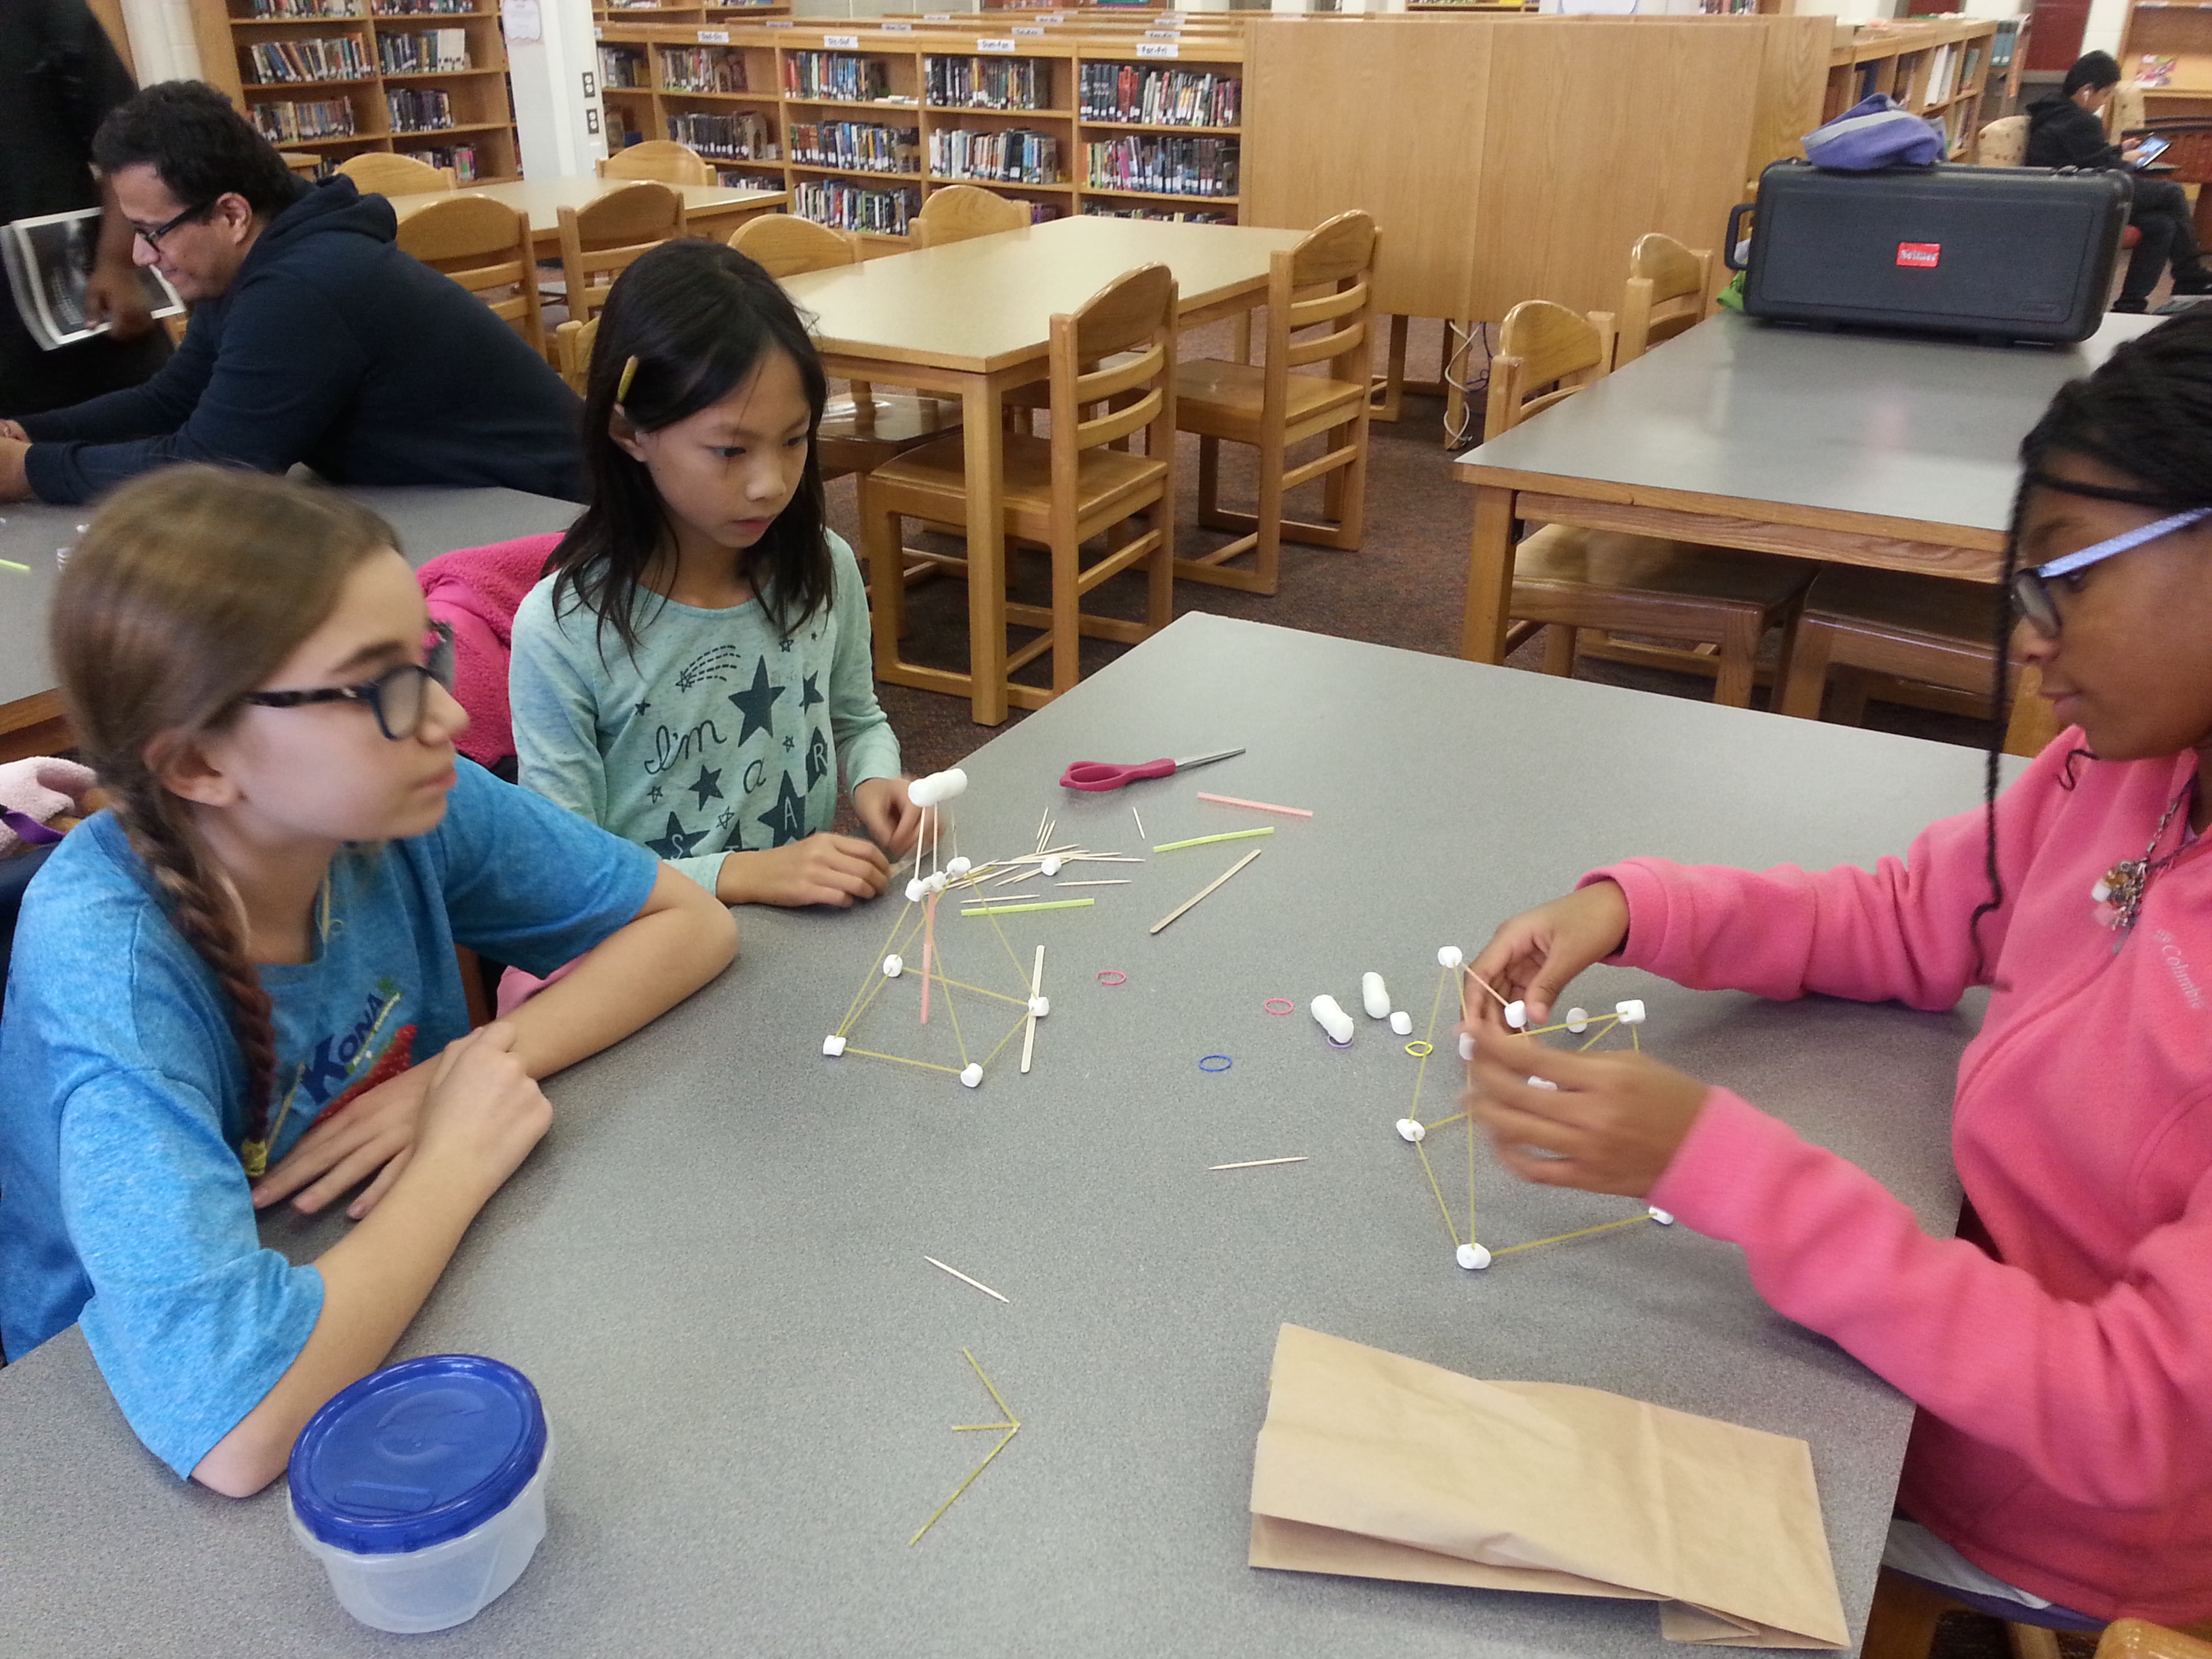
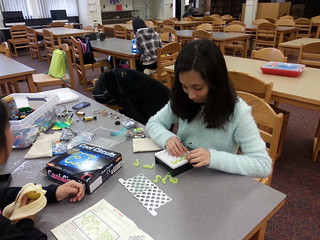
We also brought in a creative thinking game called Design Studio (seen below). It’s a kit that challenges students to tap into their creative potential and invent  imaginative things like remote controls for pirates or couches that wizards would enjoy. We were happy to see students dip their toes into this game, going for multiple challenges and iterating on their ideas along the way. With some prompts and guidance from the kit, these students imagined and sketched some truly unique inventions!

Jan28_2016

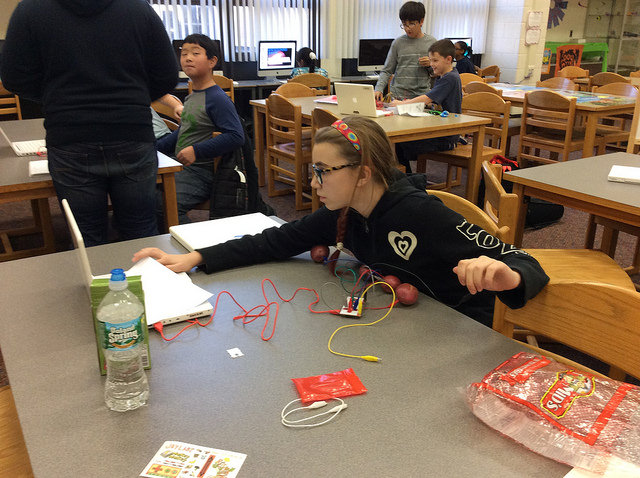
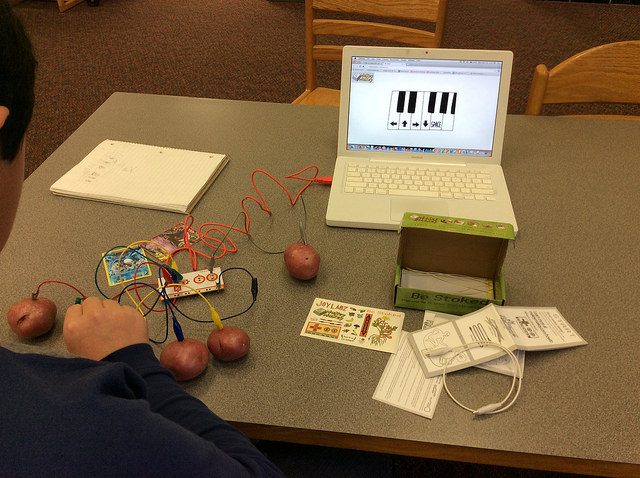
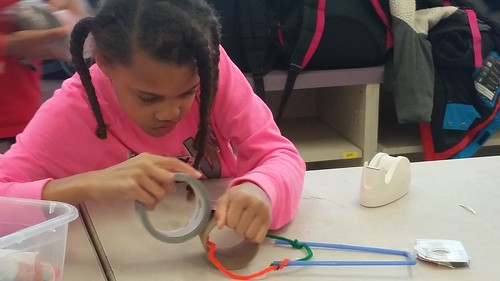
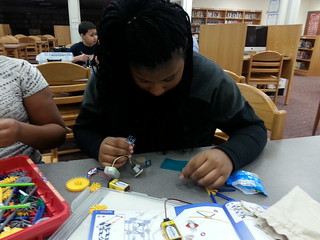
Something stood out to us this week: team work. When one student was stuck, trying to figure out why her LED wasn’t lighting up in her circuit, another student offered to look at her circuit to troubleshoot the issue based on what he figured out just a few minutes before. We saw this happen with a circuit puzzle game, as well.

Jan28_2016

Jan28_2016

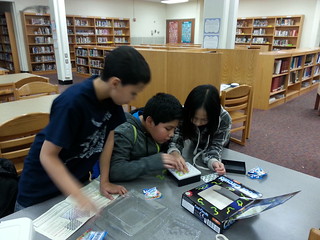
We love seeing students reaching out and giving other students a hand up. Putting multiple heads together to solve problems is a life-long skill, and we’re proud to see this happening so naturally with this group. From a learner’s standpoint, we know empowering it feels to demonstrate something that you just learned and help someone in the process!

We have some new activities coming up in the next few weeks. Stay tuned!

Welcome Back Michigan Makers!

Hi everyone! Kristin and I were very excited to start up Michigan Makers again, with lots of new faces, and a few of the same.

Tech Box Tricks

Tech Box Tricks made another appearance today, along with Snap Circuits, which were a newcomer this year. Snap Circuits come with a board and different circuit components which can snap together, helping to teach kids about how circuits work as they create a variety of cool projects exploring light, sound, and motion. We were also very fortunate to have a parent volunteer this week who helped to man this activity!

Snap Circuits

We also brought the ever-popular junk box as well as Kinex, Tinker Toys, Lego, and even the old classic –  Lincoln Logs.

And what a successful first day back it was! We were very impressed by the enthusiasm and creativity of the group. There was a lot of creative use of materials in from the junk box, and some of the kids spent the whole time crafting their creations, despite having to share a single roll of tape after we ran out.

Some of the projects from today included a mask, a bird with flexible wings, a miniature table with dishes, and a golden snitch.

I know I can’t wait to see what this group will come up with in future weeks!

Michigan Makers at Mitchell Dec. 2: What’s a Tech Box Trick?

We were sorry to be without our mentor Amber this week but glad to welcome new mentor Shruthi!

Here she is!

Shruthi demonstrating Tech Box Tricks by Seeed

Here’s what we had on our agenda for today.

Photo of whiteboard showing a message to the students from mentors and a list of the week's activities

You’ve seen photos of sewing and the junk box before, but what are Tech Box Tricks? It’s a set of

  • inputs (sensors, buttons, and other triggers)
  • a small microcontroller in a plastic case (a kind of computerized “brain”)
  • outputs (like a buzzer, fan, or light)
  • connectors with wires
  • a battery with connecting wires

Here are some components laid out, ready to be connected!

Tech Box Tricks components

The folks at Seeed estimate that you can make up to 64 different combinations when you combine power + input + microcontroller + output + imagination.

Close-up photo of Tech Box Tricks by Seeed

Thanks for teaching us, Shruthi!

What we like about Tech Box Tricks is that it’s really easy to get a functioning set-up pretty quickly. Then your imagination can take over!

Exploring Tech Box Tricks, a kit from Seeed

While we didn’t quite have time to combine these with the junk box to prototype some original inventions, as we planned, we hope to try again after the holiday break. (Because, as you know, we have a MM traditional activity we do the last MM meeting before we stop for the semester!)

Remember that December 7 is the last 2015 meeting date for Scarlett, and December 9 is the last 2015 meeting date for Mitchell. Then we have a break until January!

~ Kristin

Google Doodles

20151123_163243


You might have notices that every now and then, Google adds an illustration to its home page, changing the appearance of its logo in honor of a holiday or historical event. Google is currently  holding a “Doodle4Google” contest until December 7th.

Screen Shot 2015-11-30 at 11.51.41 AM

This contest is an opportunity where “young artists can doodle with any materials to show what makes them unique, and the winner’s artwork will be featured on our homepage for a day.” We thought this was a great opportunity for the students to really let their imaginations run wild!  

20151123_154546

We brought back some materials/ activities from previous weeks (batteries, LED’s, Lego’s, and LittleBits Kits) so that the students could build on what they’ve learned and incorporate these elements into their Google Doodle somehow. We also had a junk box filled with assorted paper, yarn, and other fun materials that the students could use.

20151123_154742 (1)

Being that they essentially had a blank canvas, the possibilities were endless. Some were a bit unsure where to start and took some time to explore some materials before they got started on a design. Other students dove straight into the junk box and started pulling out different materials, figuring it out as they went. Every now and then, a student would simply color in the logo and stop there, saying that they had no other ideas. Some of our mentors sat with them and created some silly and wild designs, helping the students look beyond the literal logo and not be afraid to get a little crazy.

20151123_162928

 All throughout the activity, the room was abuzz with excitement and lots of creative energy!

20151123_154732

20151123_154716

20151123_154622


You can see more of our students’ AWESOME Doodles here.

Puppet Power

This week at Mitchell we introduced hand-sewing finger puppets, along with the same stations from previous weeks (Hour of Code, Dash robots, junk box, and construction toys).

Hour of Code, Dash, finger puppets, Junk box, construction toys

  We had some more kids finish Hour of Code today, including two who had been struggling a lot initially. It was wonderful to see them finish yesterday. One boy in particular was resolved to finish yesterday, and powered through the last few levels. He was very proud of his success, and couldn’t wait to try out Dash as his reward!   Hour of Code, Dash, finger puppets, Junk box, construction toys

We promised that we would start hand-sewing, since we had some requests already, so this was out first week practicing with this group. We decided to start with something small, and came up with the idea of felt finger puppets. We were impressed not only with how quickly kids picked up the hand-sewing, but how meticulously they focused on their stitches. Some of the amazing creations included a turkey (complete with wattle!), a kitten, and a snowman!

Hour of Code, Dash, finger puppets, Junk box, construction toysHour of Code, Dash, finger puppets, Junk box, construction toys


Makey Makey: Making Music with Vegetables(?!)

We got our hands on some Makey Makey kits this week. What’s Makey Makey? In short, it’s a kit that helps you turn everyday objects into touchpads that control your keyboard/computer. Conductive objects such as bananas, potatoes, plant leaves, and paper clips can be wired up and control different keys on your keyboard with the help of this kit. For more information about how Makey Makey works and project inspiration, check out this website http://makeymakey.com/howto.php.

22611401163_f74f86bc3c_z

None of the kids had ever seen a potato piano before and were very excited to play the one we had set up. In no time, they were making their own.

23238499275_c2c8386a4e_z

One of the first hurdles was figuring out how to play the potatoes to make music. Students had to hold onto the metal tip of an alligator clip with one hand while tapping the potatoes with the other hand. By doing this, their bodies helped close a circuit, connecting the current from the potato to the Makey Makey kit.

22609746734_77def0c92b_z

Students–not wanting to hold onto the clip with their fingers–got creative with making sure it stayed in contact with their skin: some would tape it to their hands, their arms, or their fingertips. This helped free up their hands and enabled them to interact more fully with their kit.

In addition to potatoes, what else could we use to play the piano? We had a bag of random objects that might work in place of potatoes and allowed them to experiment. The bag included: plant leaves (both dry and alive), paper clips, coffee stirrers, and assorted fruits.

We encouraged the students to explore using pencil graphite as a conductive medium and draw out their controllers on paper. With some trial and error, the students soon figured out how to connect their drawings to the kit and control the computer’s up/down/left/right/ keys by tapping on their drawings.

20151116_160744

Drawing our own controllers. Will they work just as well as regular game controllers?


The students were astonished and excited when they learned that they could play a game of Tetris by simply tapping on their drawings. Graphite’s conductibility took a lot of us (even mentors) by surprise!

20151116_161758

For more pics, check out our Flickr page!!

Making it work at Mitchell

This week at Mitchell, we brought back the same stations: Hour of Code, Dash robots, junk box, and Tinker Toys and Kinex. A lot of kids are getting pretty anxious to try out the robots, and we hope it will continue to motivate them to try their Hour of Code.

MM@MITCHELL Hour of Code, Dash, Junk box, Kinex, Tinker Toys

Several students have begun to enjoy doing the Hour of Code, and jump right into the puzzles. We also had a few more students finish the Hour this week!  

MM@MITCHELL Hour of Code, Dash, Junk box, Kinex, Tinker Toys

The real treat this week was to see what kids were able to build with the junk box. This week, I saw a lot of making of useful or functional objects. Purses were a big theme this week, as three different girls made different versions of purses from supplies in the junk box.

MM@MITCHELL Hour of Code, Dash, Junk box, Kinex, Tinker Toys

Last week, we had one girl make a “laptop” out of materials from the junk box, which inspired a boy to make his own this week using bubble wrap, playing cards, and a marble. As he described it to me, “You have to punch the keyboard really hard, but it’s really lightweight!”  


MM@MITCHELL Hour of Code, Dash, Junk box, Kinex, Tinker Toys

Slingshots and model bows were also a big theme this week. One girl made a slingshot out of a fruit snacks box and some rubber bands, complete with storage for her ammunition (small recycled cardboard tubes)

MM@MITCHELL Hour of Code, Dash, Junk box, Kinex, Tinker Toys

What’s in the Bag?

We’ve been a bit tech- heavy these past few weeks and wanted to change things up. One of our activities was inspired by “mystery architecture” activities, where students are given a mystery bag of materials and must use the materials to build a structure to meet a challenge.

We challenged the students to work in teams and build a tower as tall as they could in 25 minutes. The ONLY materials they could use were the ones in their mystery bags. The structure must stand long enough for us to take a measurement.

Here’s what was in their bags:


20151109_145249

  • 20 toothpicks
  • 20 mini-marshmallows
  • 10 pieces of dried spaghetti
  • 4 packing peanuts
  • 2 drinking straws
  • 2 coffee stirrers


The students took the the challenge right away. Some students surveyed the contents of their bag before strategizing how to best use the materials. Some dove right into building, sticking spaghetti into the marshmallows and creating height. It was exciting to watch them take such different approaches!

20151109_152749 20151109_152630

As structures started coming together (and climbing higher!), we noticed a lot of students taking a step back and figuring out how to address structural weaknesses. One team used a paper bag as the base but wanted to increase its stability since it was flimsy. Their solution? Roll up the opening of the paper bag (like you would to a long-sleeve shirt) to give it some stability. One student focused less on overall height and more on creating a solid, supportive base. We noticed all teams experimenting with triangle and square-shaped supports, figuring out which would be most secure.

Our highest tower stood at more than 3.5 feet tall!


To wrap up the day, we introduced them to LittleBits. These kits come with components that snap together to make light, sound, and motion. Because the components can be arranged in so many ways, we saw a range of creations: a light that only comes on after pressing a pressure sensor and a light switch, to a sound device that produces intergalactic sounds. The kids were asking about whether we could combine kits and make bigger versions of what they were working on. To be continued on at another time in Michigan Makers…?

20151109_160224(0)

20151109_160331


Unbridled creativity at Mitchell

This week at Mitchell, everything went a bit awry. We had planned on a rotation of three stations: Dash & Dot robots for those who have completed the Hour of Code puzzles/more Anna & Elsa for those who have not, building with Kinex, and making something from the junk box. But we forgot that we also needed to give the 5th graders a chance to make their own flashlight, and it ended up taking longer than we expected, even with all of the 4th graders helping show the 5th graders the ropes. And I forgot to charge the Dashes!

MM@Mitchell 11/4/2015

After the flashlights were done, we ended up allowing everyone to choose between Hour of Code, junk box, or Kinex. We were surprised that once everyone chose a station, the chaos really settled down, and the kids were able to make some pretty awesome things.

MM@Mitchell 11/4/2015

There was so much unbridled creativity present in the room. It’s amazing to see the range of projects they come up with: from a house with a roof supported by strings of plastic cord, to a headband made of pipe cleaners, electrical tape, and gold cord, to a miniature replica of a strawberry cake with vanilla ice cream on top! It was also great to see that kids were up to the challenge of using Blockly with the Dashes – even though they weren’t able to do so due to my charging fail!   

MM@MITCHELL Hour of Code, Junk Box, and Lego/Kinex

Just goes to show you that even when your plans fail, something amazing can still happen! I can’t wait to see what these kids come up with next. 

MM@MITCHELL Hour of Code, Junk Box, and Lego/Kinex

Mummifying with Masking Tape

We’re a few days into November, but we can’t quite shake the Halloween spirit! This week, we grabbed some rolls of masking tape and a couple of straws to make spooky “mummy hands”.  We had a new Maker Mentor, Prakruthi, join us this week and we’re so excited to have her!

If you’re looking for a simple project that keeps kids engaged with just a few materials, this activity fits the bill.

This activity works best in pairs: one student is the “hand model” and the other wraps the masking tape around the hand model. The students can switch off after one mummy hand has been completed.

20151102_153128 20151102_153137


This is how it works:

  1. Place a plastic straw on the hand model’s hand so that it lines up from the tip of their middle finger down the center of their hand.
  2. Wrap masking tape around the hand (over the straw) in layers with the sticky side facing OUT (smooth, non-sticky side touches the skin). This is important because if the sticky side were touching the skin, it would be difficult and dangerous to remove the hand from the “tape cast” that forms. From our experience, it works best if you start from the base of the hand and wrap your way up the hand and around the fingers!
  3. Once your hand is covered, do a final layer of tape so that the smooth side faces OUT, creating a smooth, non-sticky exterior.
  4. To extract the hand, carefully use scissors to cut from the base of the hand up the palm (almost to the fingers) along the straw. The hand model can wiggle their hand out and tape the cut in order to close the hand.

Screen Shot 2015-11-04 at 5.07.57 PM

We had a bunch of fun with these! Some got creative with their hand poses and made claws with them. We heard kids talking about how cool it’d be to put lights into the hands or placing sensors in them to make noises when someone gets too close to the hand. Creating a mummy hand is just the beginning! What could YOU do with a mummy hand?


Screen Shot 2015-11-04 at 5.07.04 PM

Page 3 of 9

Images © 2015 Regents of the University of Michigan. Text available under Creative Commons Attribution-NonCommercial-ShareAlike license unless otherwise stated. This project was made possible in part by the Institute of​ ​Museum and Library Services RE-05-15-0021-15.