Tag: 3D printer

Making in miniature

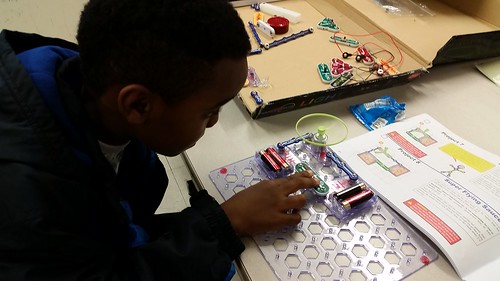
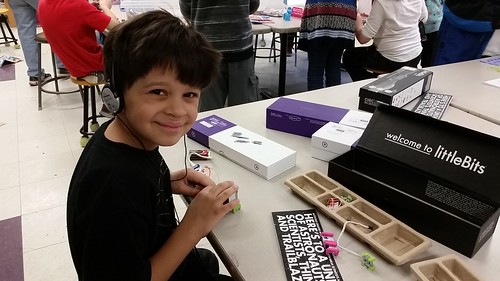
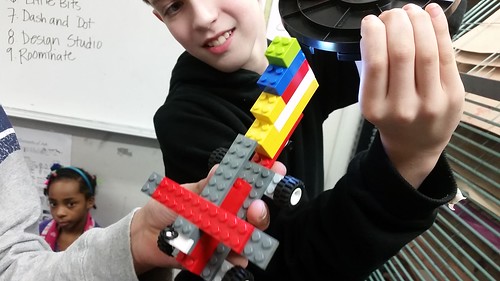
This week at Michigan Makers saw the junk box and 3D printer still going strong! We also brought back many of the same things from the past few weeks, including littleBits, Hour of Code, Lego, and Kinex. We also brought back the Dash robots as well as the tiny Ozobot, which follows the path you draw for it and changes the color of its lights accordingly.

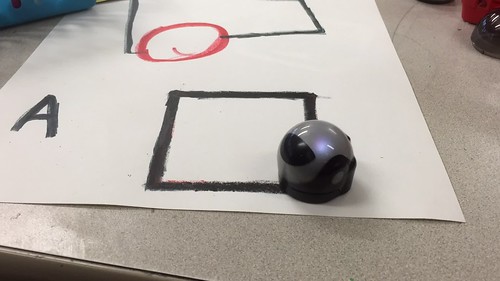
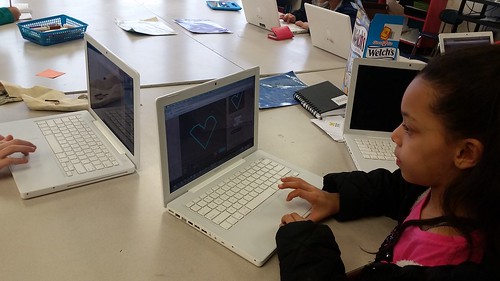
We finally were able to draw a path for the Ozobot

We discovered through experimentation that drawing a path for the Ozobot takes some serious pigmentation, and also that it works best when the turns are gently curved instead of right angles.

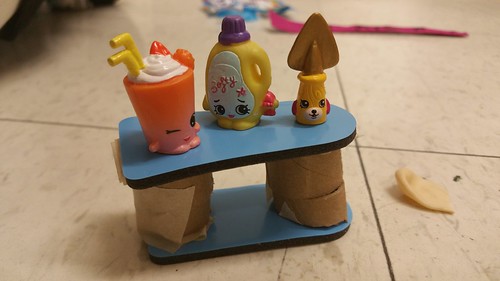
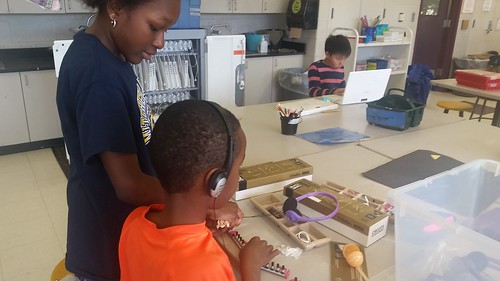
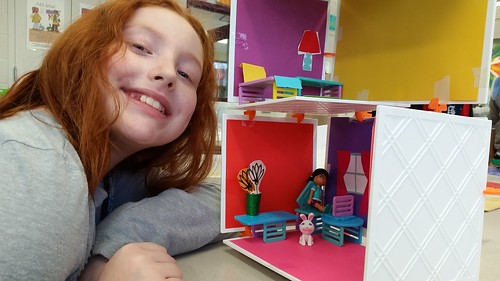
Tiny table for some tiny Shopkins!

The junk box was as popular as ever, especially for making miniatures like the tiny table for Shopkins above, and an equally tiny teacup.

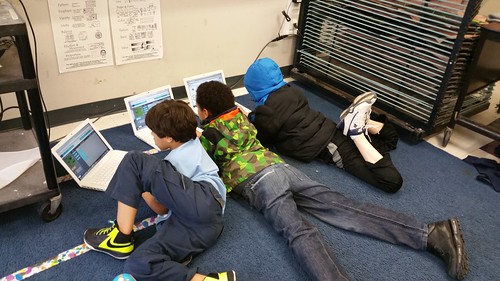
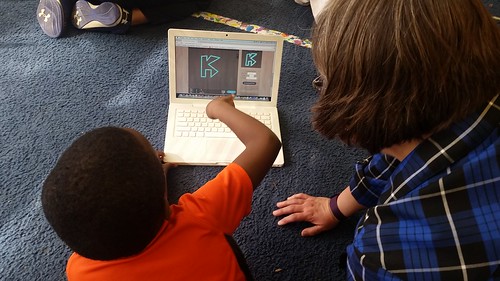
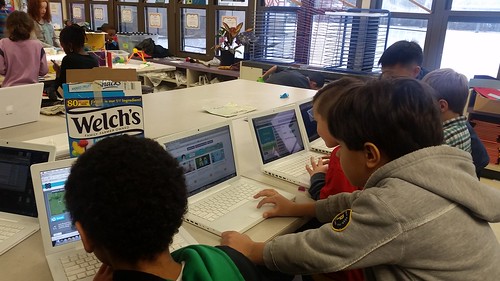
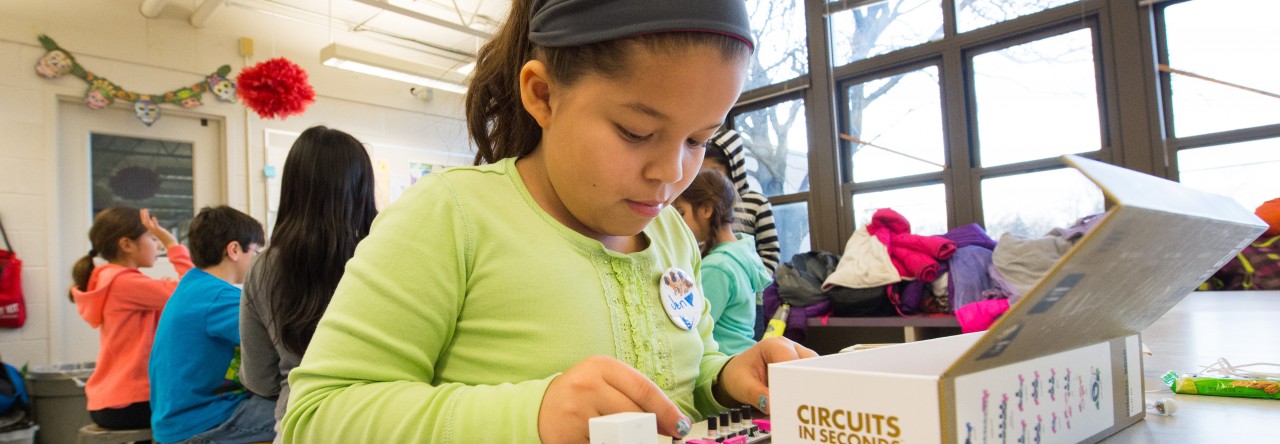
Hour of Code has become a real hit with some of the kids

Hour of Code has remained a hit with a lot of the kids, some of whom have spent the majority of the last two weeks on the Blockly-based coding activities. One student told me he can’t wait to keep practicing at home and show his mom what he has been up to!

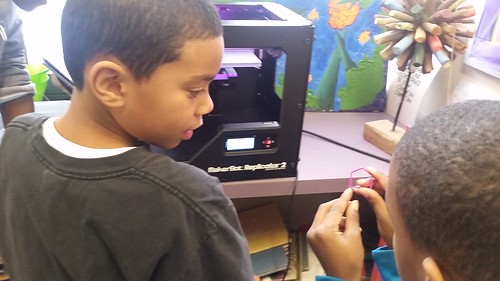
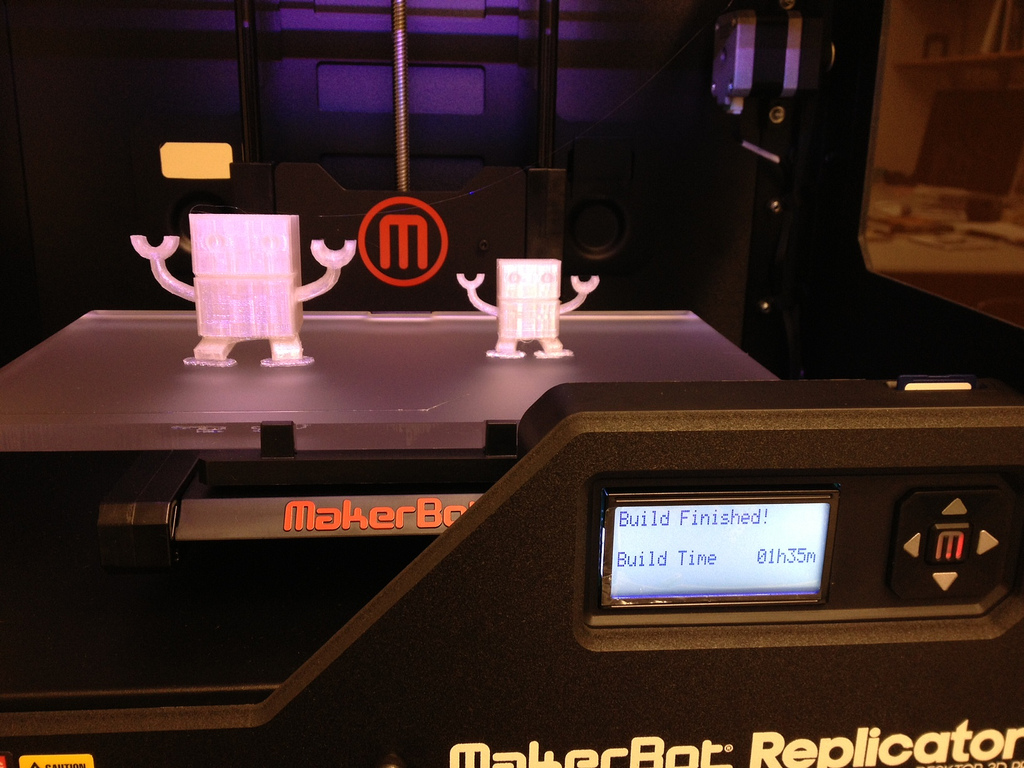
Prying off 3D prints is harder than you would think

Last but certainly not least, we have been making progress ensuring that every student who wants to print something using the 3D printer has their chance. We have been consistently impressed with how careful the students are around the printer!

One more week to go, Makers!

Costumes and Coding

The 3D printer is back! And so was the junk box, with even more fresh supplies than last week.

Tulle makes for great costumes

Did I mention that among the junk box supplies was a huge pile of tulle? Between that and the Hawaiian leis and some discarded Valentine’s Day garland, there were some truly inspired costuming creations this week.

Getting the headband just right

Popular choices were headbands, crowns, and other more elaborate headdresses, but we also had belts and what I can only describe as an improvised chest-plate made from what may once have been a woven straw trivet.

littleBits Korg kits (and coding in the background!)

I was pleased to see more interest in the littleBits kits this week, and since we were 3D printing, we had some kids ask to do Hour of Code or Build with Chrome. It’s always a little bit heartwarming to have kids asking you if they are allowed to practice computer coding.

3D design using Cookie Caster

The 3D printer was back and loaded with some gold-colored filament this week. We had some really intricate 3D creations printed this week using Cookie Caster (Kristin and I didn’t even know it was possible to make such detailed creations using that program)!

See you again next week, Makers!

Mitchell’s Budding 3D Designers

After last week’s successful debut of the 3D printer, we couldn’t wait to have the kids experiment with creating their own designs. We decided to try using CookieCaster.com, a website from MakerBot which allows you to draw an outline of an object using a line tool or upload and trace images, which the website automatically extrudes into 3D printed objects that are just like a cookie cutter!

Designing 3D prints using CookieCaster

We had a little bit of a hiccup getting the website to work initially, so not everyone ended up designing something today. But, we will definitely be bringing this back in future weeks so everyone can have a chance to design and 3D print an object.

3D printed house, designed using CookieCaster

It was great to see what the kids came up with. CookieCaster forced them to think very carefully about what they were going to make, since they could only use lines and had to make sure the lines connected to make an outline. Some kids said it was too hard at first – but they focused, perservered, and created some amazing stuff, like a heart, a panther, and a house.

Sweet Two-Story House Built with Roominate

This week we also finally had some girls who were able to figure out the electronic components of Roominate, which they added to the creation above. Check out a video demonstration on our Flickr!.

Hour of Code – Check out that focus!

And after an exhasting day of 3D printing, what’s a maker to do? Relax with some Hour of Code, of course.

Can’t wait to see what these kids come up with next!

3D Printer Debut at Mitchell

We had quite the menu of options this week at Mitchell!

Along with the regular offerings of Lego, Kinex, Tinker Toys, and the junk box, we also brought back the Dash robots, Roominate, the Design Studio game, and Snap Circuits as well.

Powering a fan with Snap Circuits.

And, for the fans of Snap Circuits, we also brought a few littleBits kits this week. These kits include modules that snap together and allow kids (and adults!) to build a variety of projects as they learn about inputs, outputs, and circuits.

Trying out the littleBits Space Kit.

However, the most exciting activity this week was the debut of the 3D printer!

3D Printing the Michigan “M.”

Kristin and I have seen the 3D printer operate a fair number of times, but watching the kids become entranced by the printing reminded us of how cool this technology really is to watch. Some kids spent the whole day today just watching the printer chug along!

Lego Nyan cat meets junk box UFO.

We are really looking forward to future weeks, and hoping we can give everyone the opportunity to create something of their own using the 3D printer.


THE 3D PRINTER ARRIVES!

This week, our menu included making marble runs, using Pixlr (an online tool for photo editing), sewing, and writing a choose-your-own-adventure story. Perhaps the most exciting event that happened, though, was the arrival of the 3D printer!

PictureHooray!

To print something on the 3D printer, a student needs to design it in 3D modeling software like SketchUp or Tinkercad. Files that are ready to print can also be downloaded from Thingiverse, like the robots above. When the file is ready, we connect the printer to a computer and run makerware, which allows us to tell the printer what size, where, and in what direction the thing will print.

We’ve had a couple classes with 3D modeling so far, but SketchUp has been frustrating for quite a few students. Now that we understand how we can use SketchUp for printing objects, it might be easier to understand.

PictureKevin worked with SketchUp last week to 3D model the logo for his basketball club. This week he got to print it!

So that everyone could get a chance to 3D print something, each student got to choose to print either a wrench charm or a pair of scissors charm. We were fascinated watching the printer and very excited about what we can make in future classes. Even teachers and parents came in to watch and get excited. We also learned that the 3D printer takes a long time to make things, and only half of the class got to print their charms. Next week we’ll finish printing those and start learning how to make new designs.
Images © 2015 Regents of the University of Michigan. Text available under Creative Commons Attribution-NonCommercial-ShareAlike license unless otherwise stated. This project was made possible in part by the Institute of​ ​Museum and Library Services RE-05-15-0021-15.