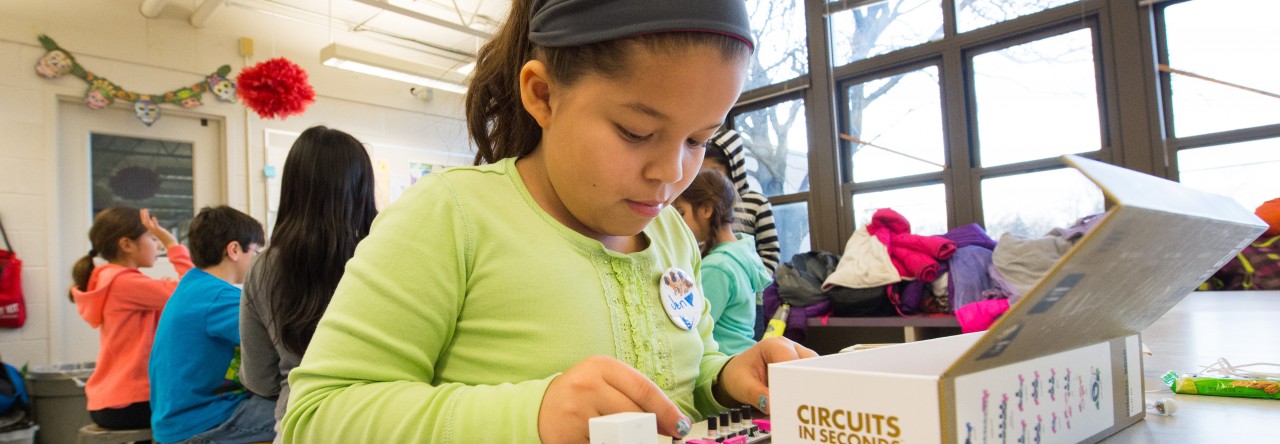
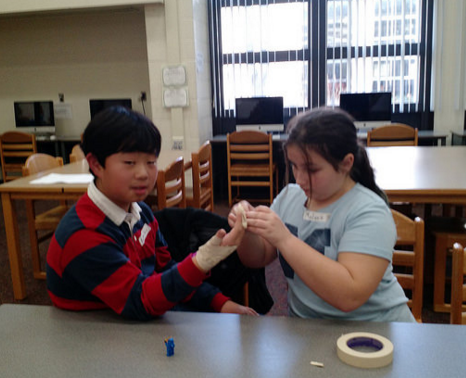
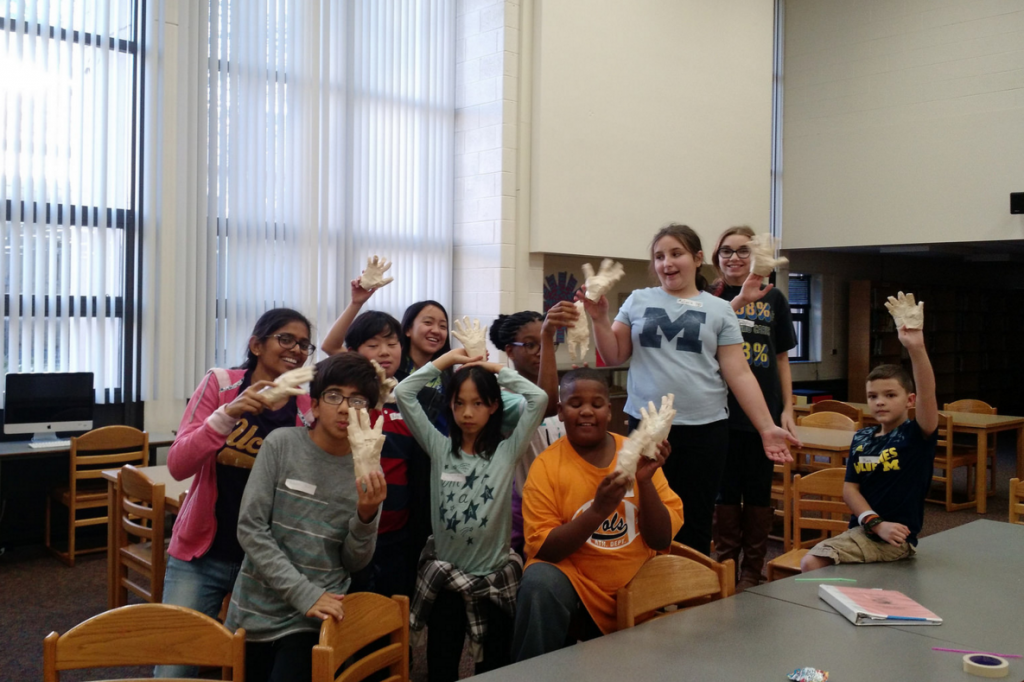
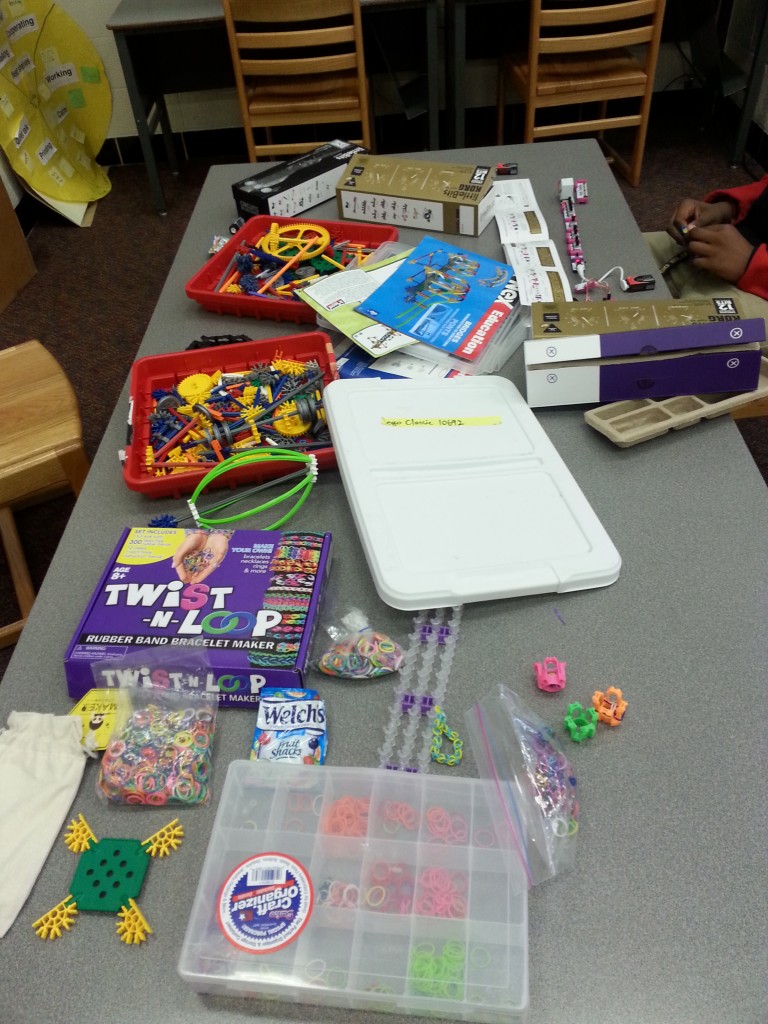
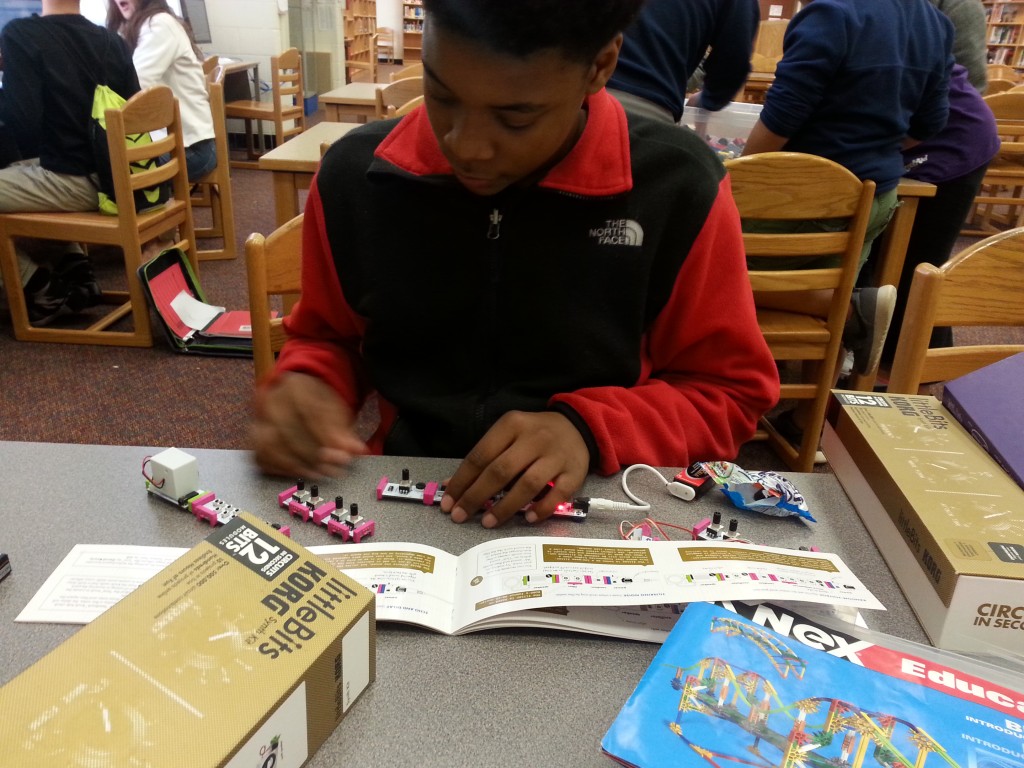
How did an entire school year just fly by? Because a majority of the Mentors will be graduating in a few short weeks, this week marked the last Michigan Makers session until we return in the fall! We had a full range of STEAM activities for our students to dive into: resistance dying, LittleBits, Rainbow Looms, Legos, and TechBox Tricks. There’s something for everyone!
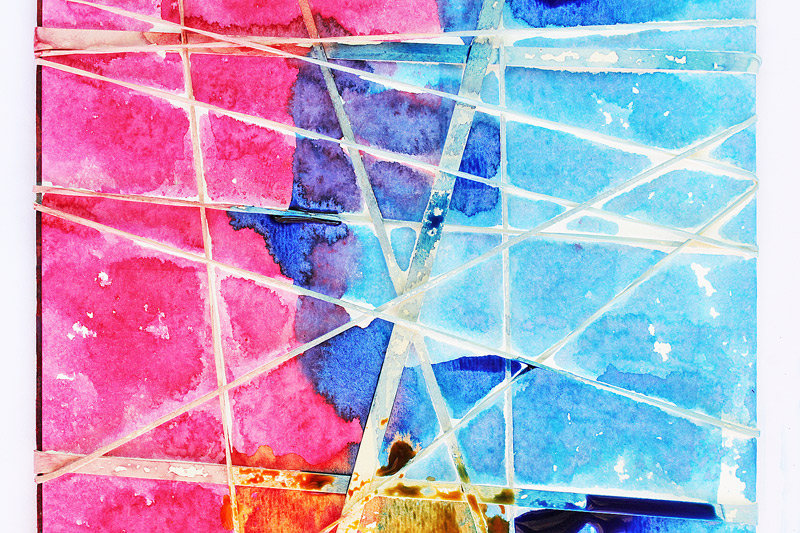
I was inspired by this simple yet cool idea for using rubber bands, paper, and cardboard (which we had lying around and went unused by our students for some time): https://babbledabbledo.com/easy-art-projects-for-kids-rubber-band-art/
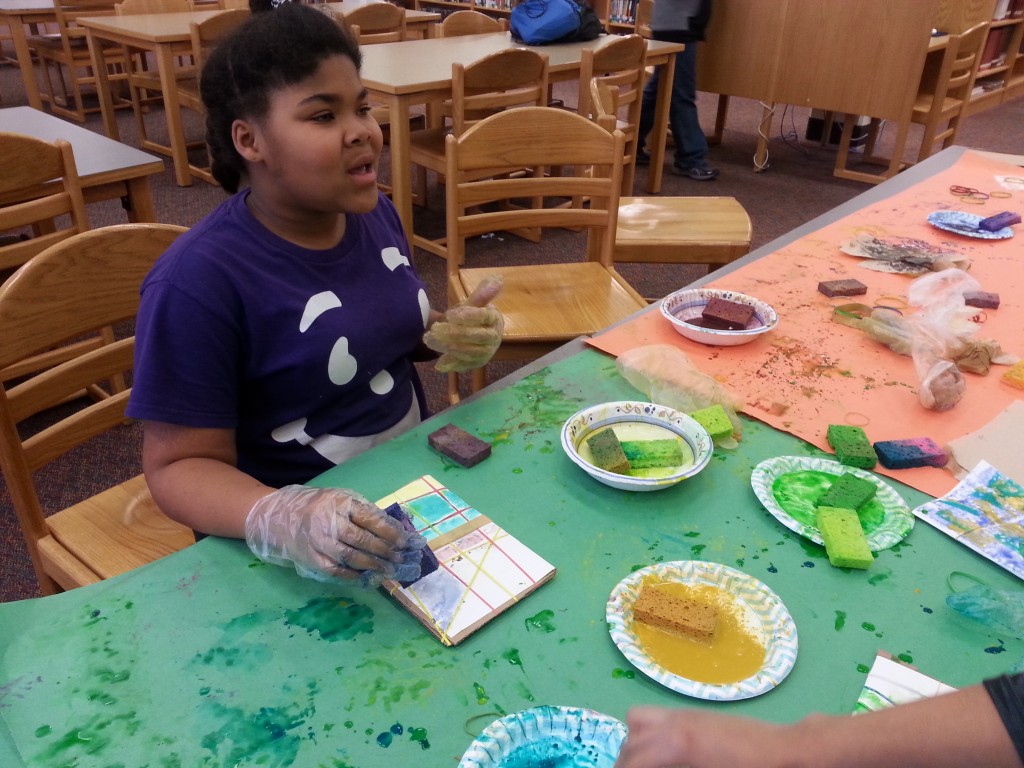
Can you believe that with a little bit of water color, you can make that? We brought this idea to our students, and they all went for it! You could hear a lot of, “Hey, how did you do that?” and, “How did you make that effect?” going around among students. Our Makers were more than happy to share with their peers how they made a certain effect and to share tips on how to make the rubber band lines more distinct (TIP: Gently dab the water color onto the paper, no wiping!).
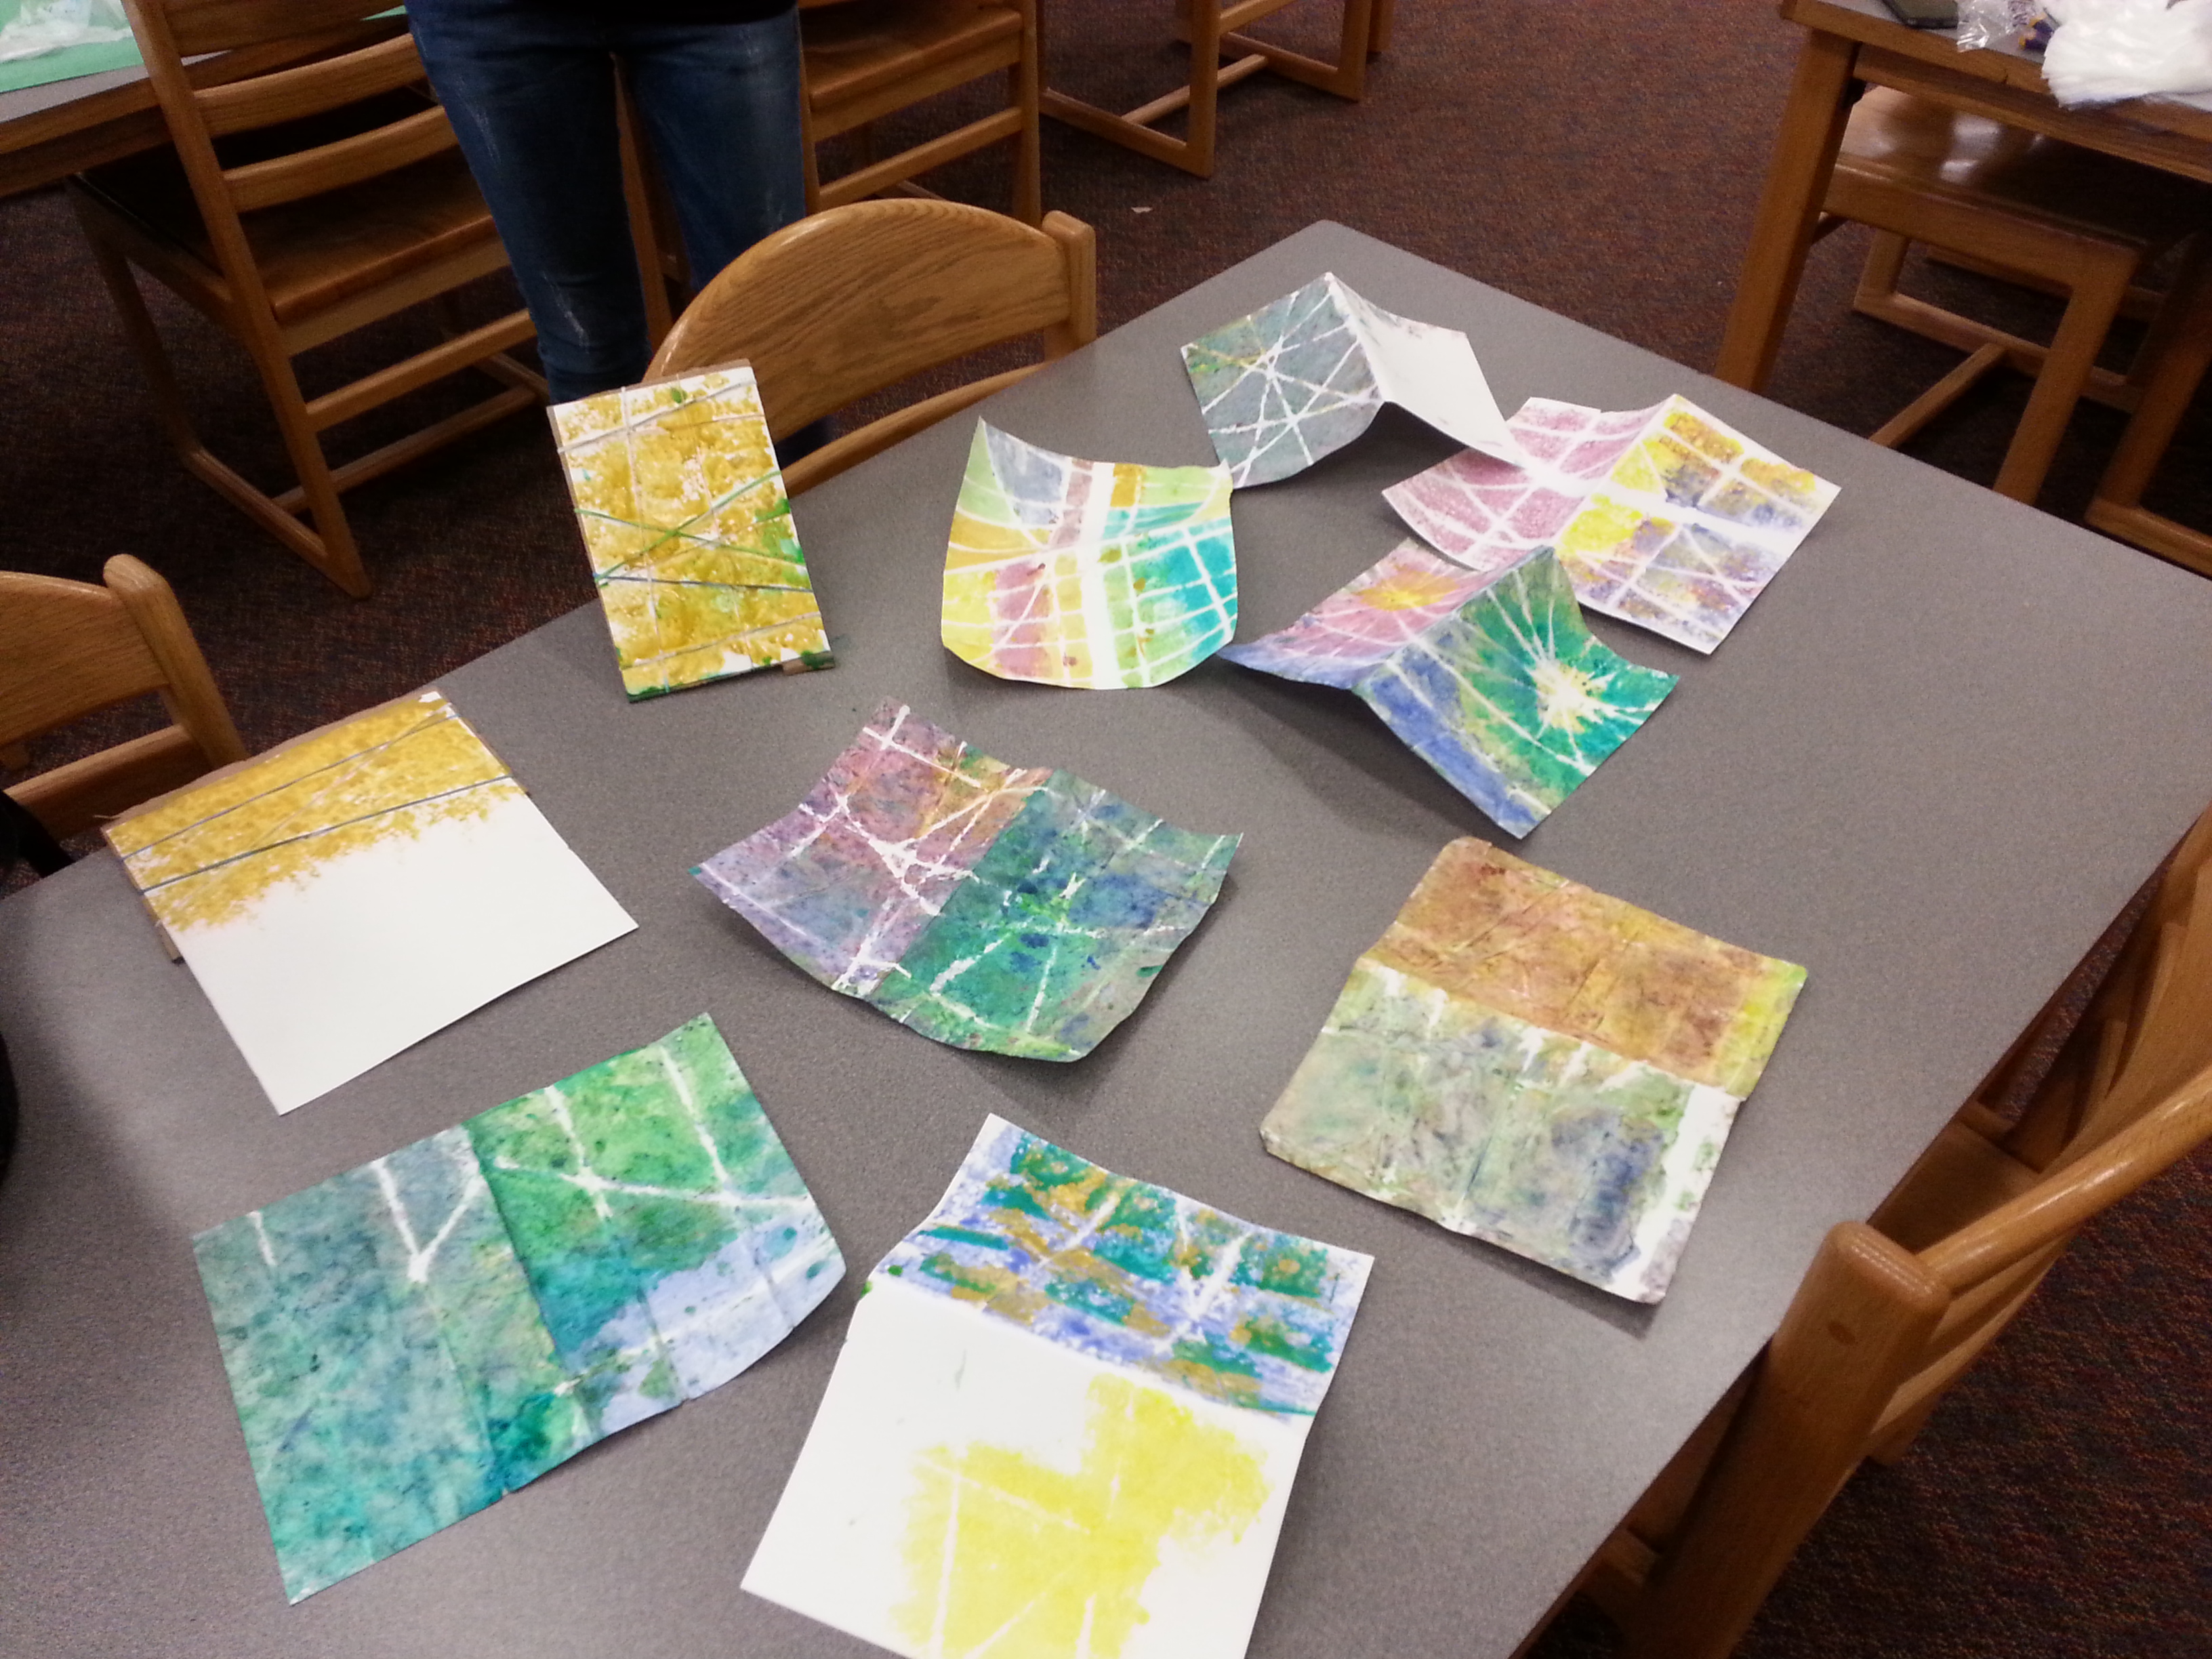
One of our students admitted that she’s terrible at art and was convinced that whatever she makes is going to look bad (thus deciding not to try). We reassured her that if she didn’t like what she made, that’s OK! We encouraged her to try anyways and let her know that all the Makers were there to experiment and ask/offer help to each other when we needed it. One of her friends made a design that she liked, and after asking her friend how she could get her paper to like her friend’s, she engaged more with the activity and stuck it out to the end, making her own custom design.
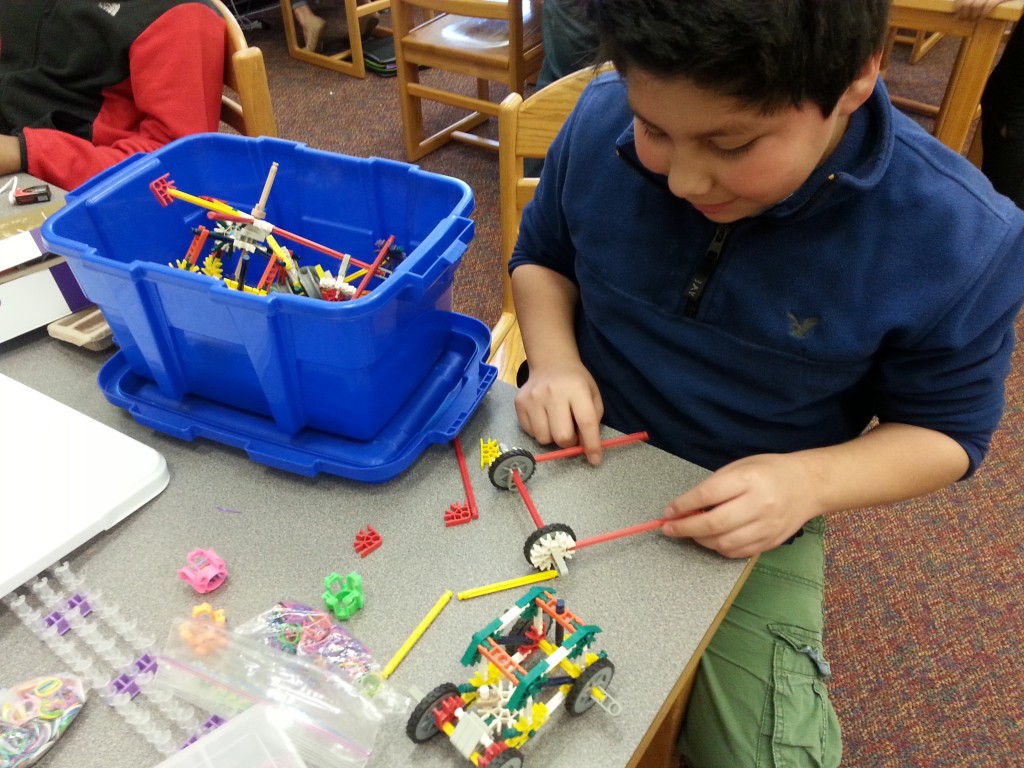
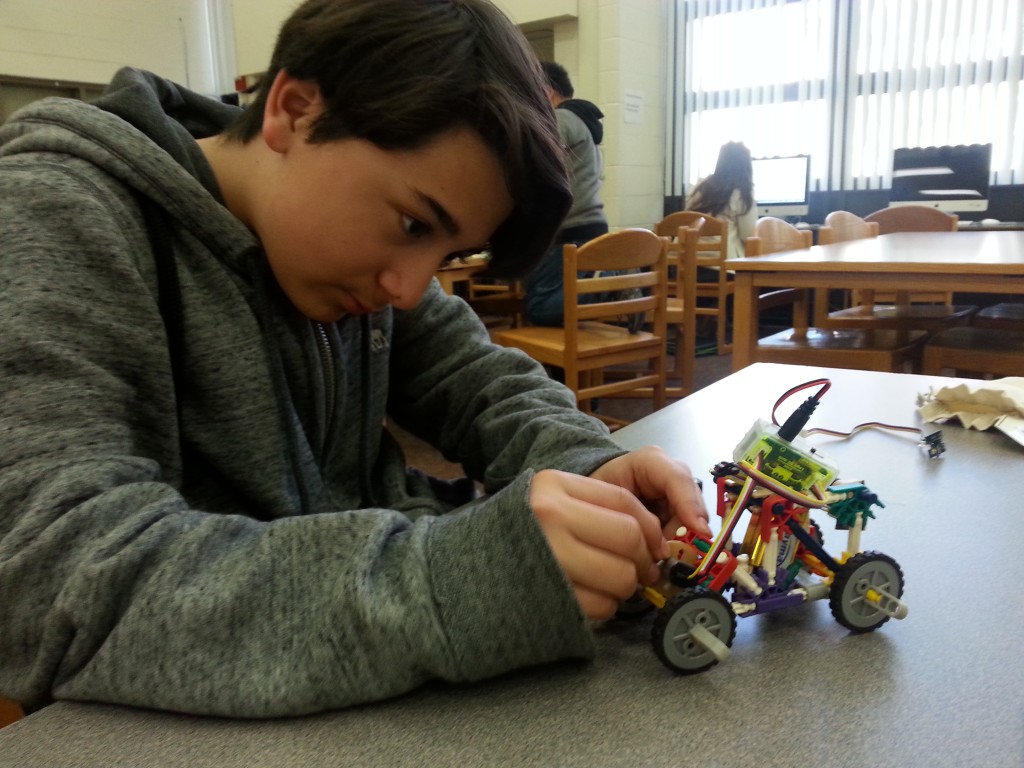
Legos have been a hit with our savvy Makers, and this week was no exception! Students dove into the bin, building airplanes, landscapes, houses, and cars.
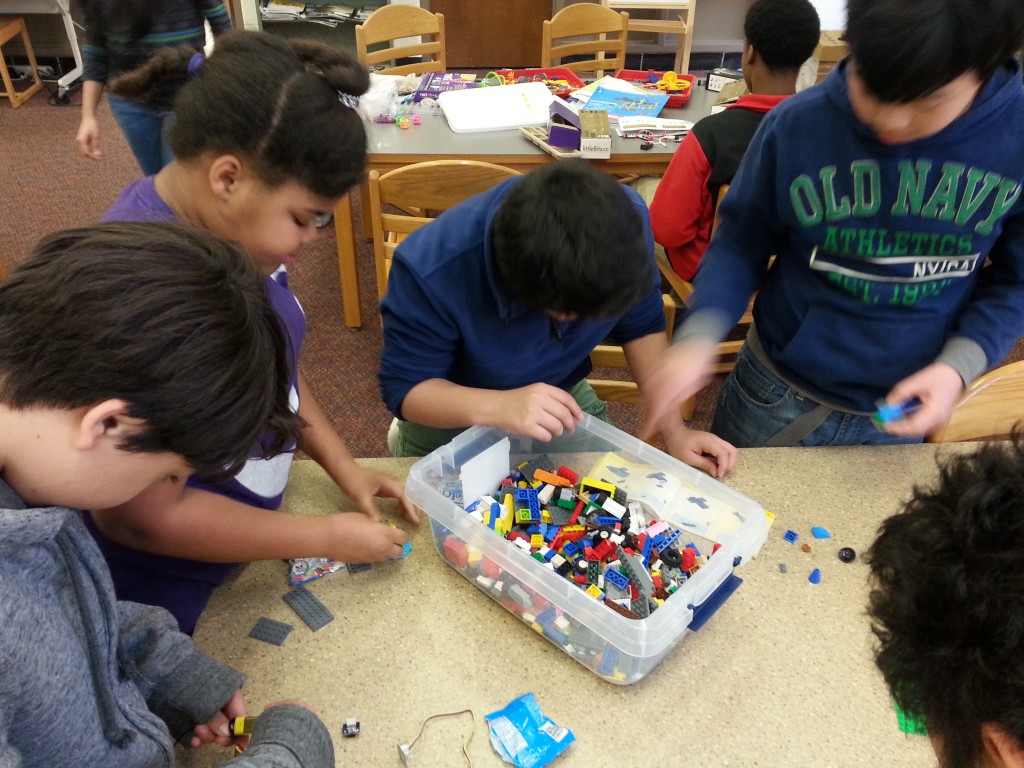
We had sets of TechBox Tricks out and tipped them off on how a simple circuit from the Techbox Tricks could power up and bring their Lego cars to life. You should see how hard they worked: Tinkering away, they were tried balancing battery packs in the vehicles and positioning a small motor to spin a car’s axles. Other vehicles ran on potential energy stored in a wound-up rubber band strung across the axles! Watch out, world. We’ve got some problem-solving, super motivated engineers coming your way in a few years!
It’s been a great year with these Makers. Every week, we’re impressed with how these students put their heads together and commit to making something. We’re proud of all the hard work they’ve put in this year and hope they continue to be Makers in the future!

