Category: Scarlett (Page 1 of 2)

MM@Scarlett 3/27/2017

We had a lower turnout this week, but definitely heightened fun!

IMG_20170327_163234399

We introduced a more complex challenge that involved several steps. First the students had to identify a challenge they had in regards to buildings, houses, or rooms that they frequented. Then they had to imagine a solution. The final step of the initial process was to draw — or paper prototype — their initial solution on a piece of paper.

Then we gave each student some of the abundant cardboard we had collected from around town and the university. We had some pretty big pieces! The students took time building their designs, with Alyssa and Ben providing cutting assistance with exacto knives.

IMG_20170327_160558098 IMG_20170327_160613063 IMG_20170327_160644555  IMG_20170327_160535271

Some were lured in by the bigness of the boxes, while others took the natural shapes of cut-apart boxes to add to their designs. We were especially happy to see a mini-prototype and a full-size prototype of a seatbelt for a rocketship! That maker also pointed out that these materials were better, freer, and allowed for more imagination than the previous week’s toys did.

IMG_20170327_160509775

Again, students started collaborating once they were done with their individual projects.

Another challenge, another successful maker time! Check out the rest of the pictures at this Flickr album.

-Ben

MM@Scarlett 3/20/2017

IMG_20170320_145709312

Michigan Maker’s triumphant return to Scarlett included a tried and true activity of Toy Takeapart.

We had a great turnout and spent some initial time getting to know each other and hearing what everyone liked to make.

Ben challenged the students to take apart an old toy from Goodwill and make something related to transportation. A lot of grit was needed to get all those screws out of the plastic toys — but, boy, did we find some interesting stuff underneath! Some students stuck to adding things to within existing toys, but others were able to create some transportation-related, completely new tools.

IMG_20170320_160006273

One student takes out a controller for an old electronic toy and turns it into a kind of steering wheel!

IMG_20170320_160011887

Two students collaborate on disassembling an alphabet toy.

Good work, makers! Check out more pictures at this Flickr album.

-Ben

Last Makers Session of the Year at Scarlett! :'(

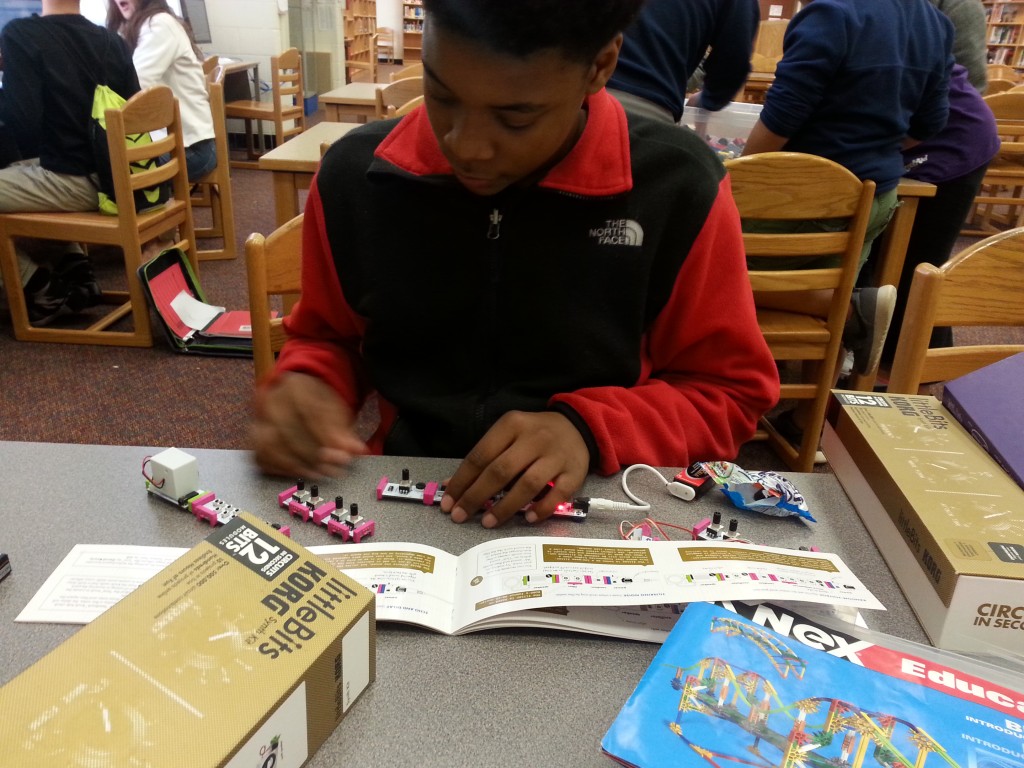
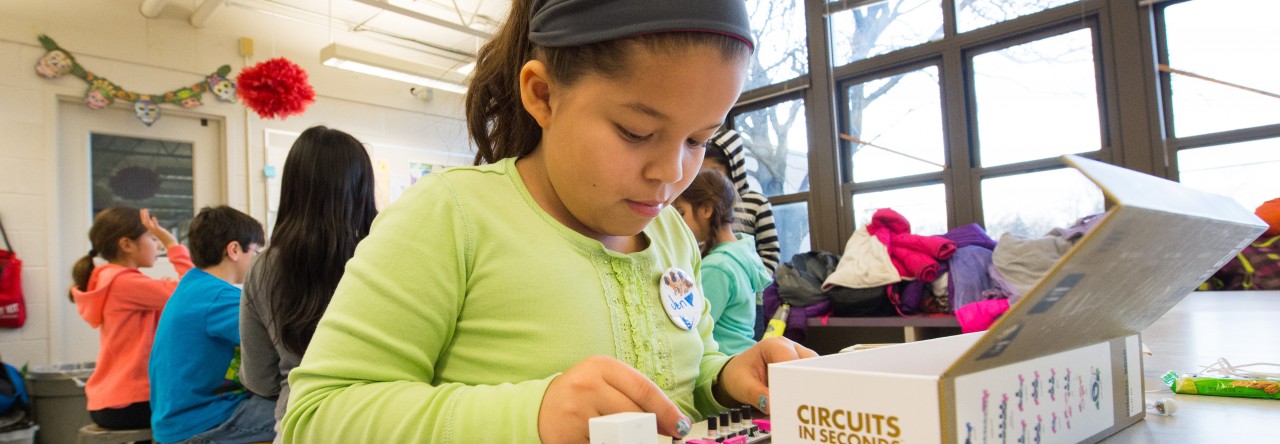
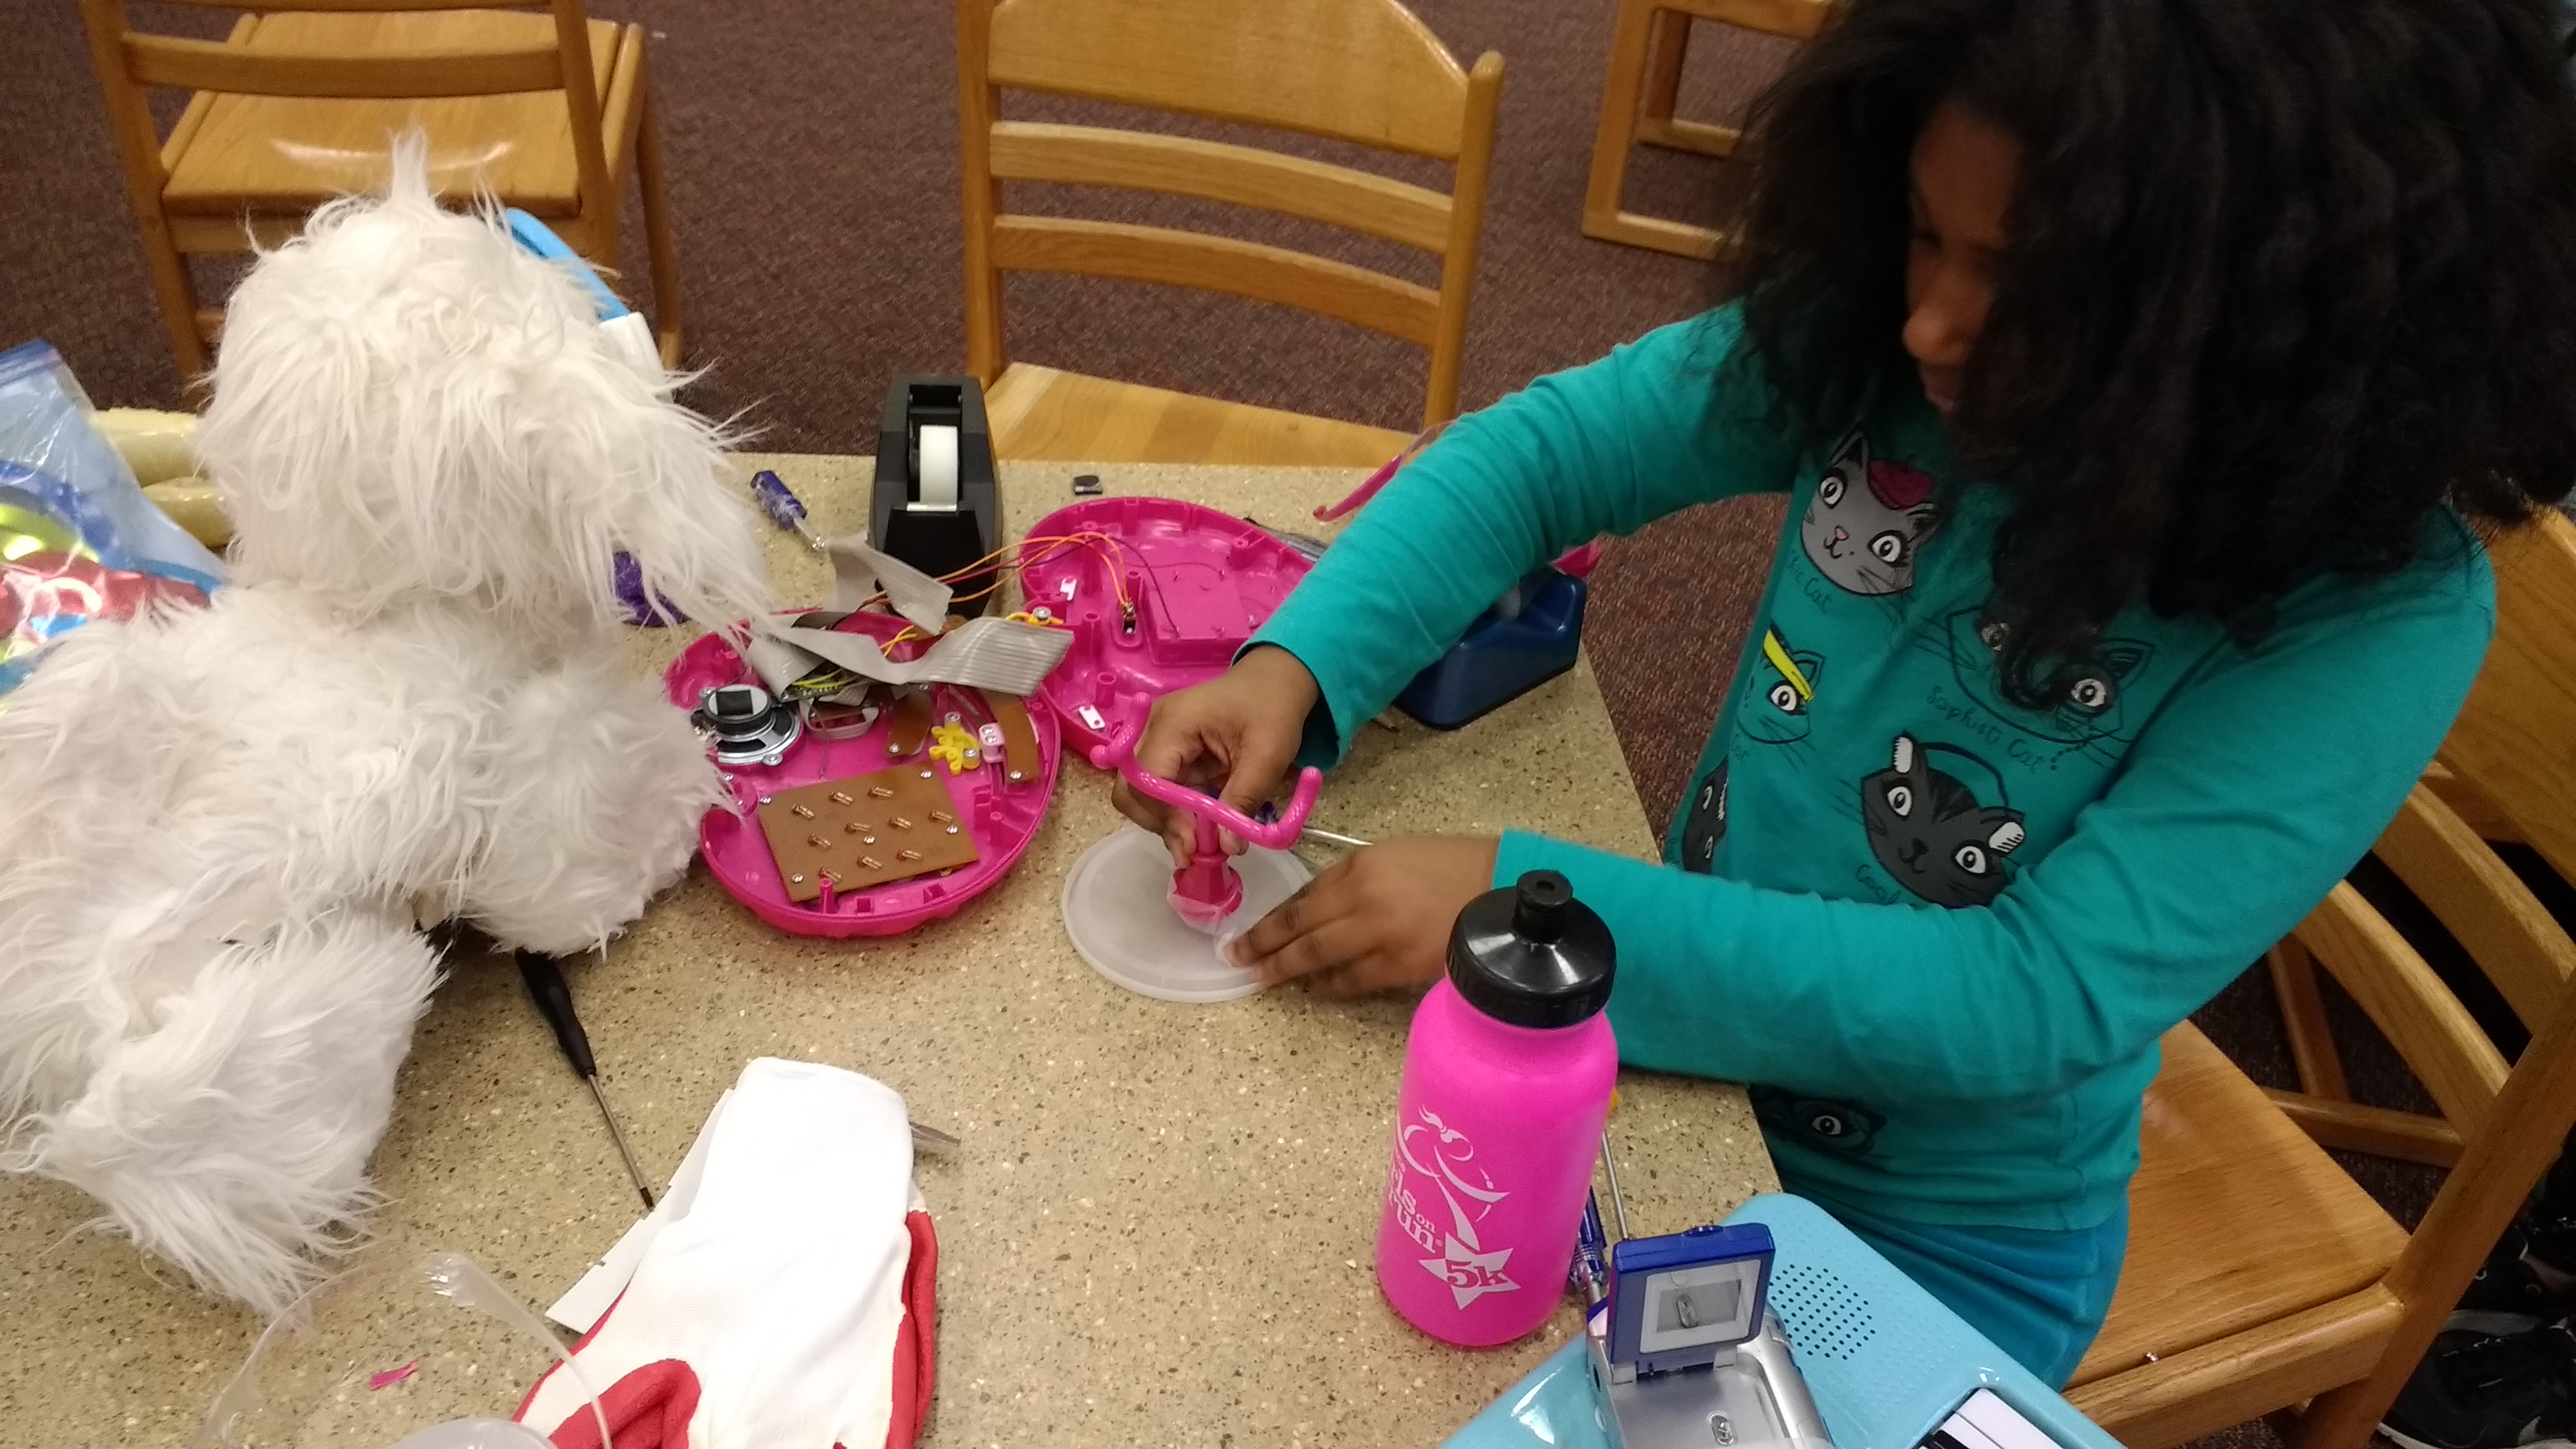
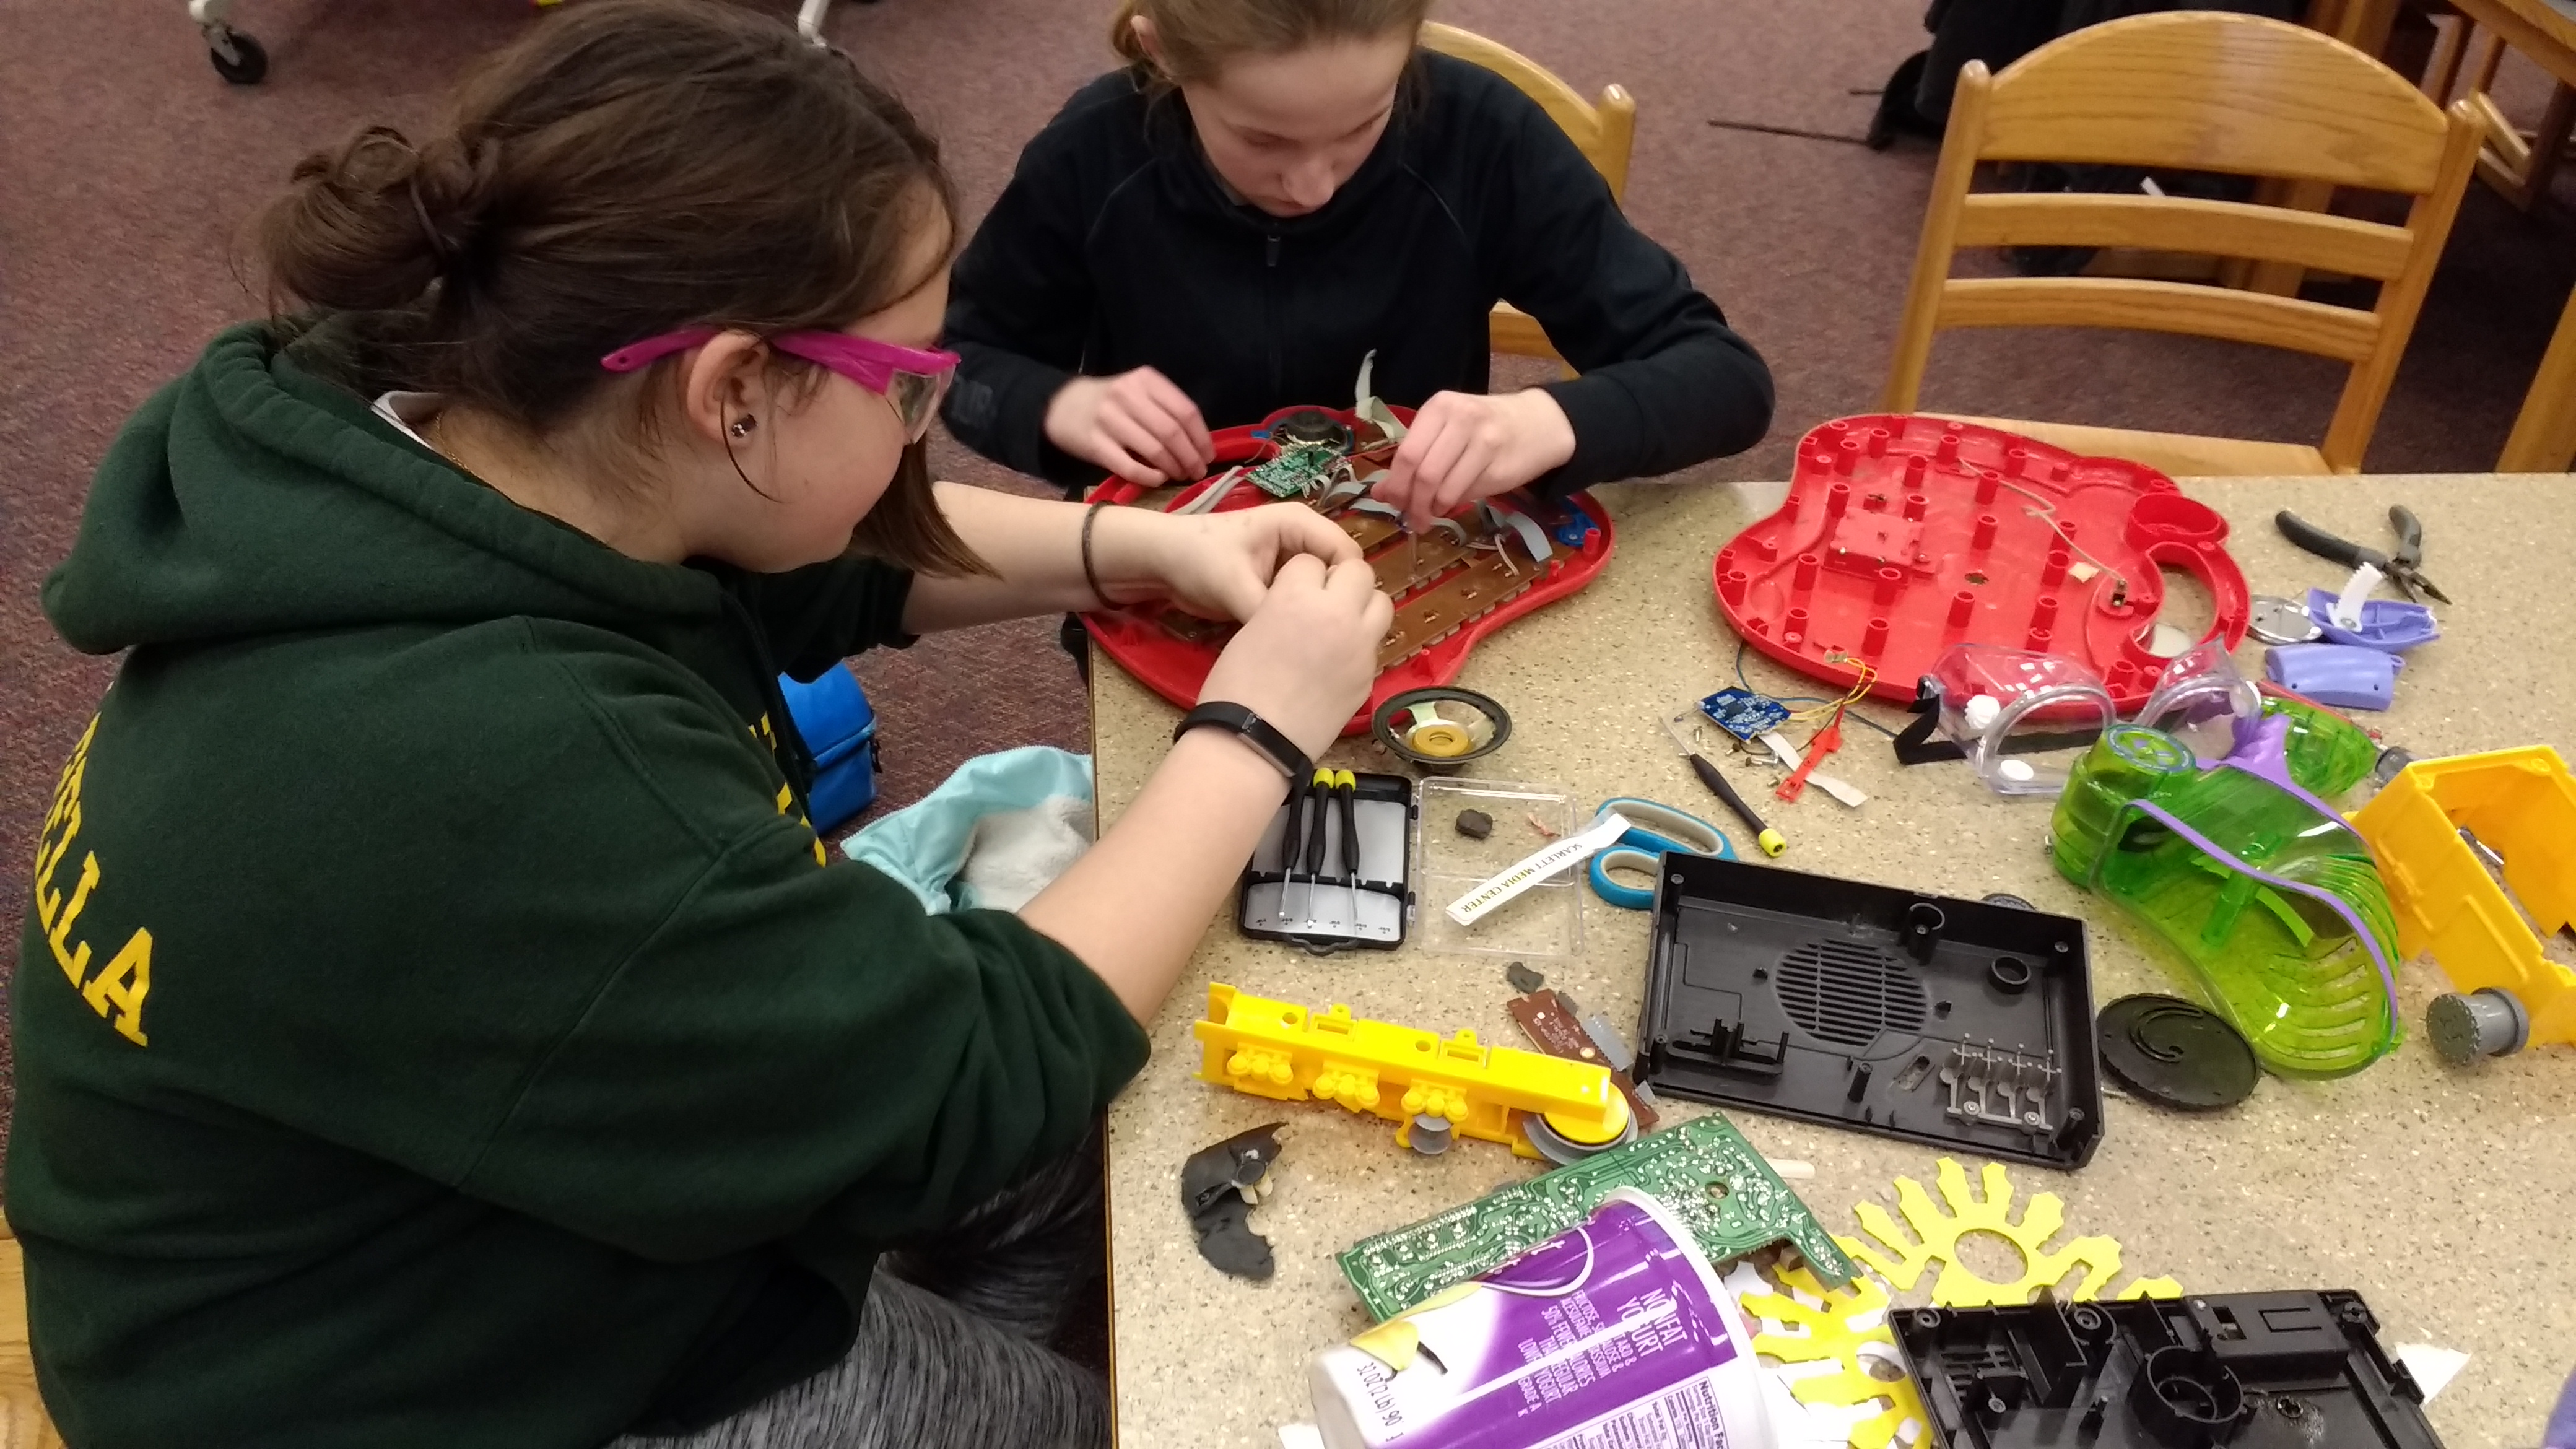
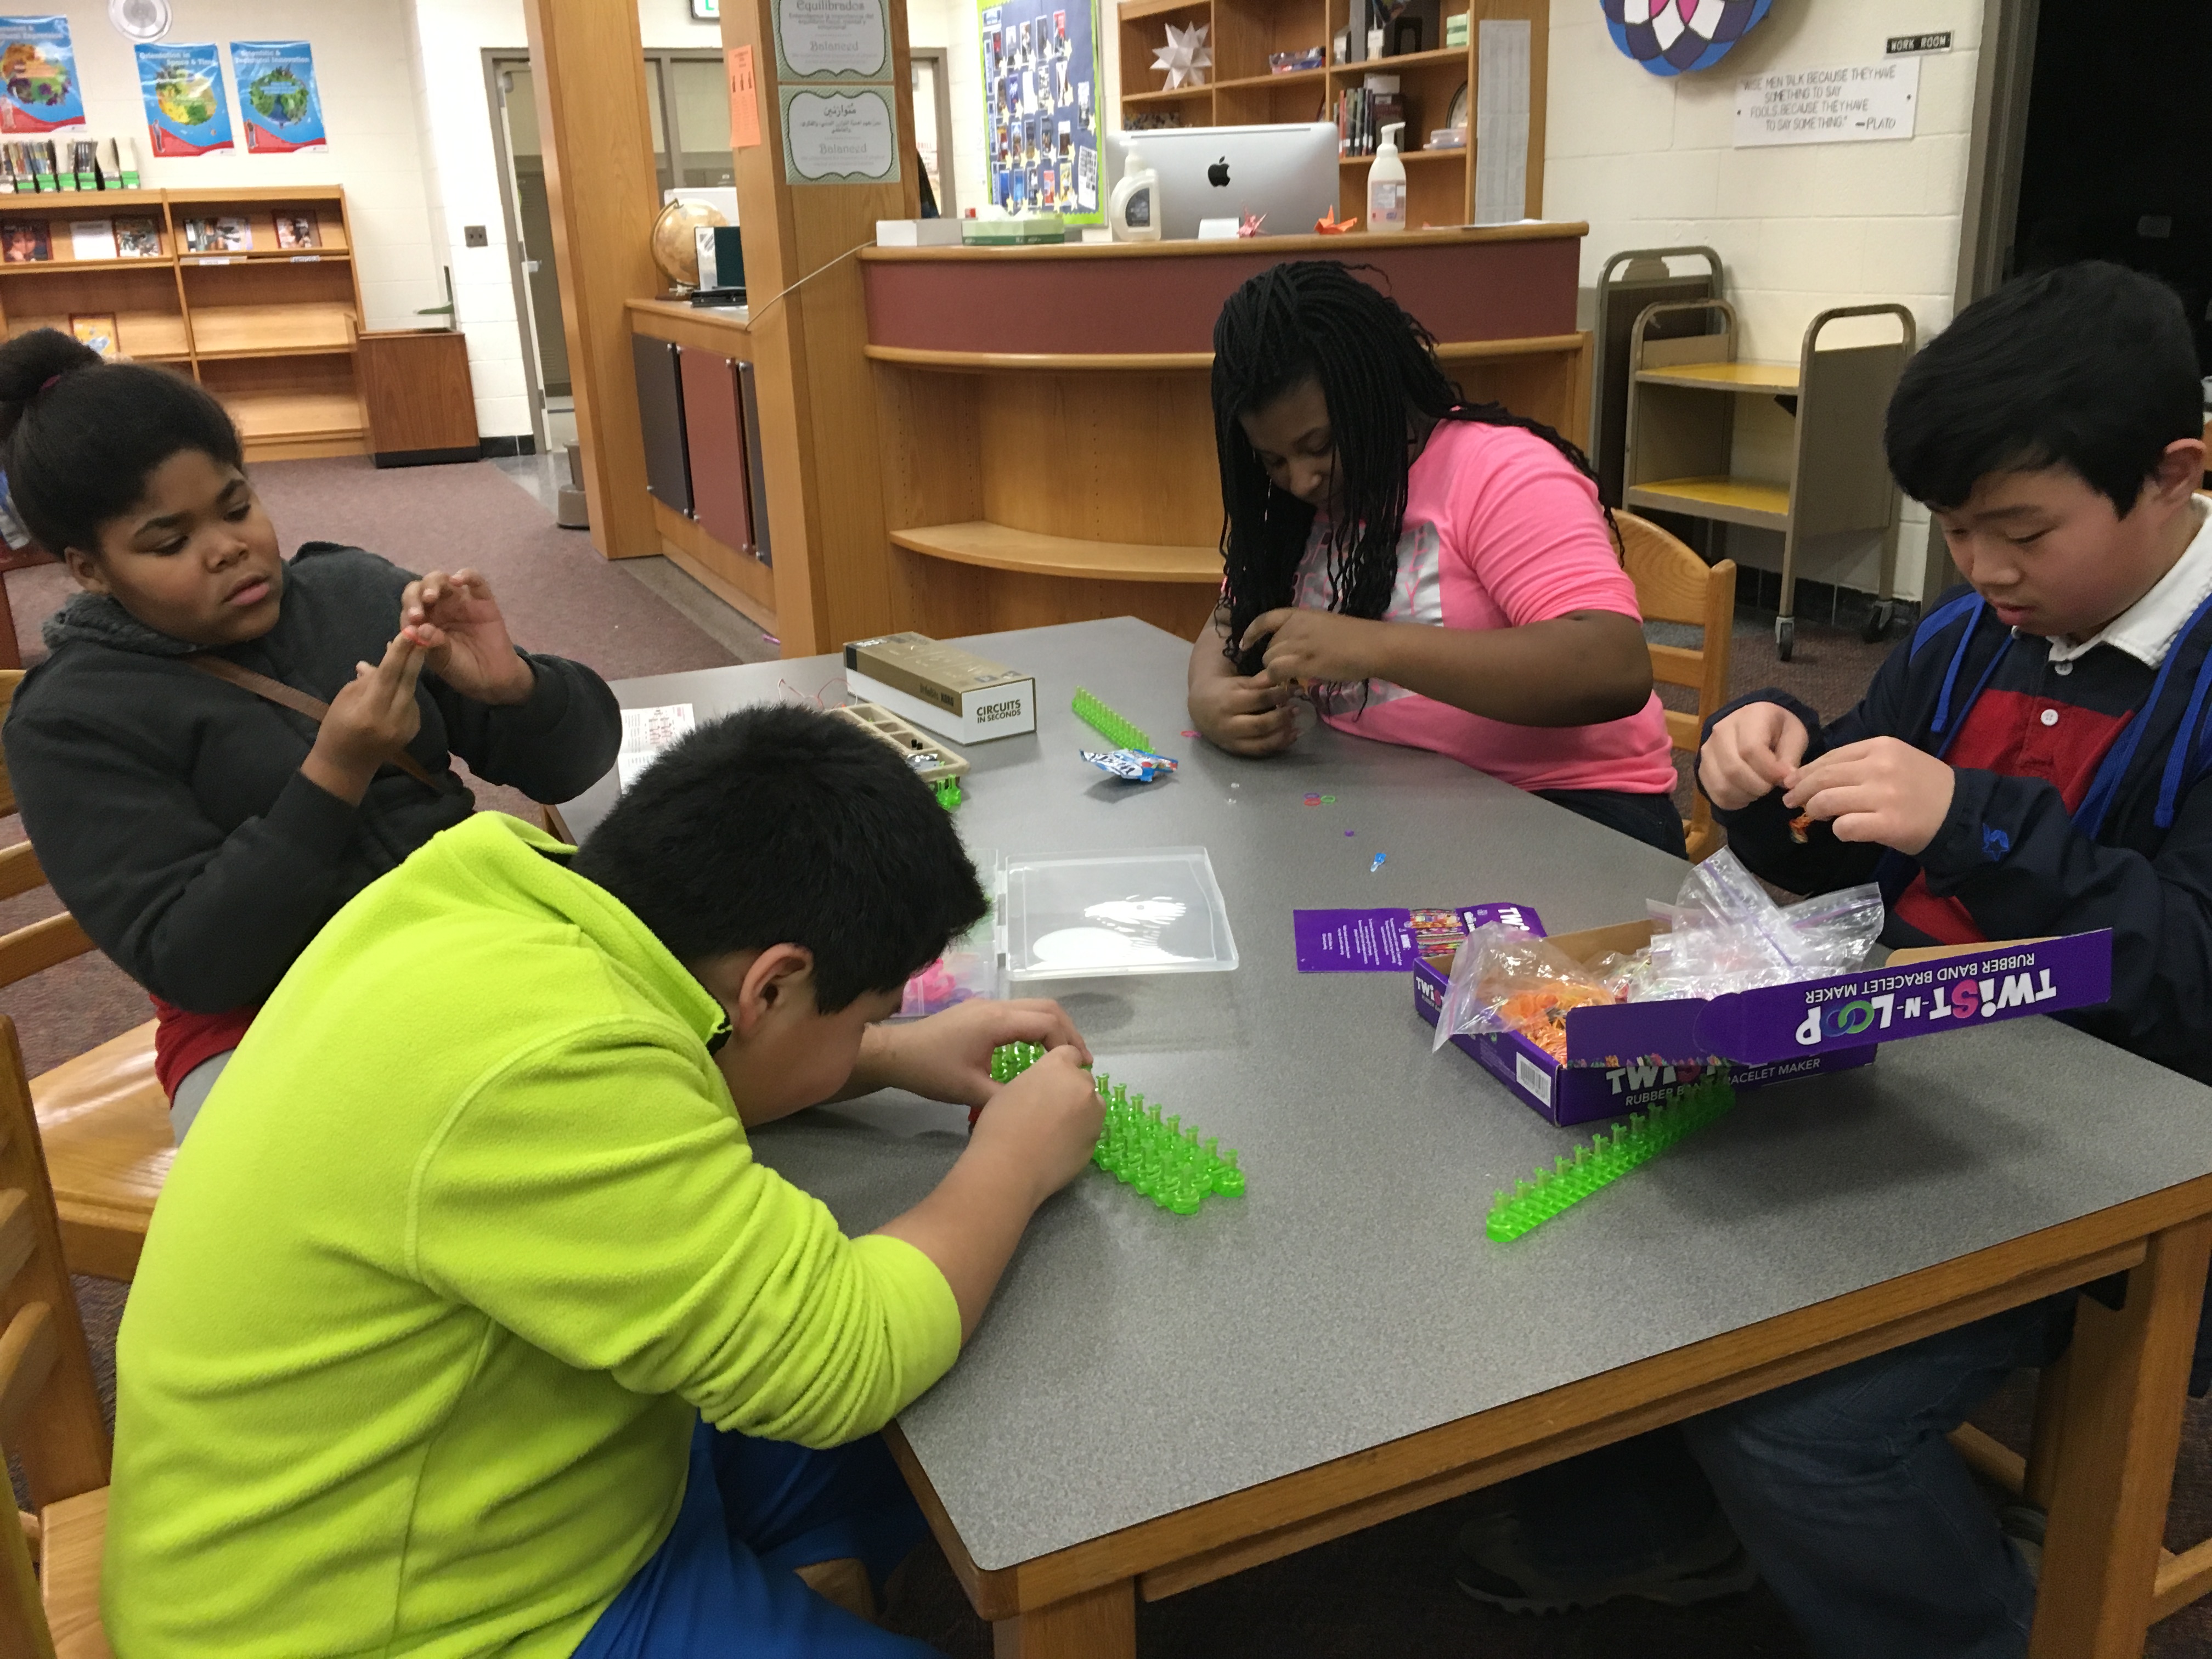
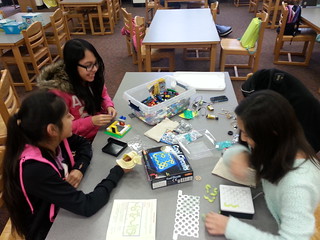
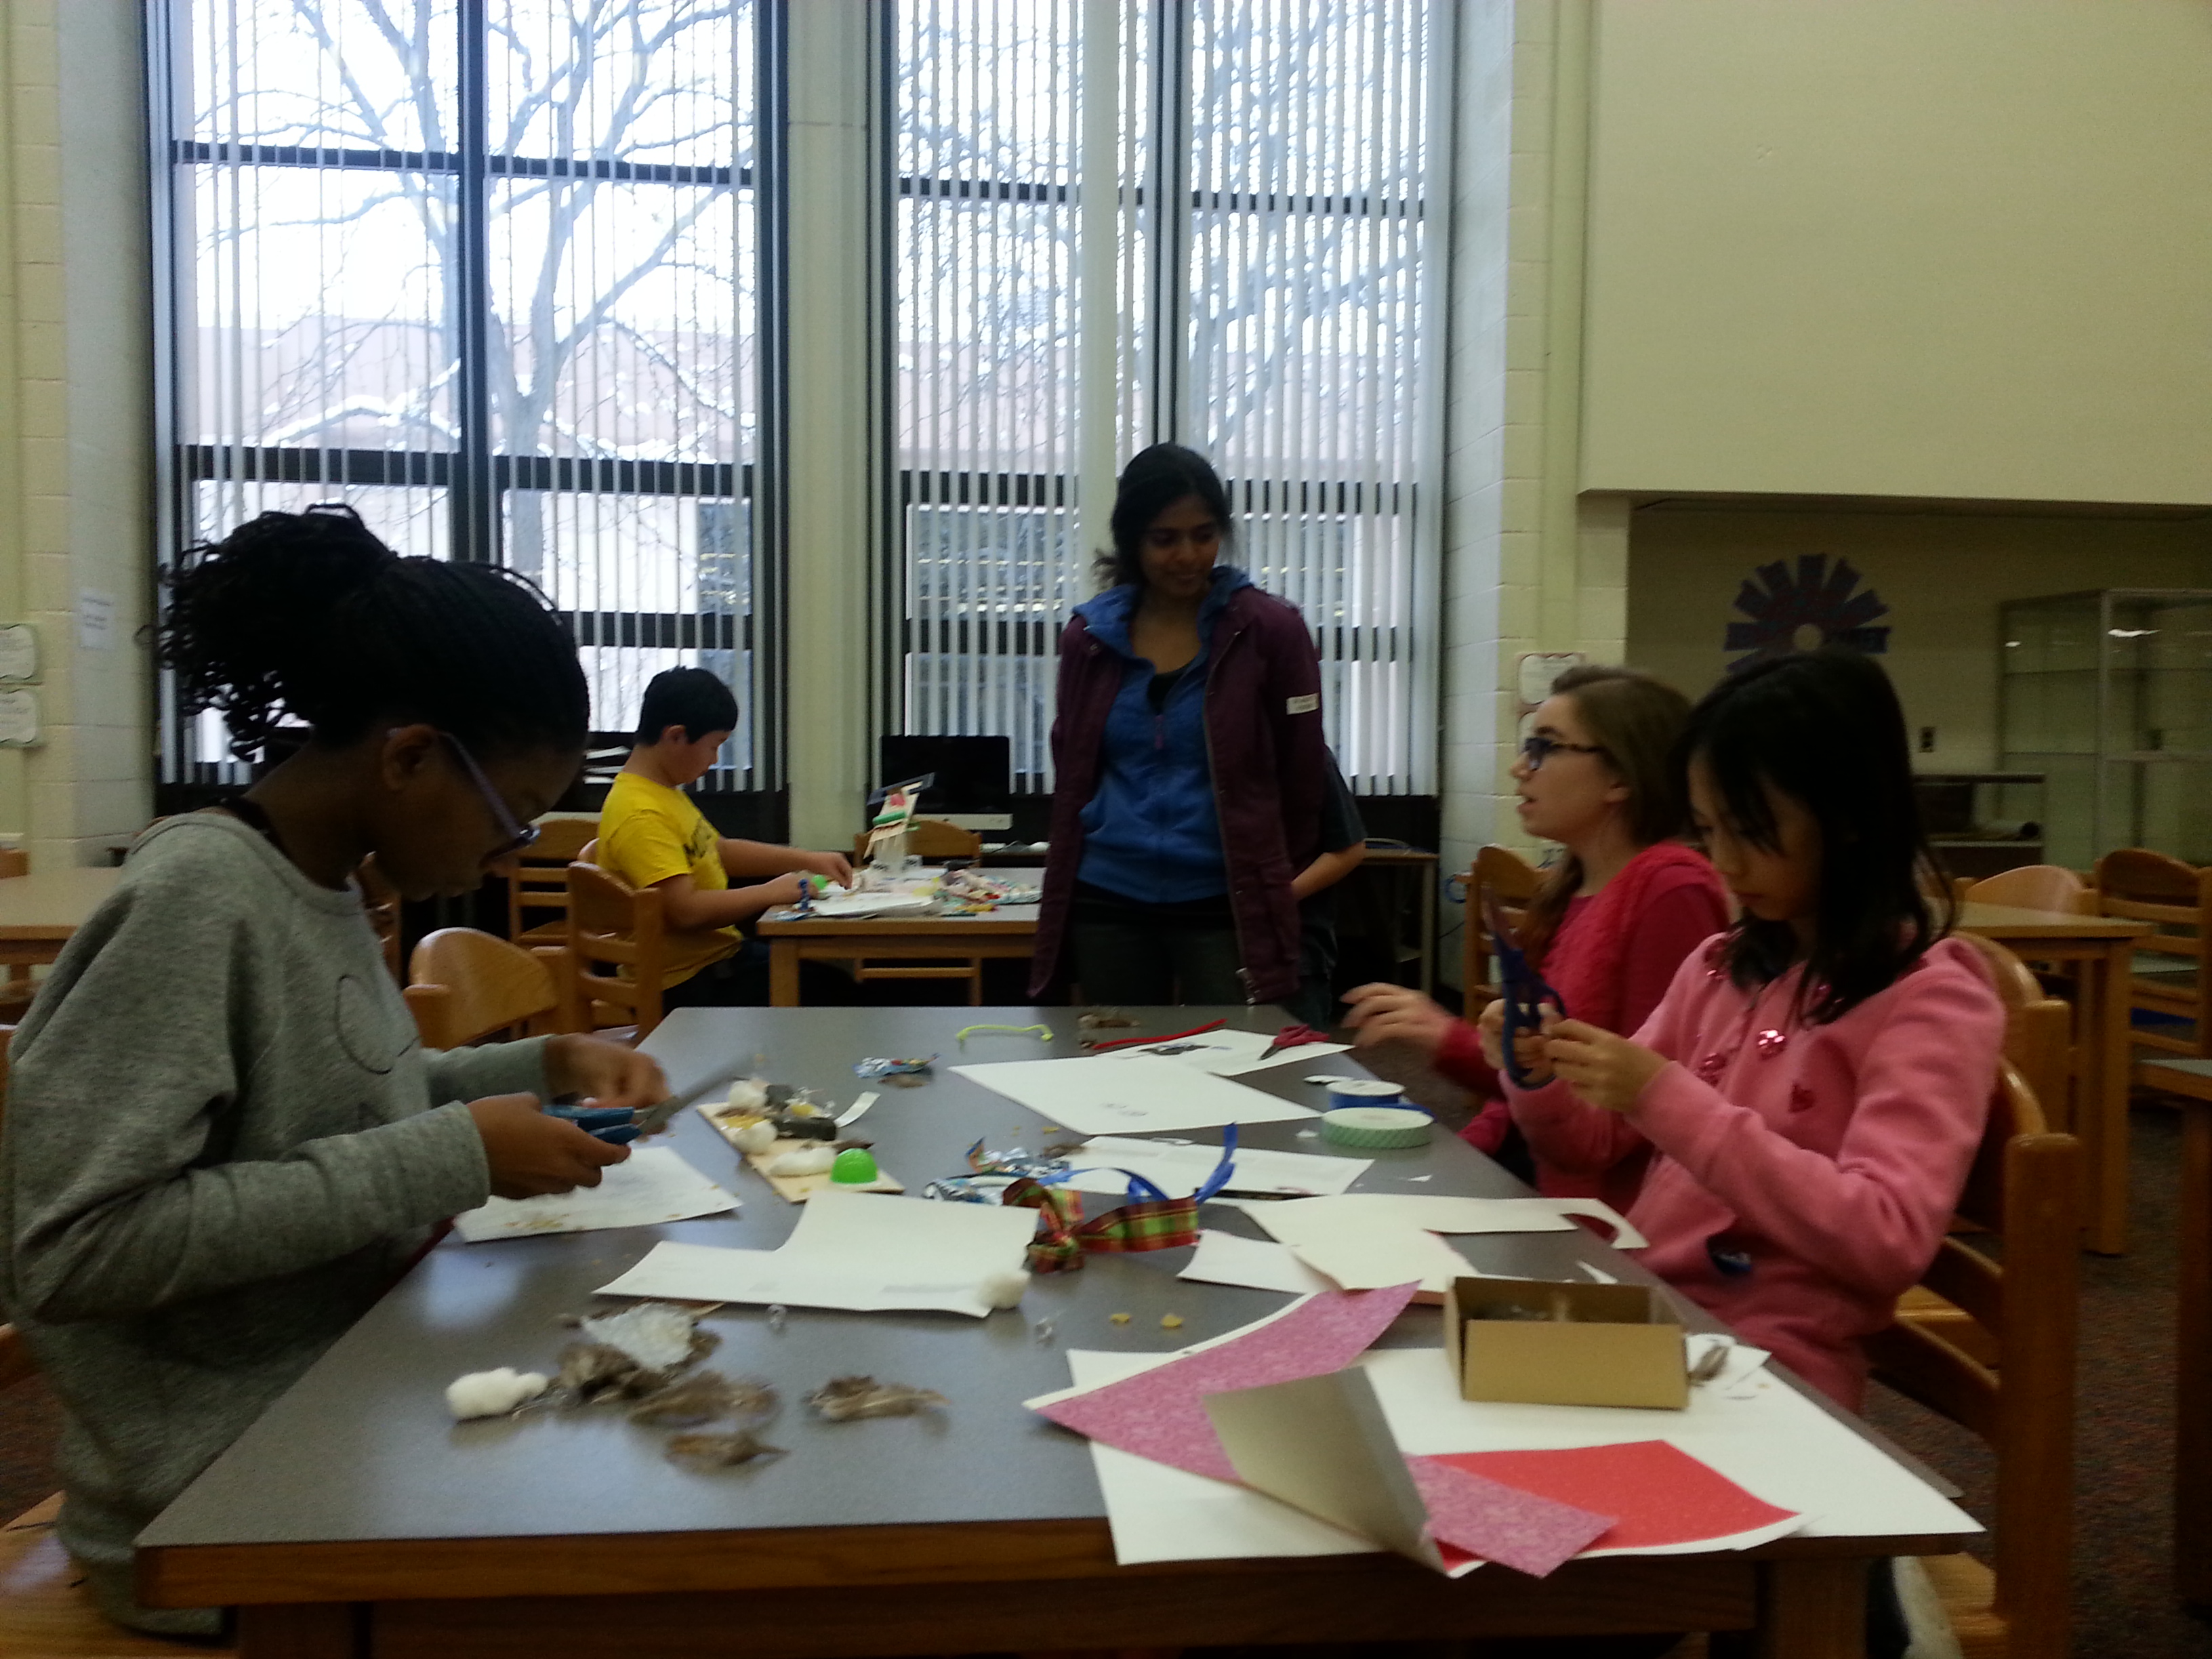
How did an entire school year just fly by? Because a majority of the Mentors will be graduating in a few short weeks, this week marked the last Michigan Makers session until we return in the fall! We had a full range of STEAM activities for our students to dive into: resistance dying, LittleBits, Rainbow Looms, Legos, and TechBox Tricks. There’s something for everyone!

20160414_155909


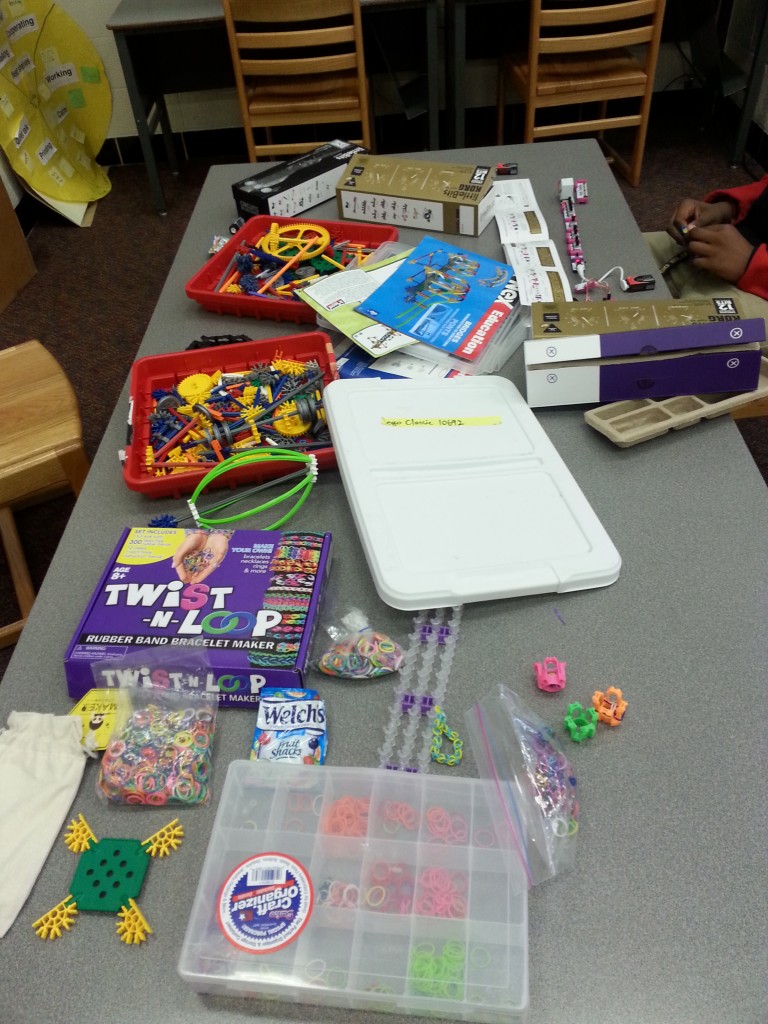
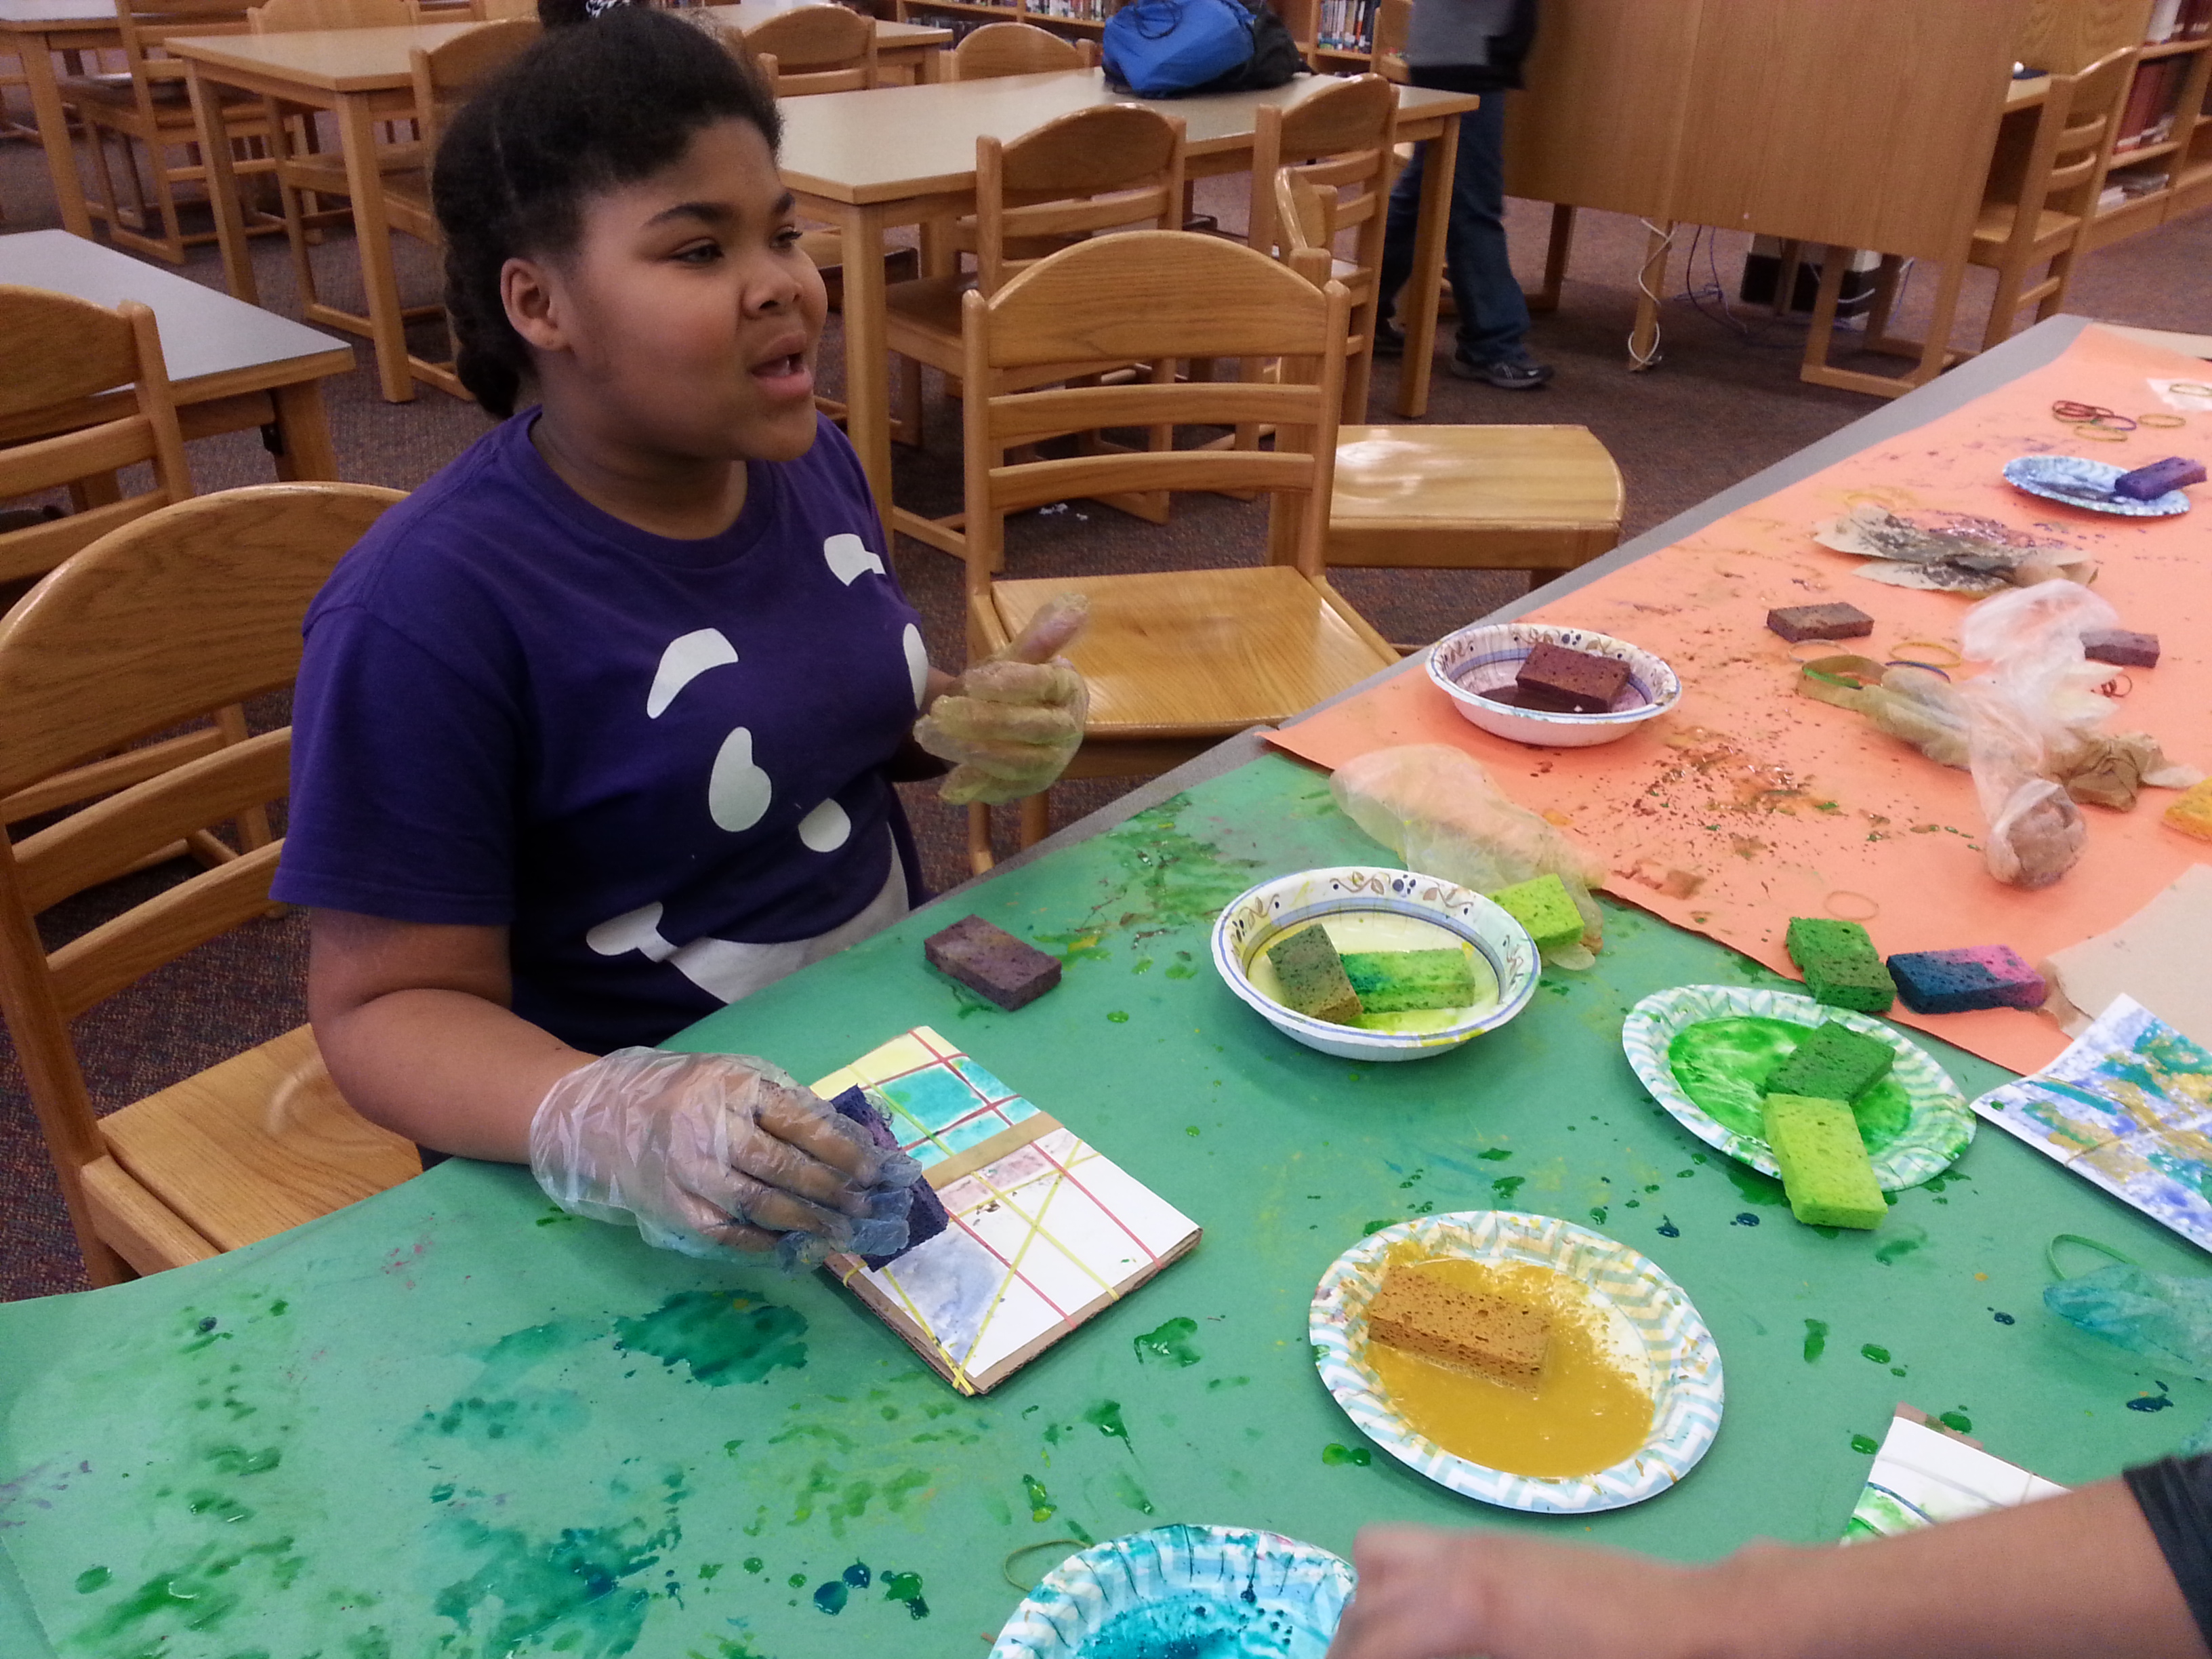
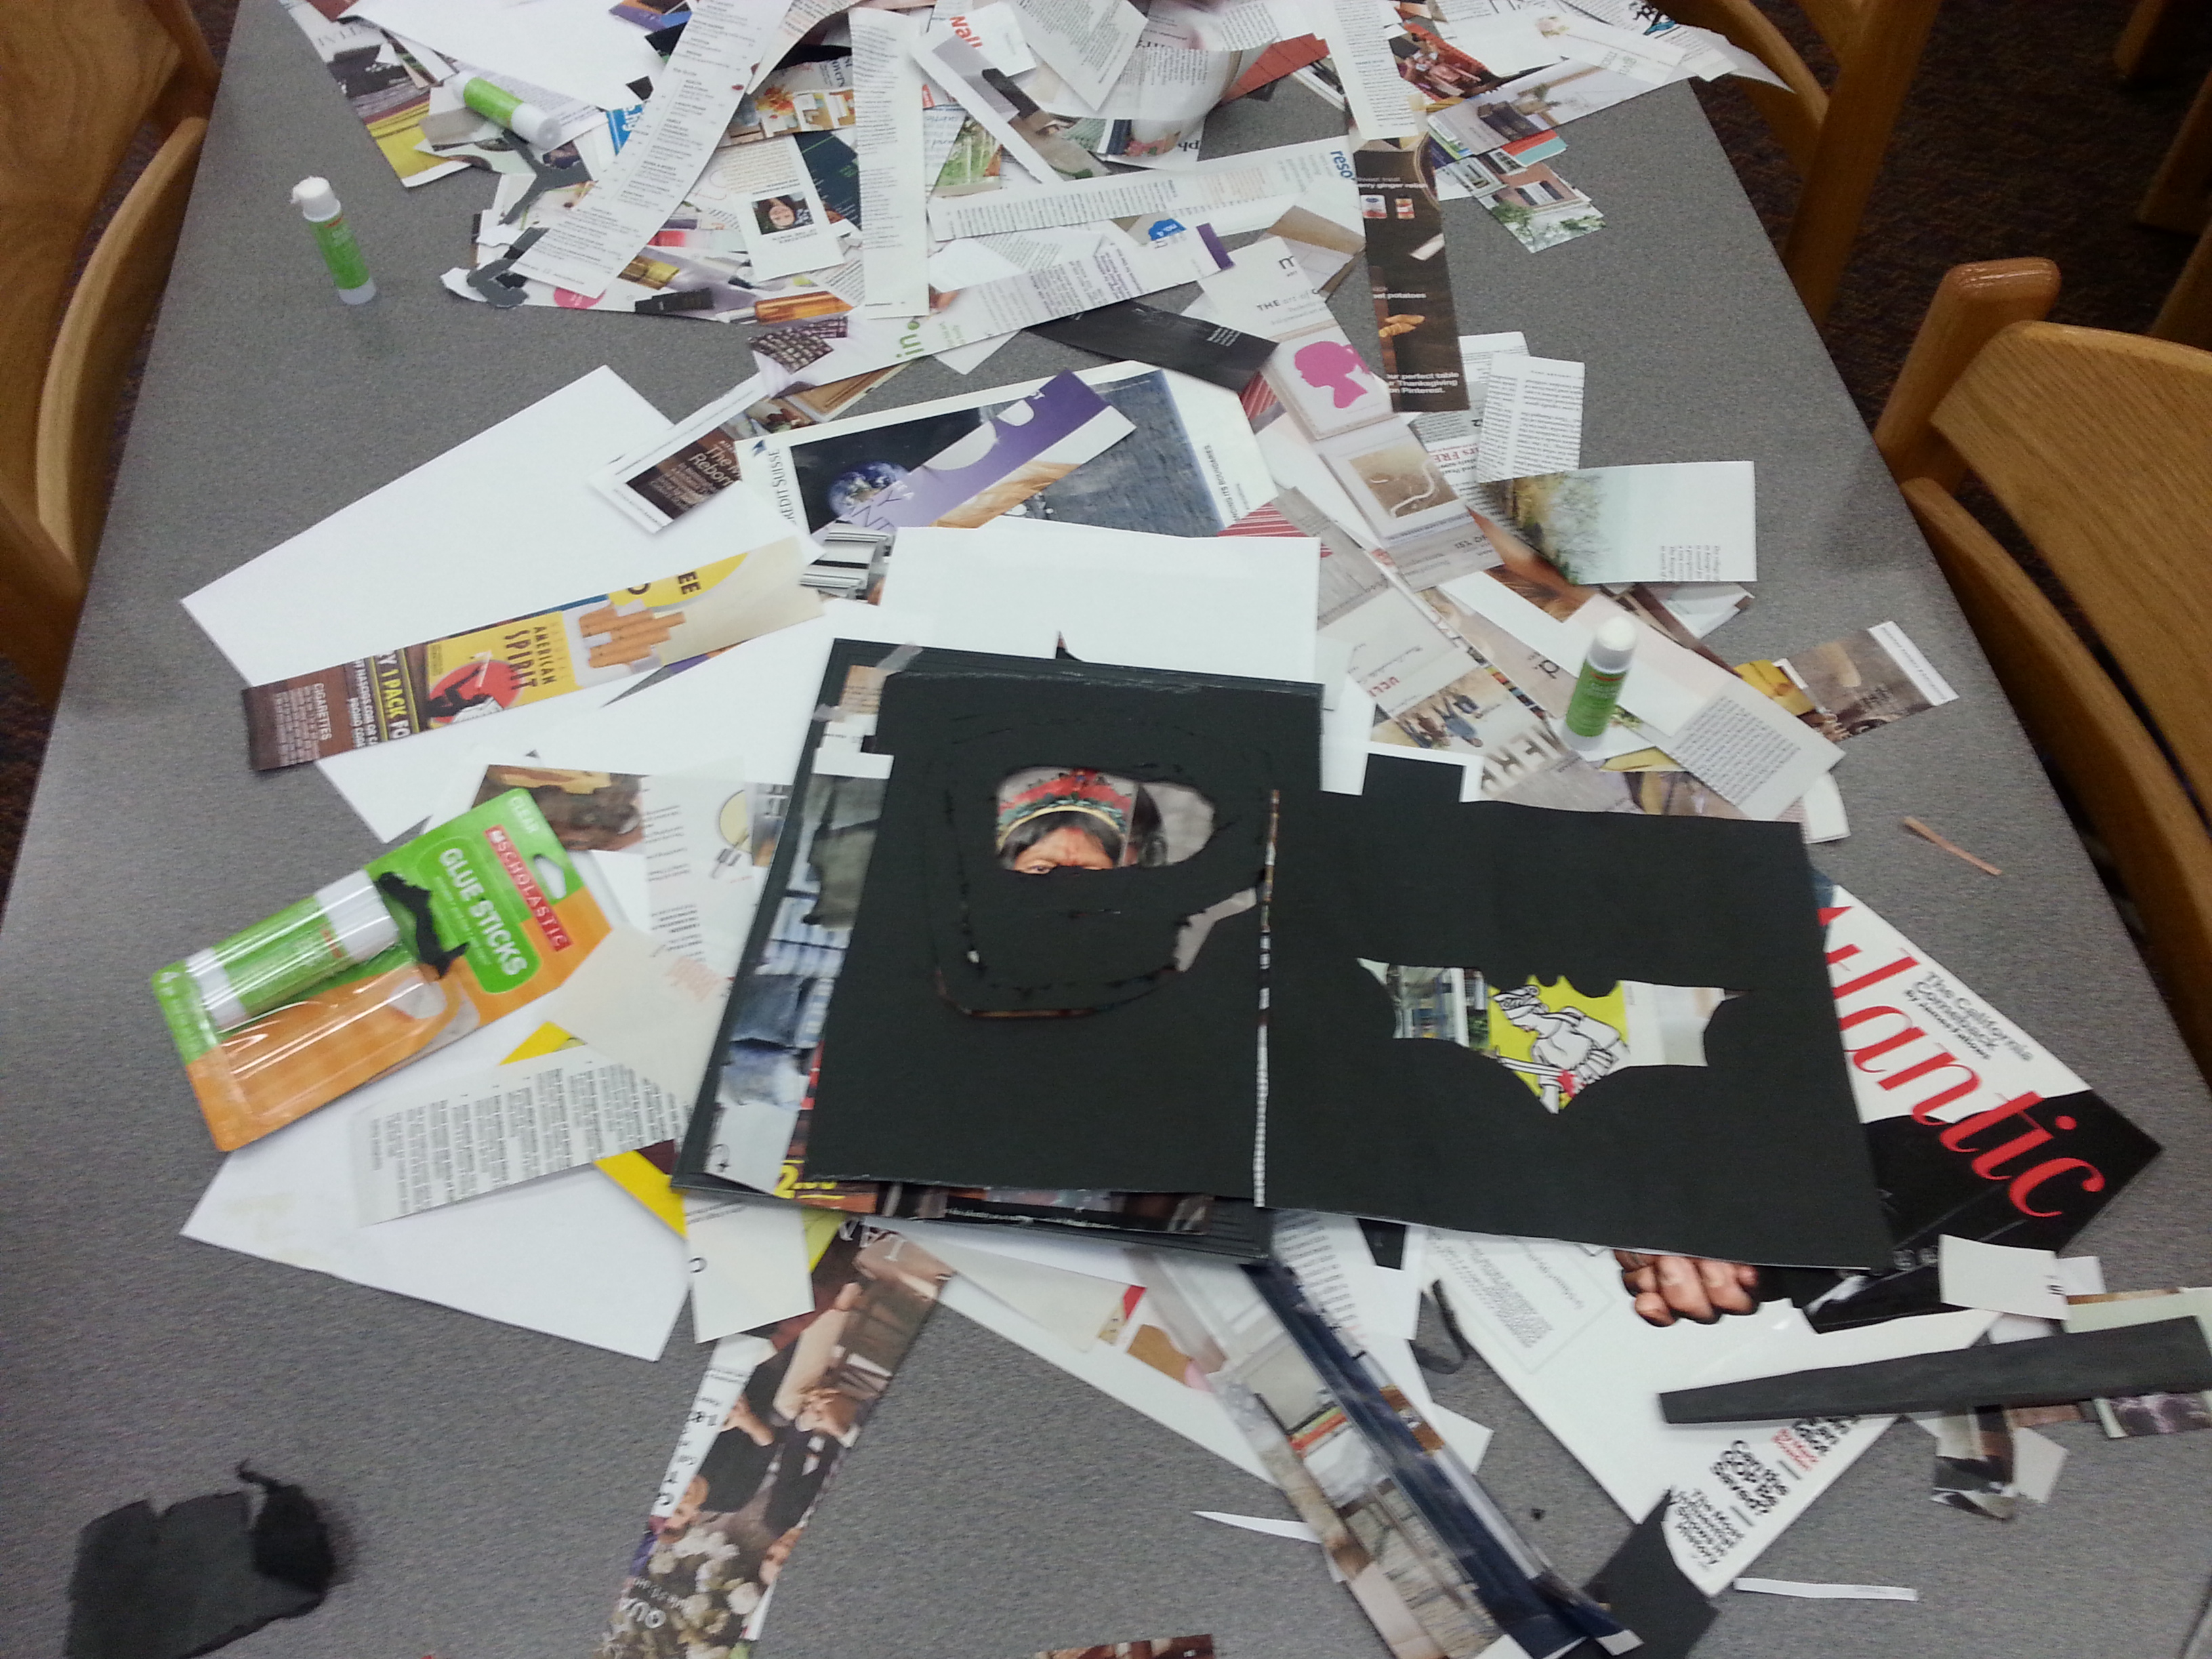
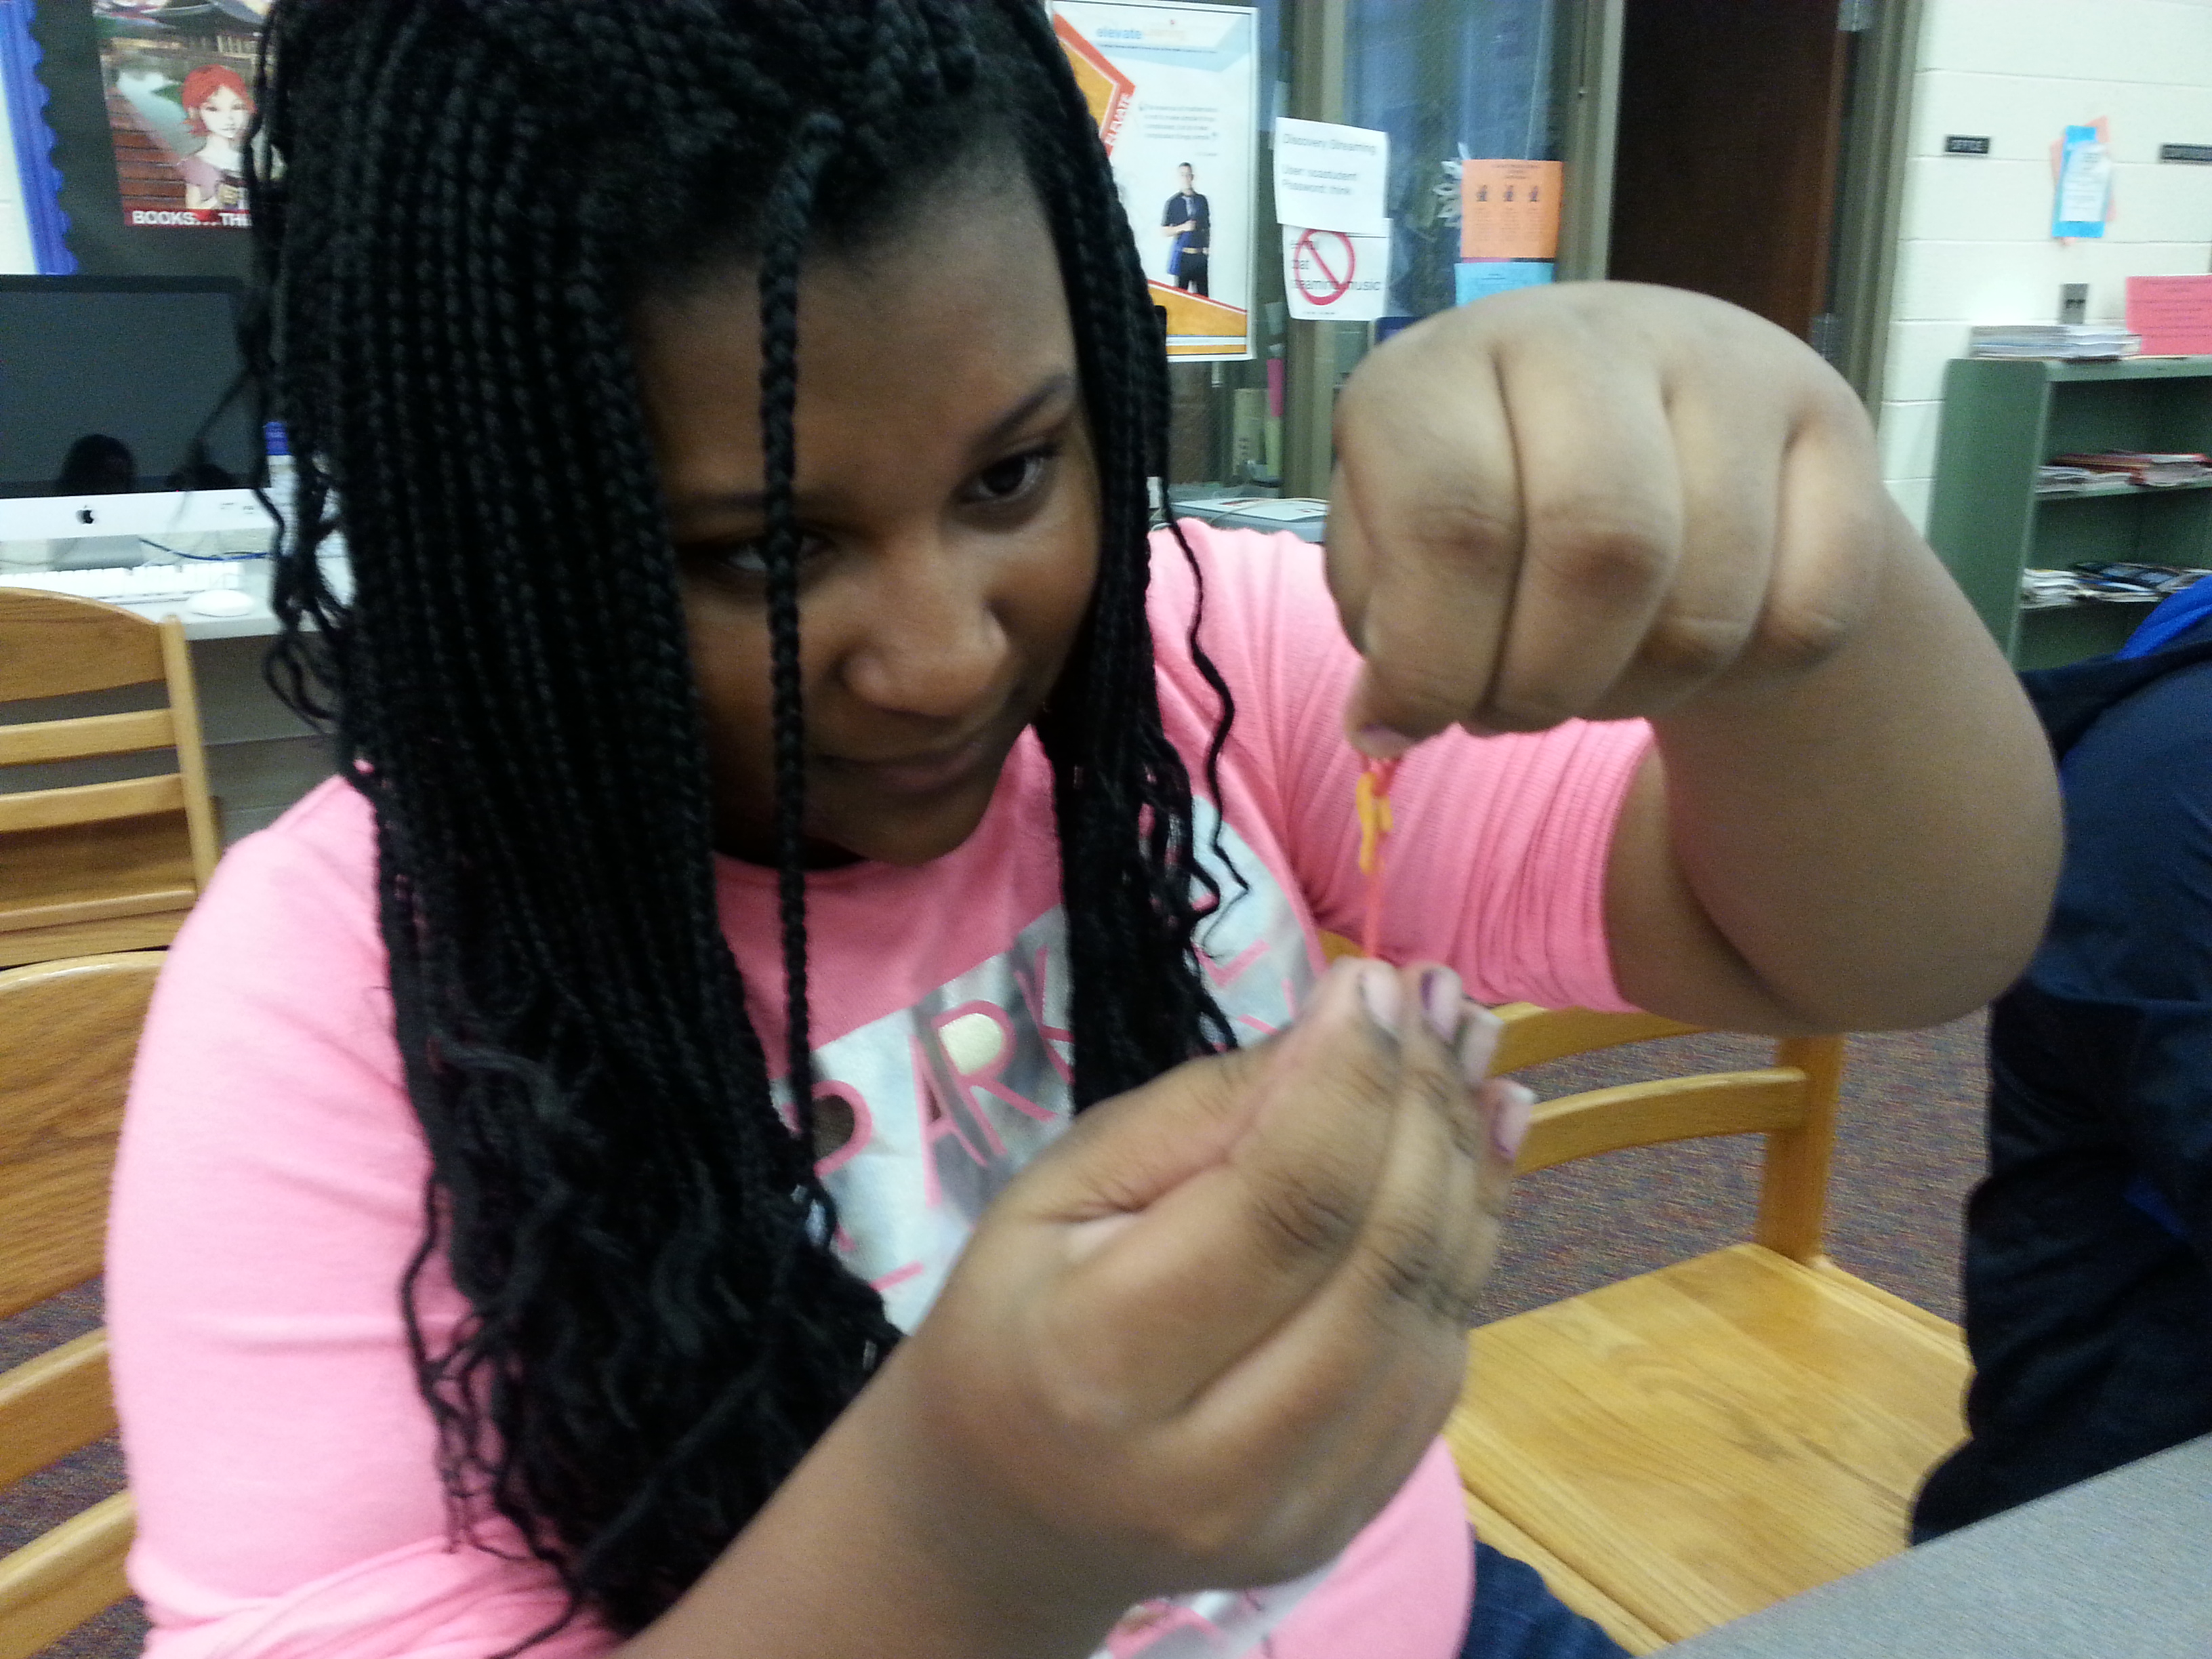
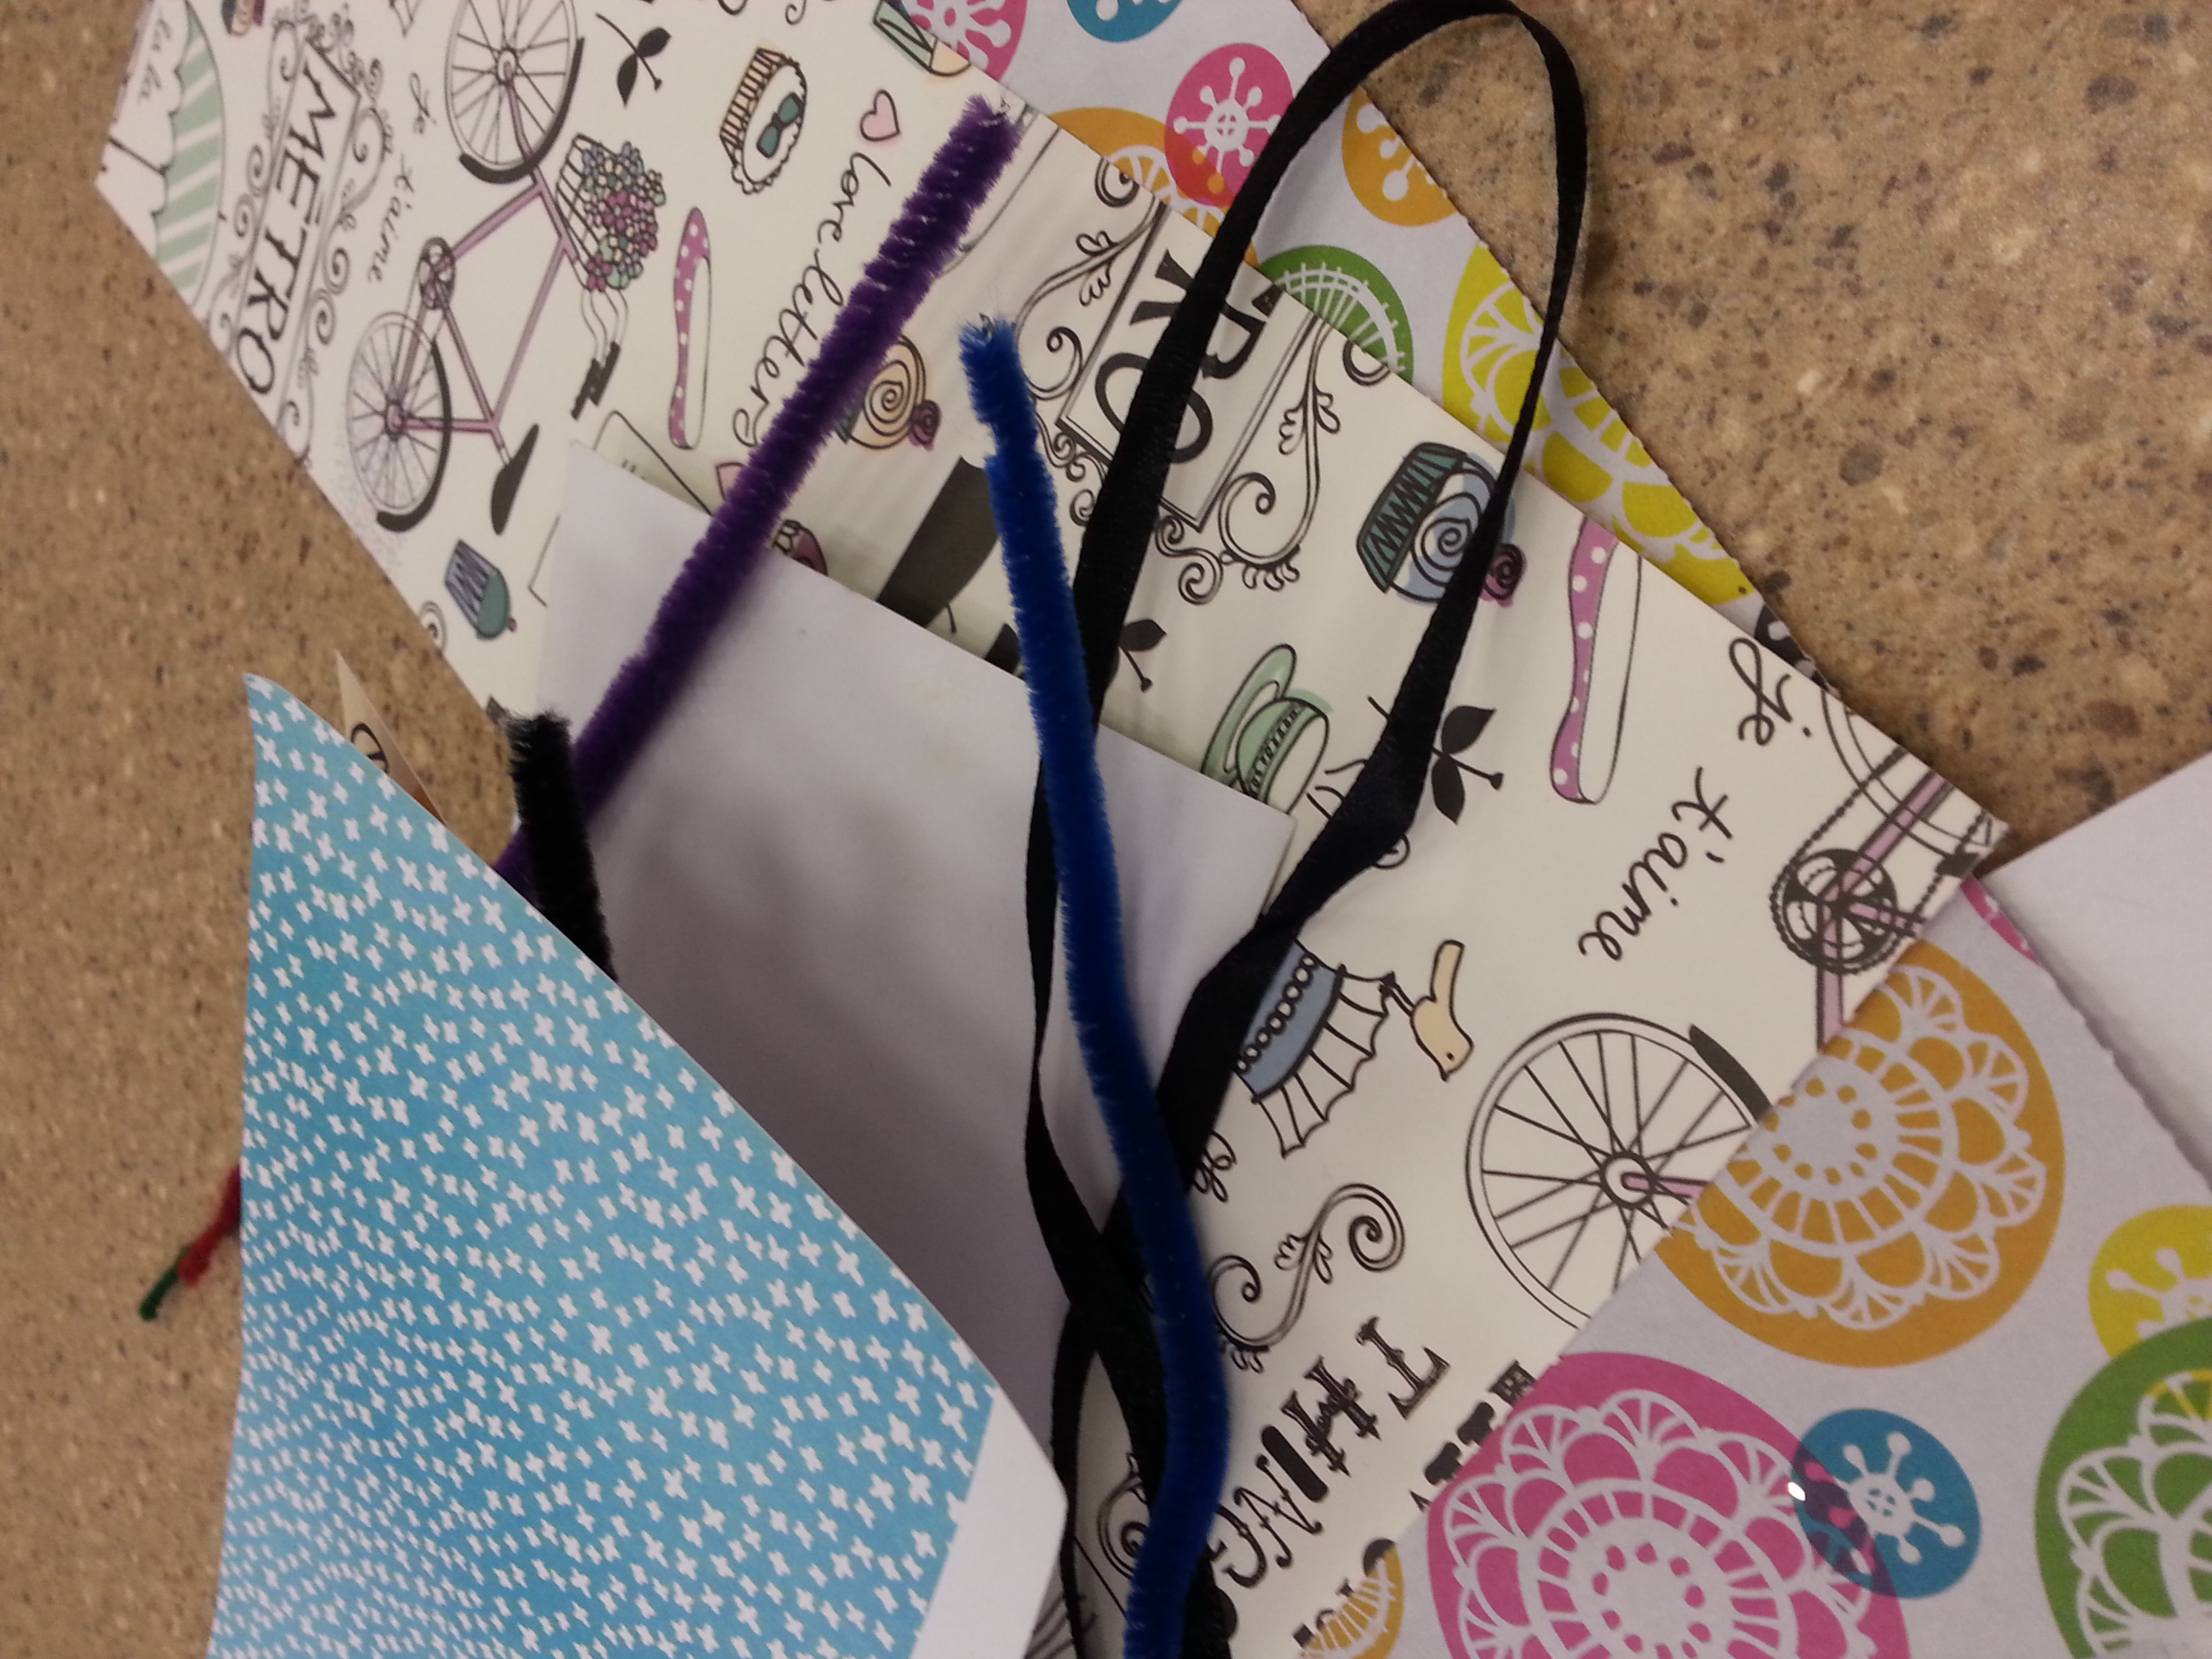
I was inspired by this simple yet cool idea for using rubber bands, paper, and cardboard (which we had lying around and went unused by our students for some time):  https://babbledabbledo.com/easy-art-projects-for-kids-rubber-band-art/

Easy-Art-for-Kids-Rubber-Band-Art-BABBLE-DABBLE-DO-hero-9

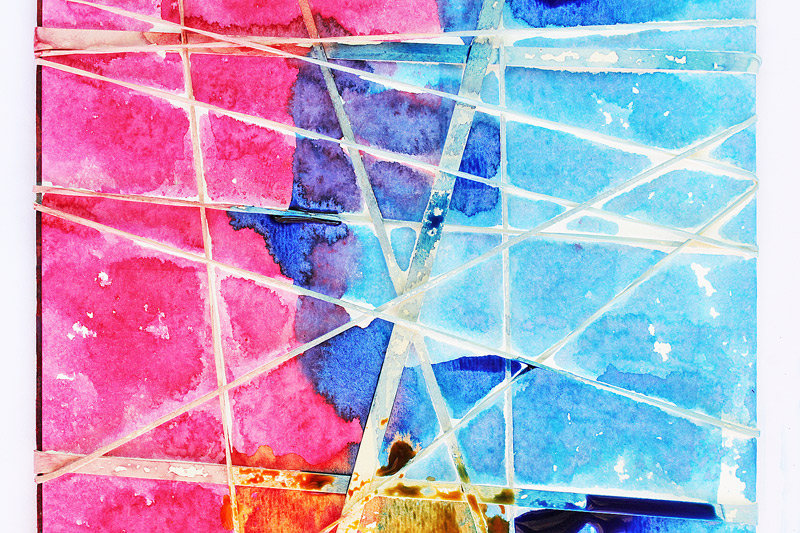
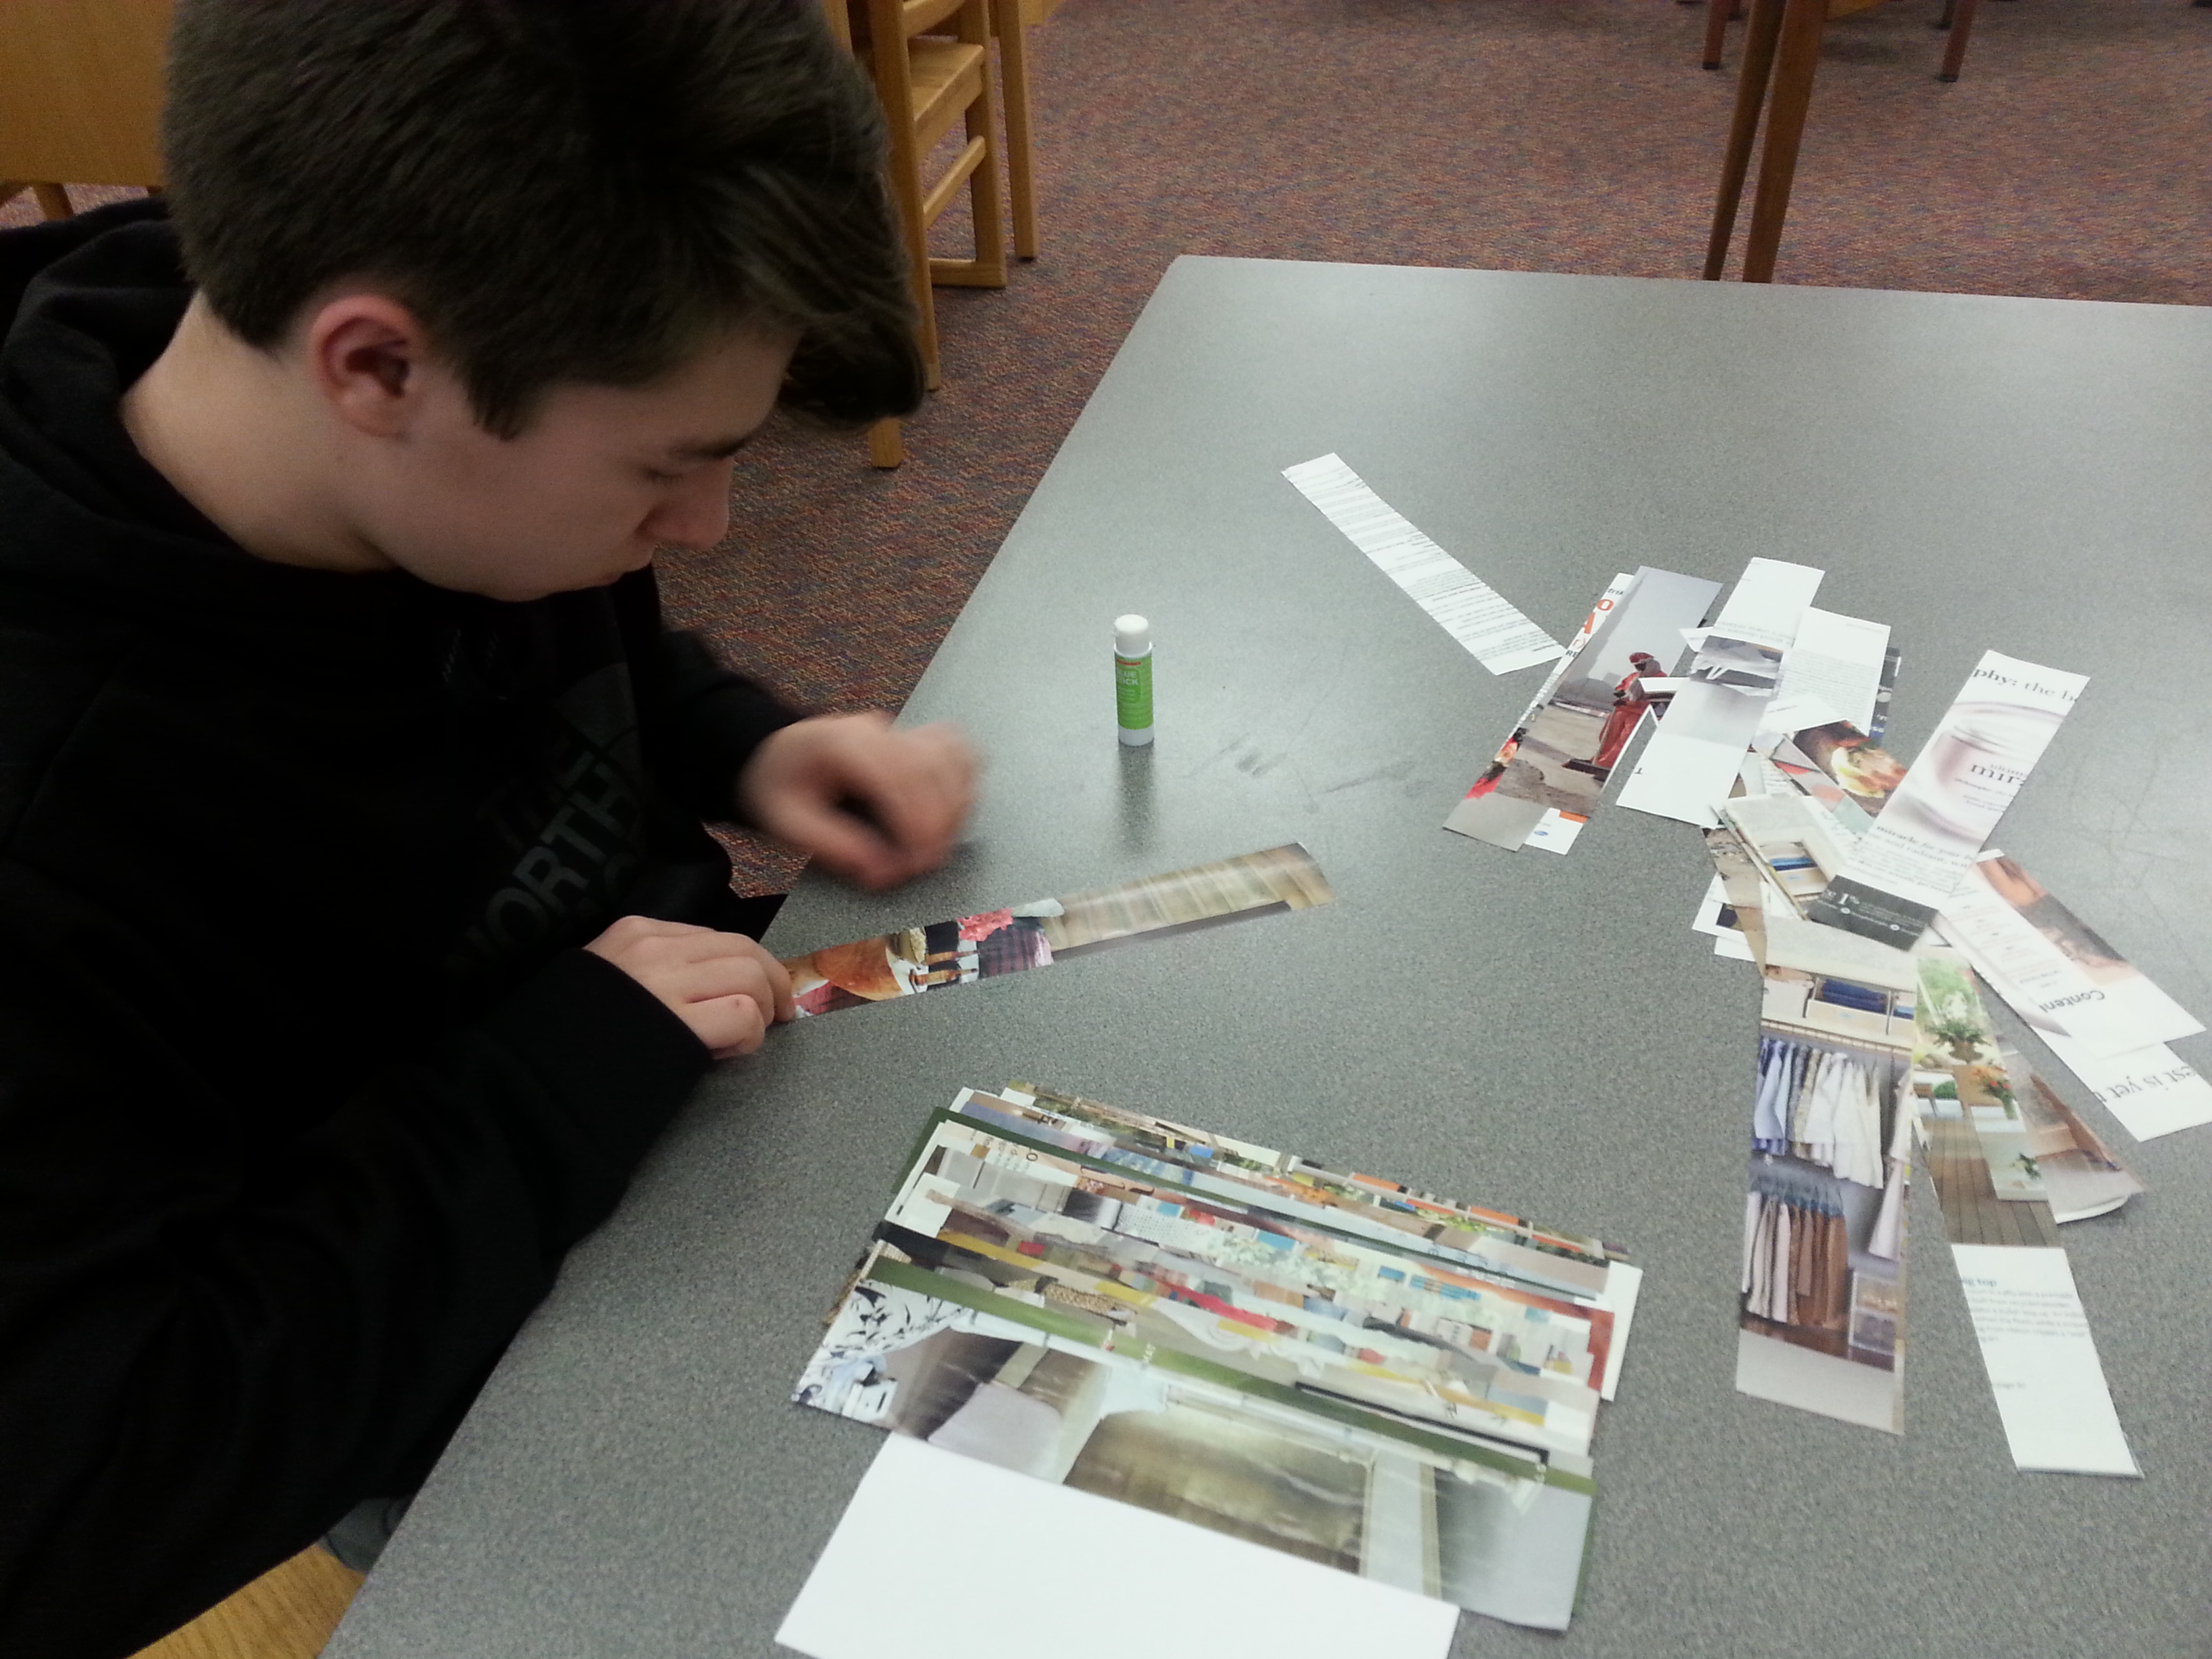
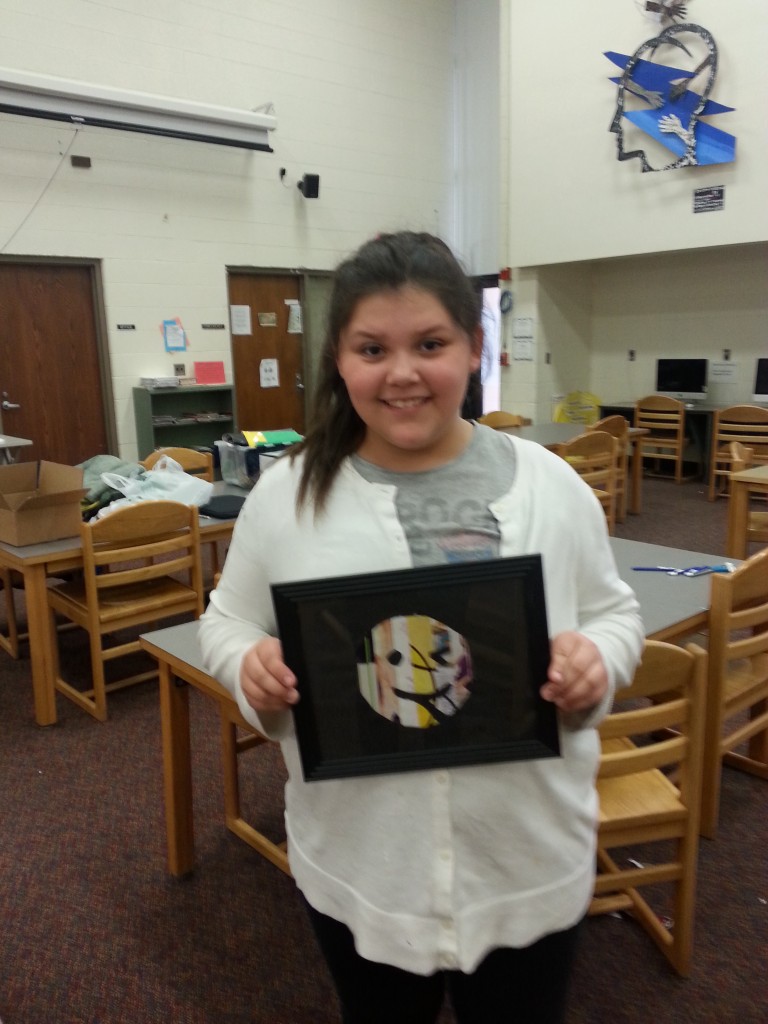
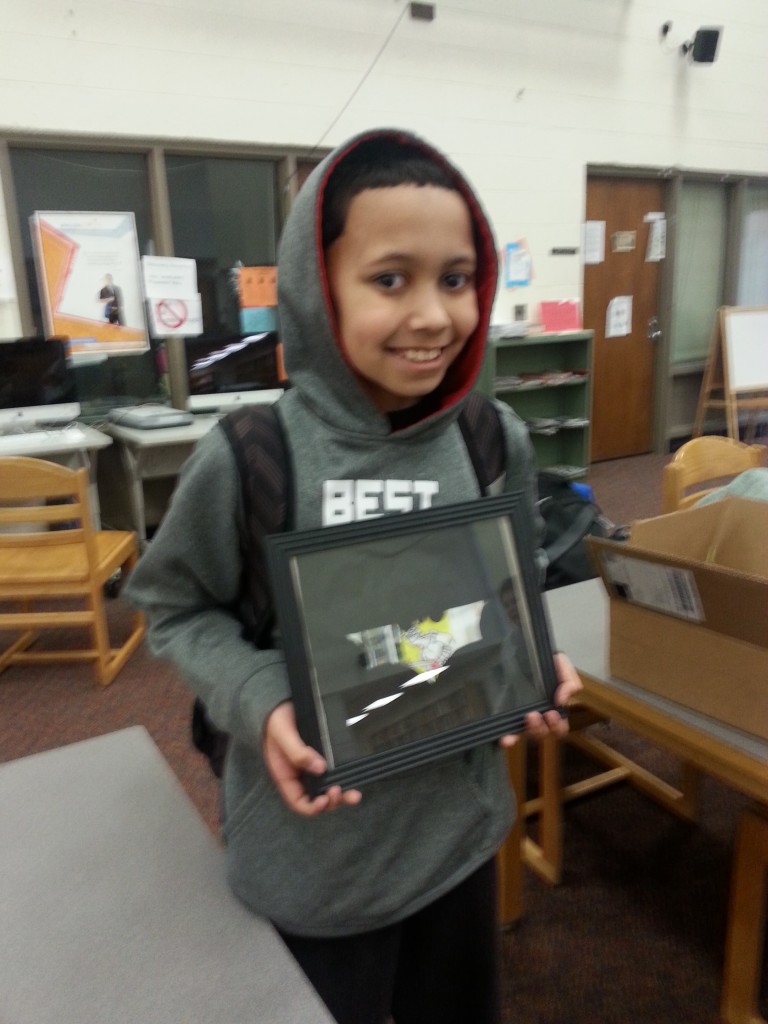
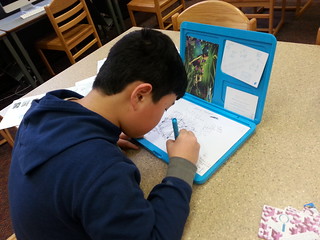
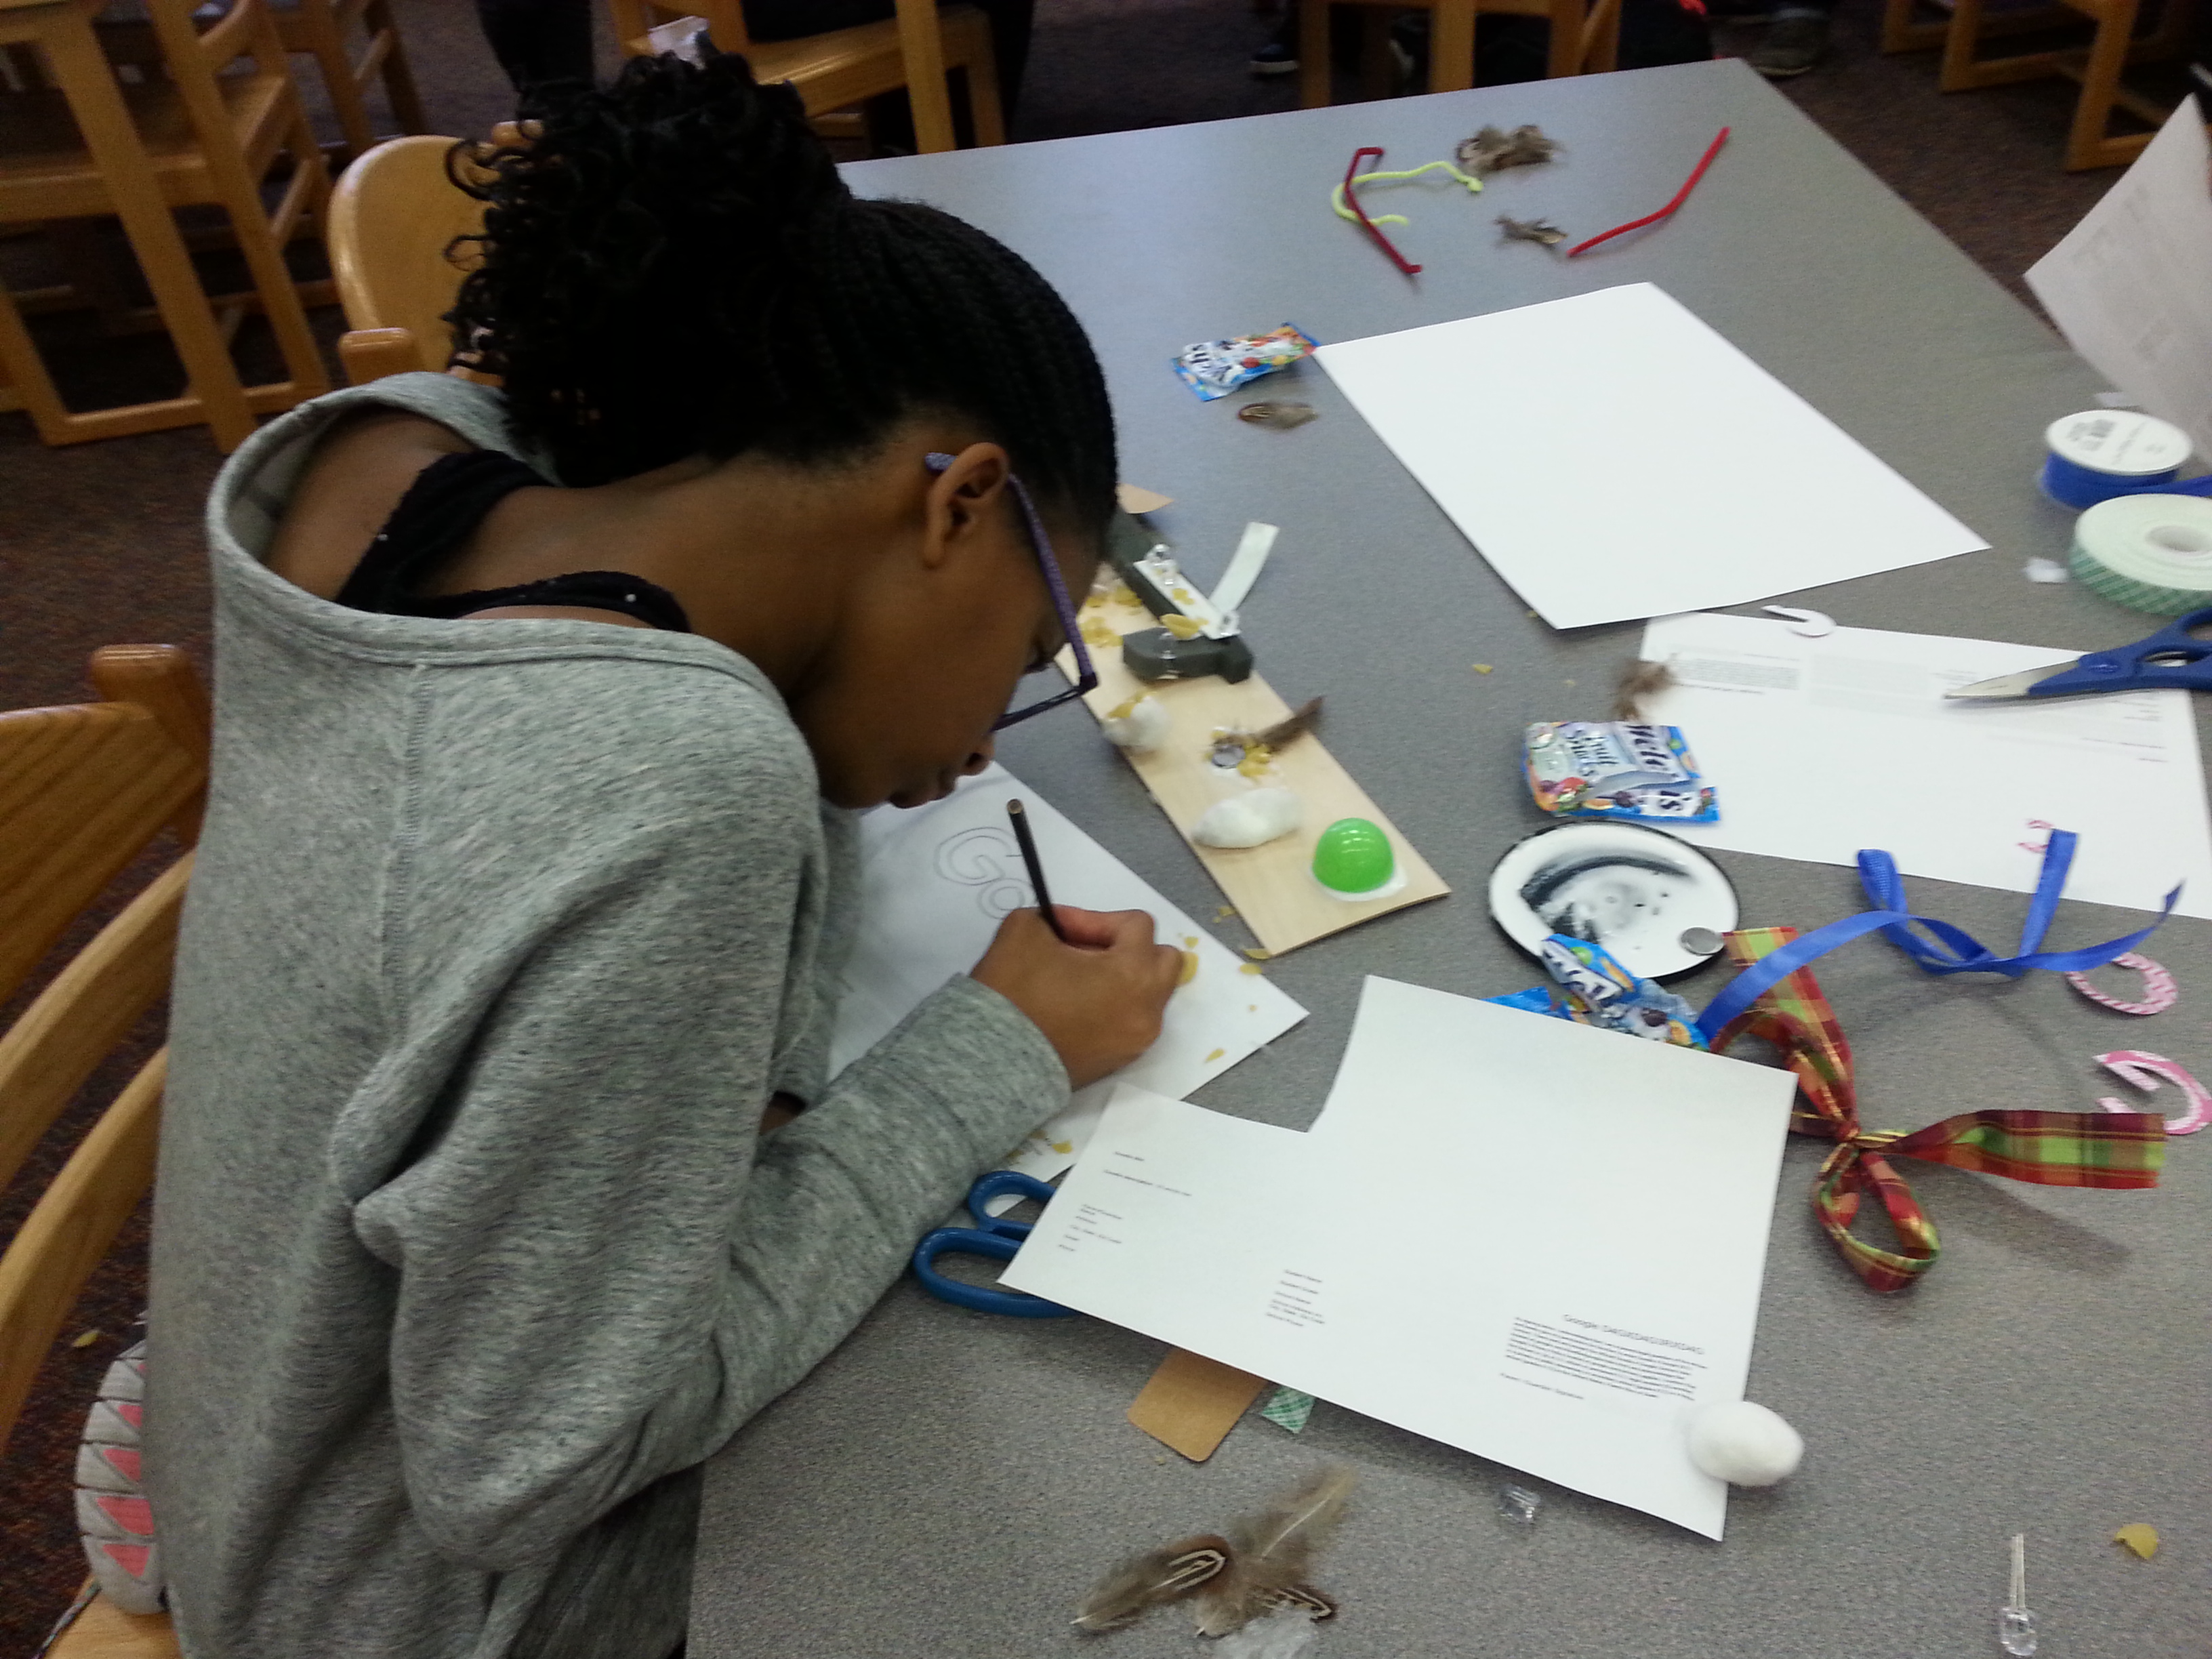
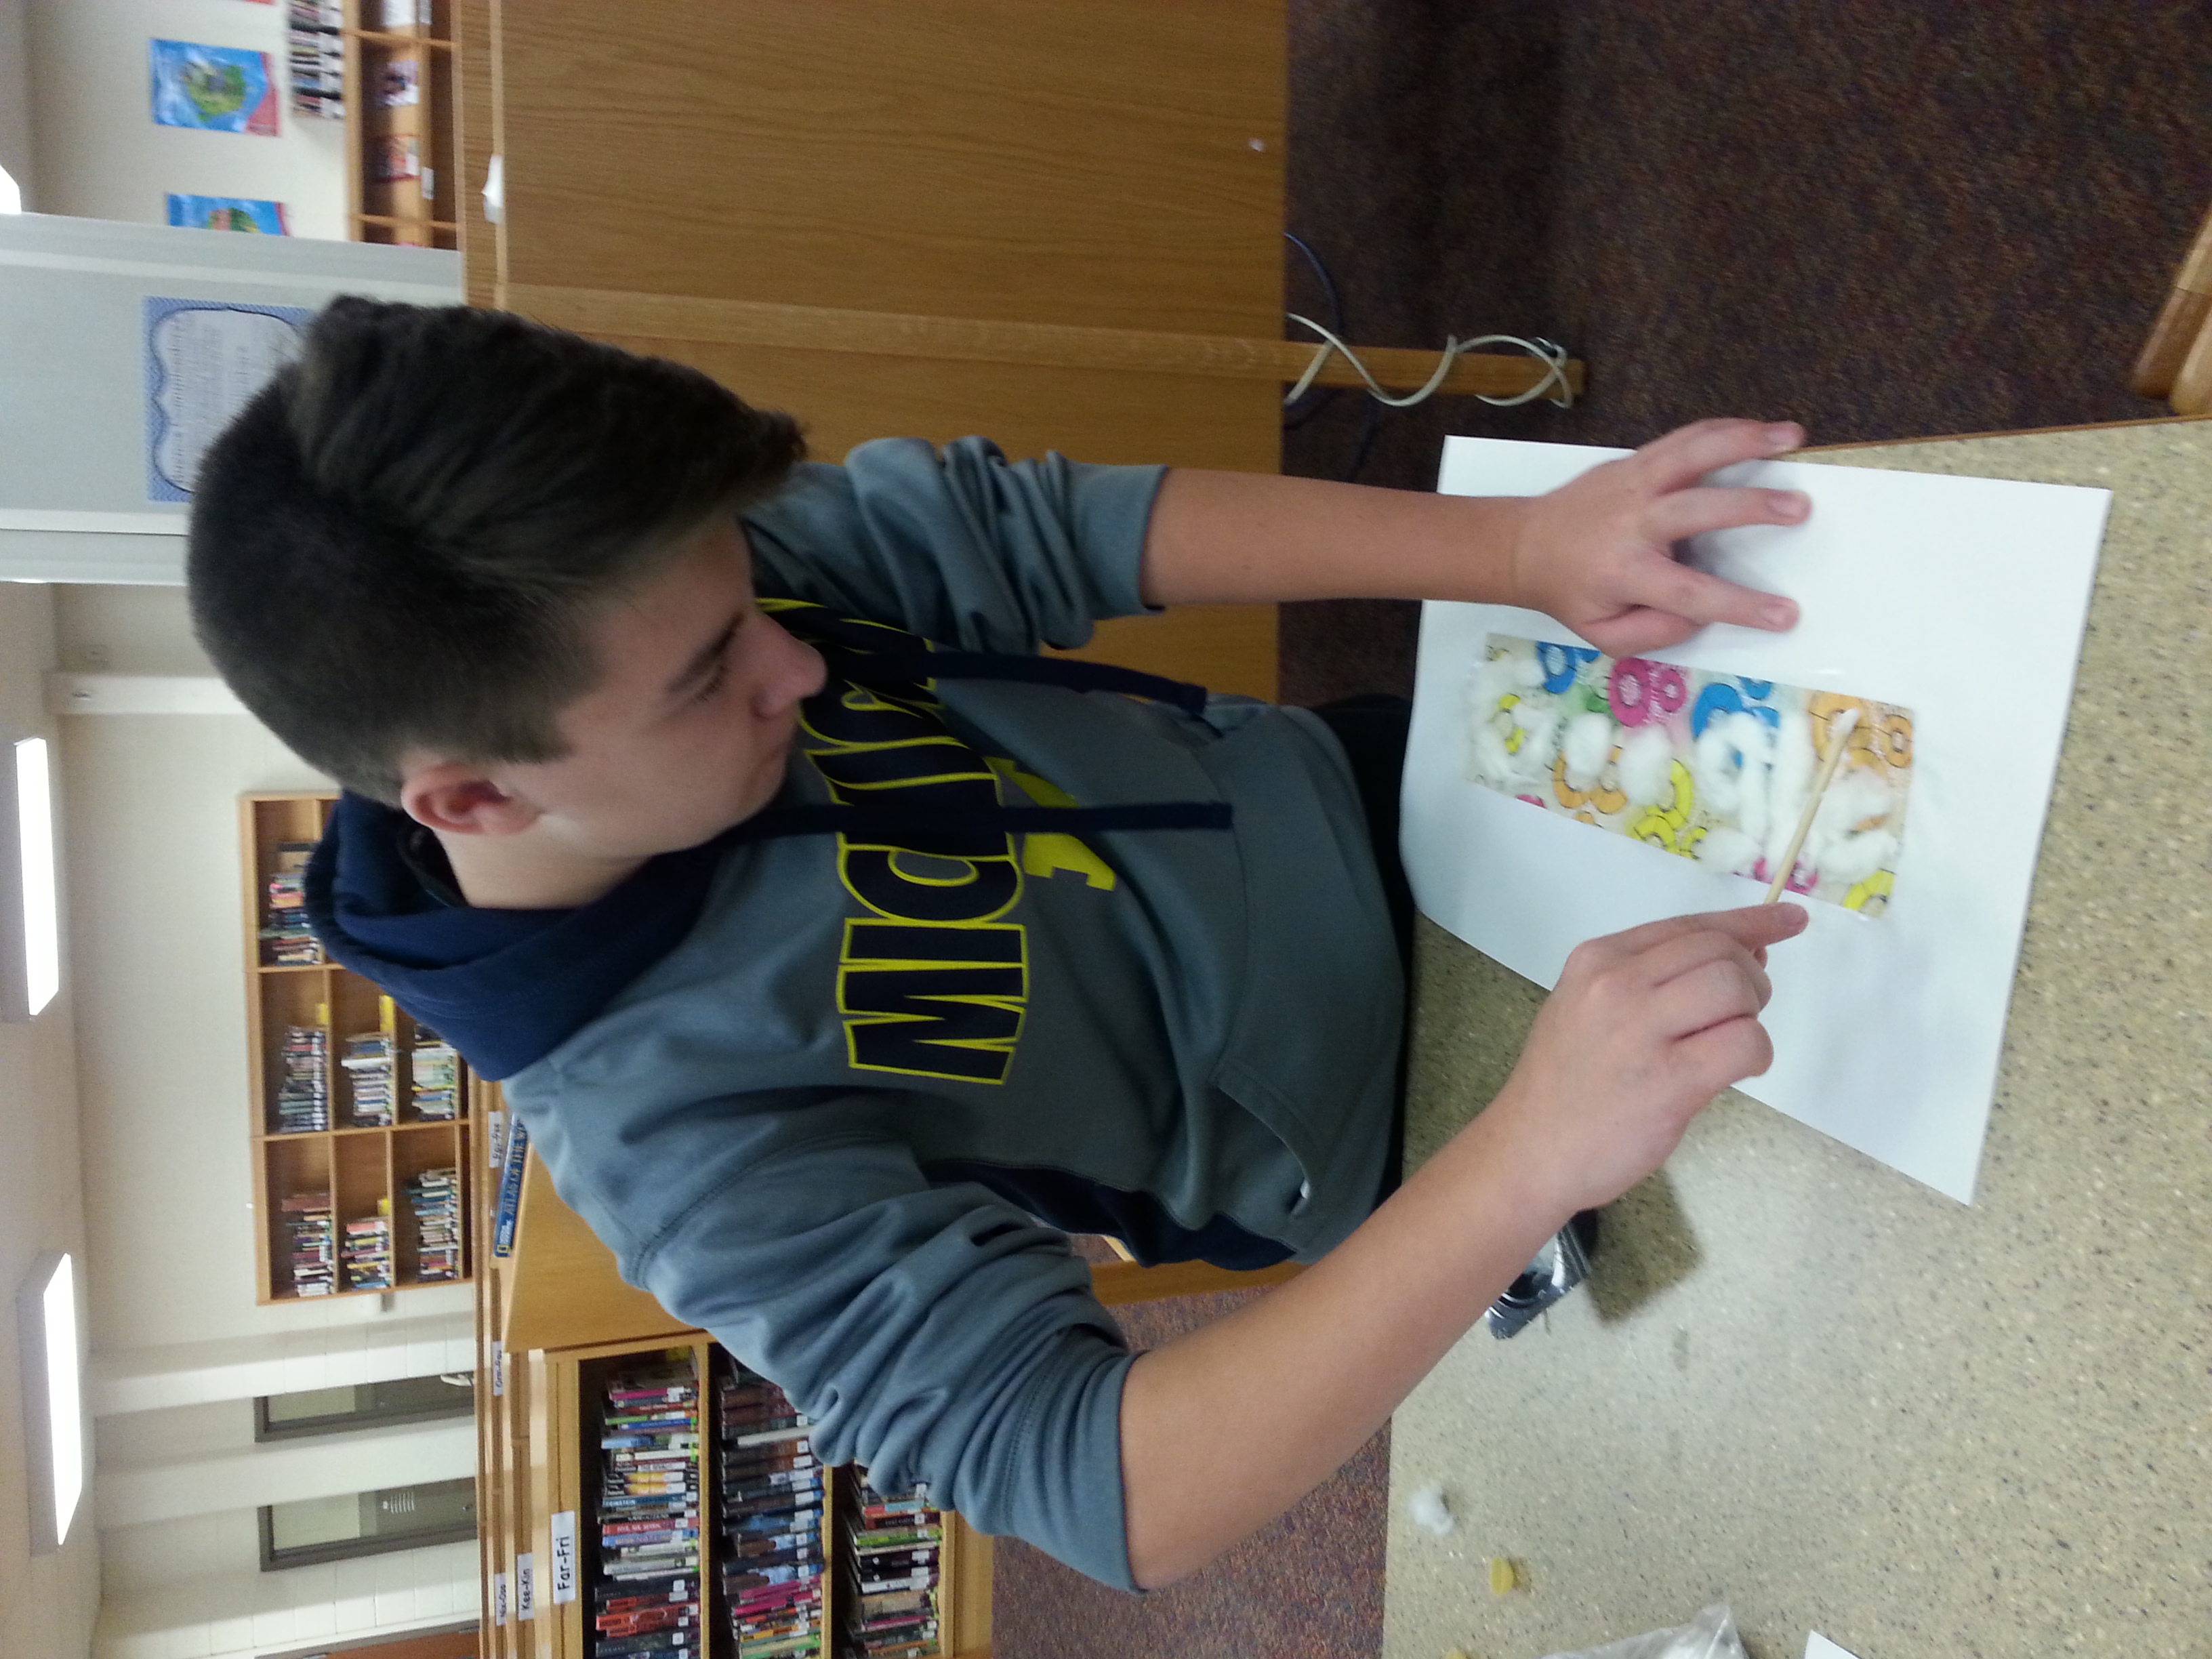
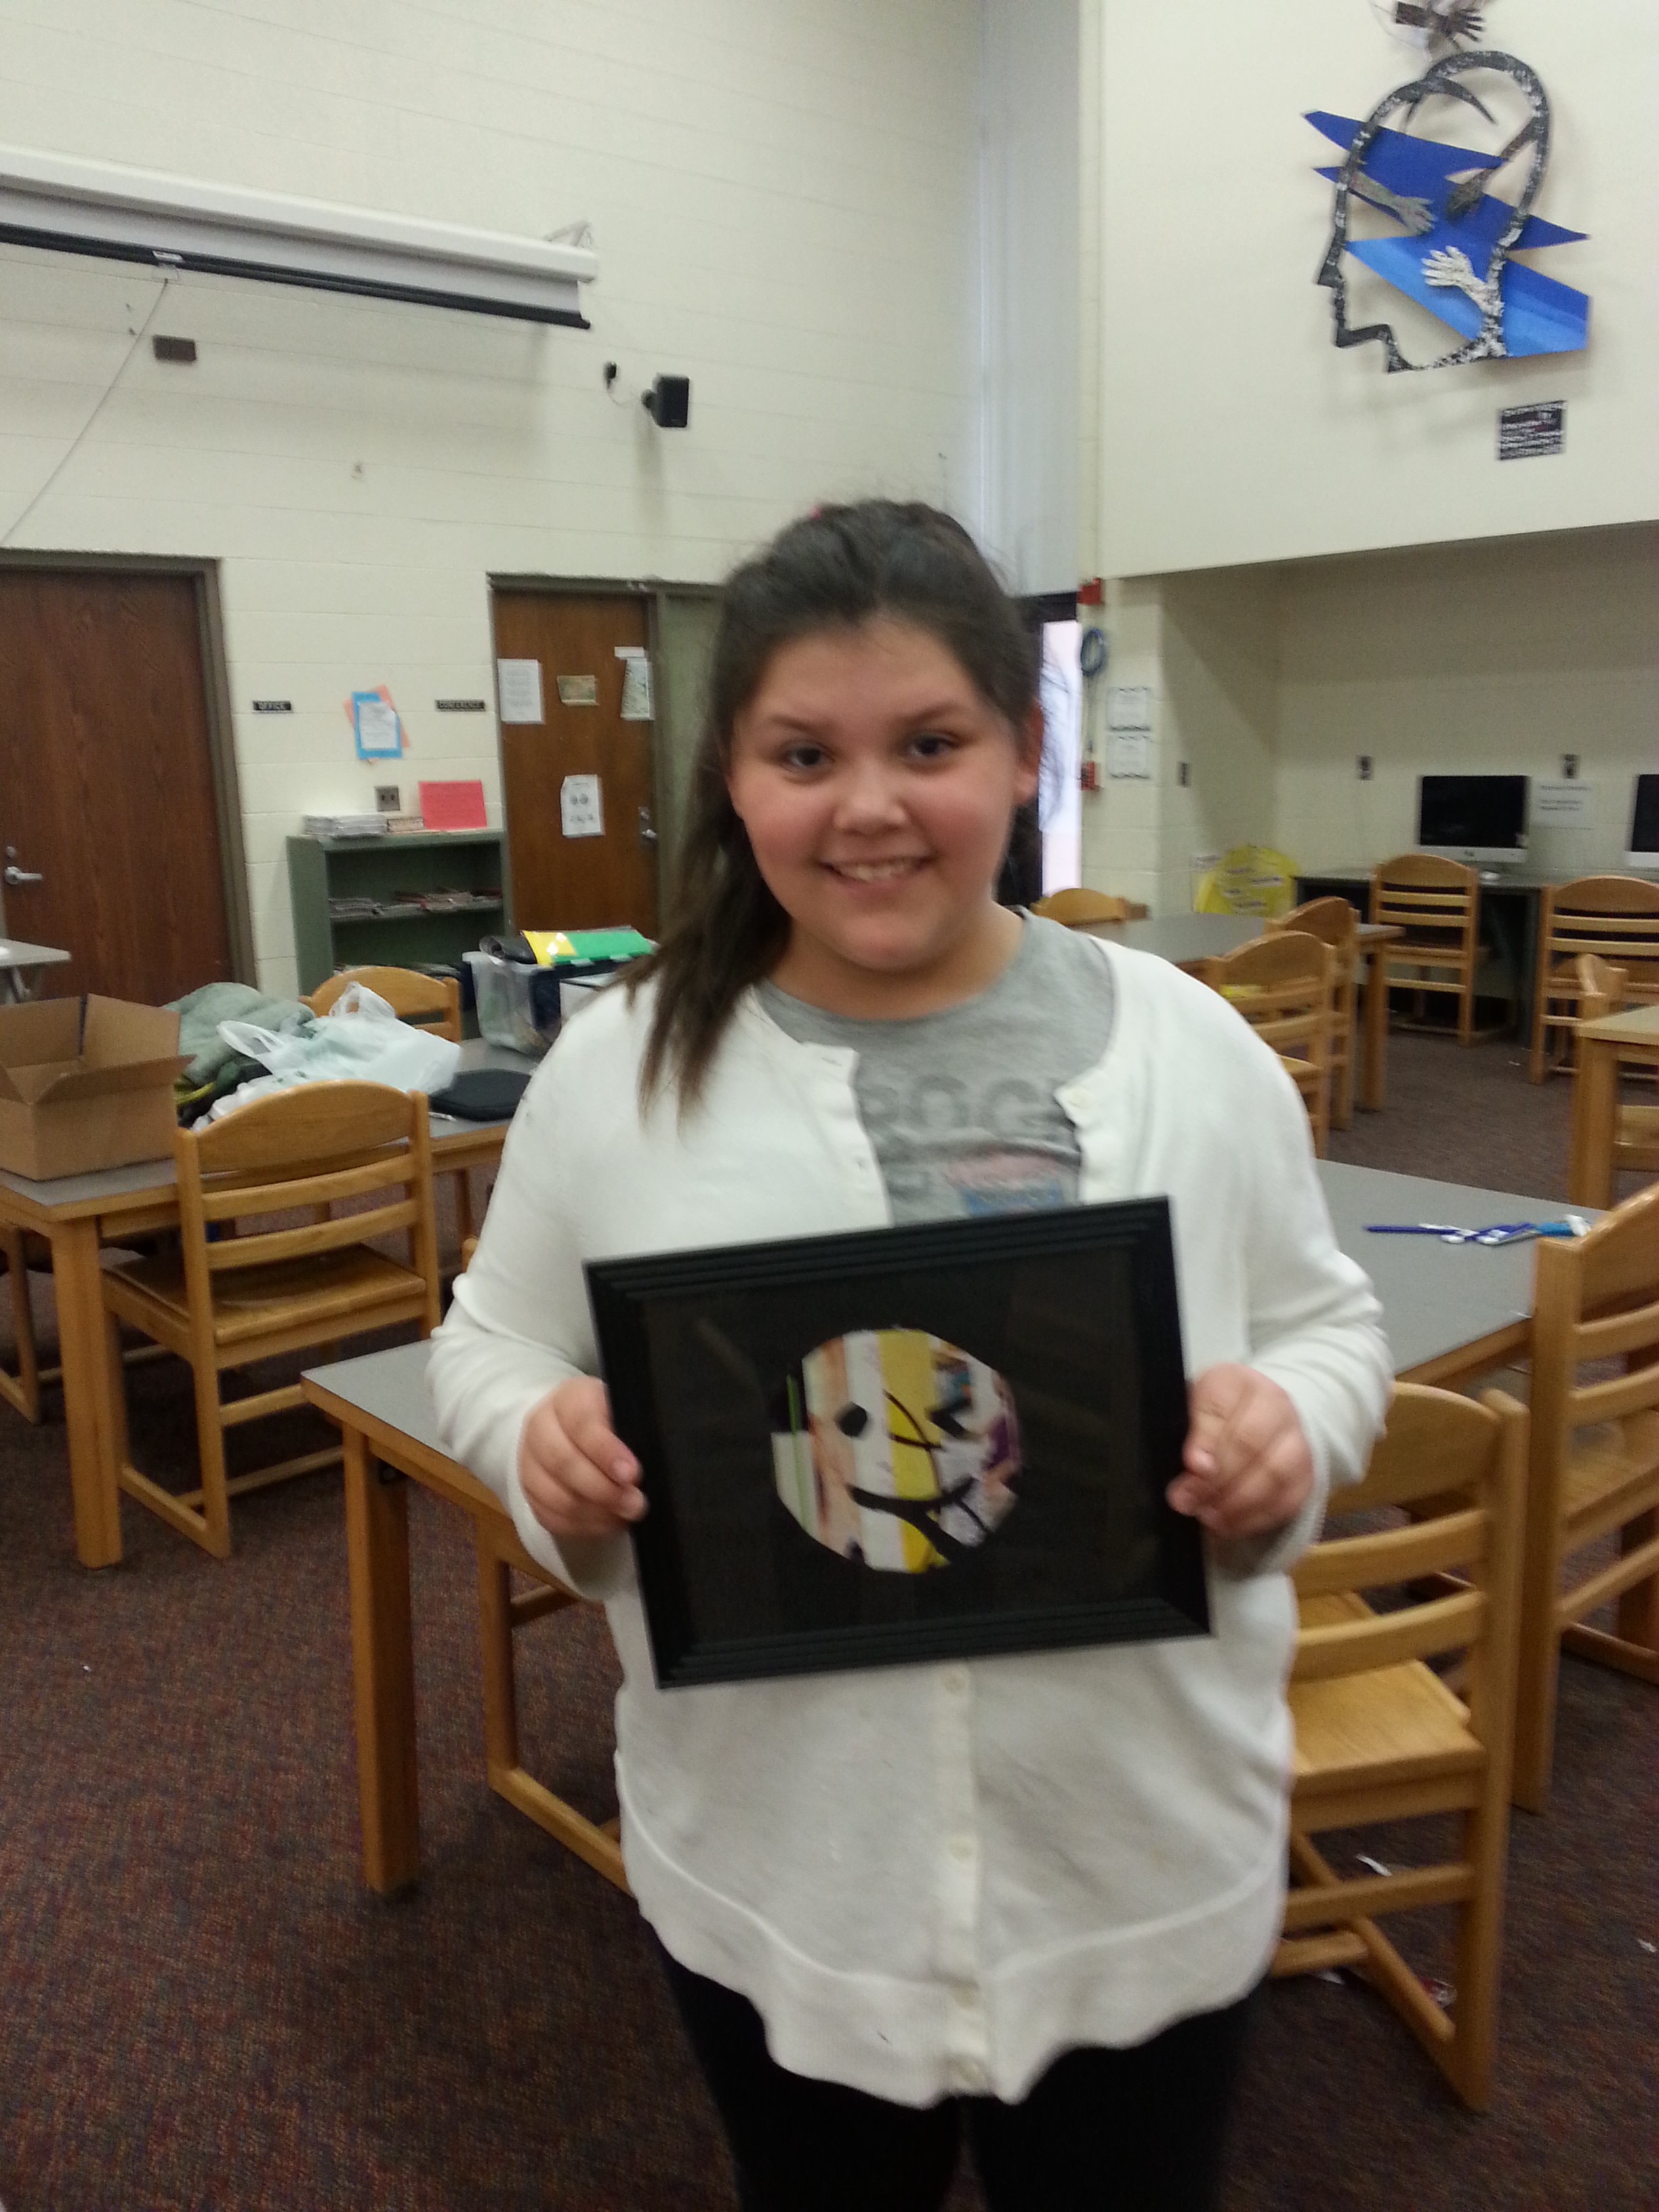
Can you believe that with a little bit of water color, you can make that? We brought this idea to our students, and they all went for it! You could hear a lot of, “Hey, how did you do that?” and, “How did you make that effect?” going around among students. Our Makers were more than happy to share with their peers how they made a certain effect and to share tips on how to make the rubber band lines more distinct (TIP: Gently dab the water color onto the paper, no wiping!).

20160414_154039

20160414_155824

One of our students admitted that she’s terrible at art and was convinced that whatever she makes is going to look bad (thus deciding not to try). We reassured her that if she didn’t like what she made, that’s OK! We encouraged her to try anyways and let her know that all the Makers were there to experiment and ask/offer help to each other when we needed it. One of her friends made a design that she liked, and after asking her friend how she could get her paper to like her friend’s, she engaged more with the activity and stuck it out to the end, making her own custom design.


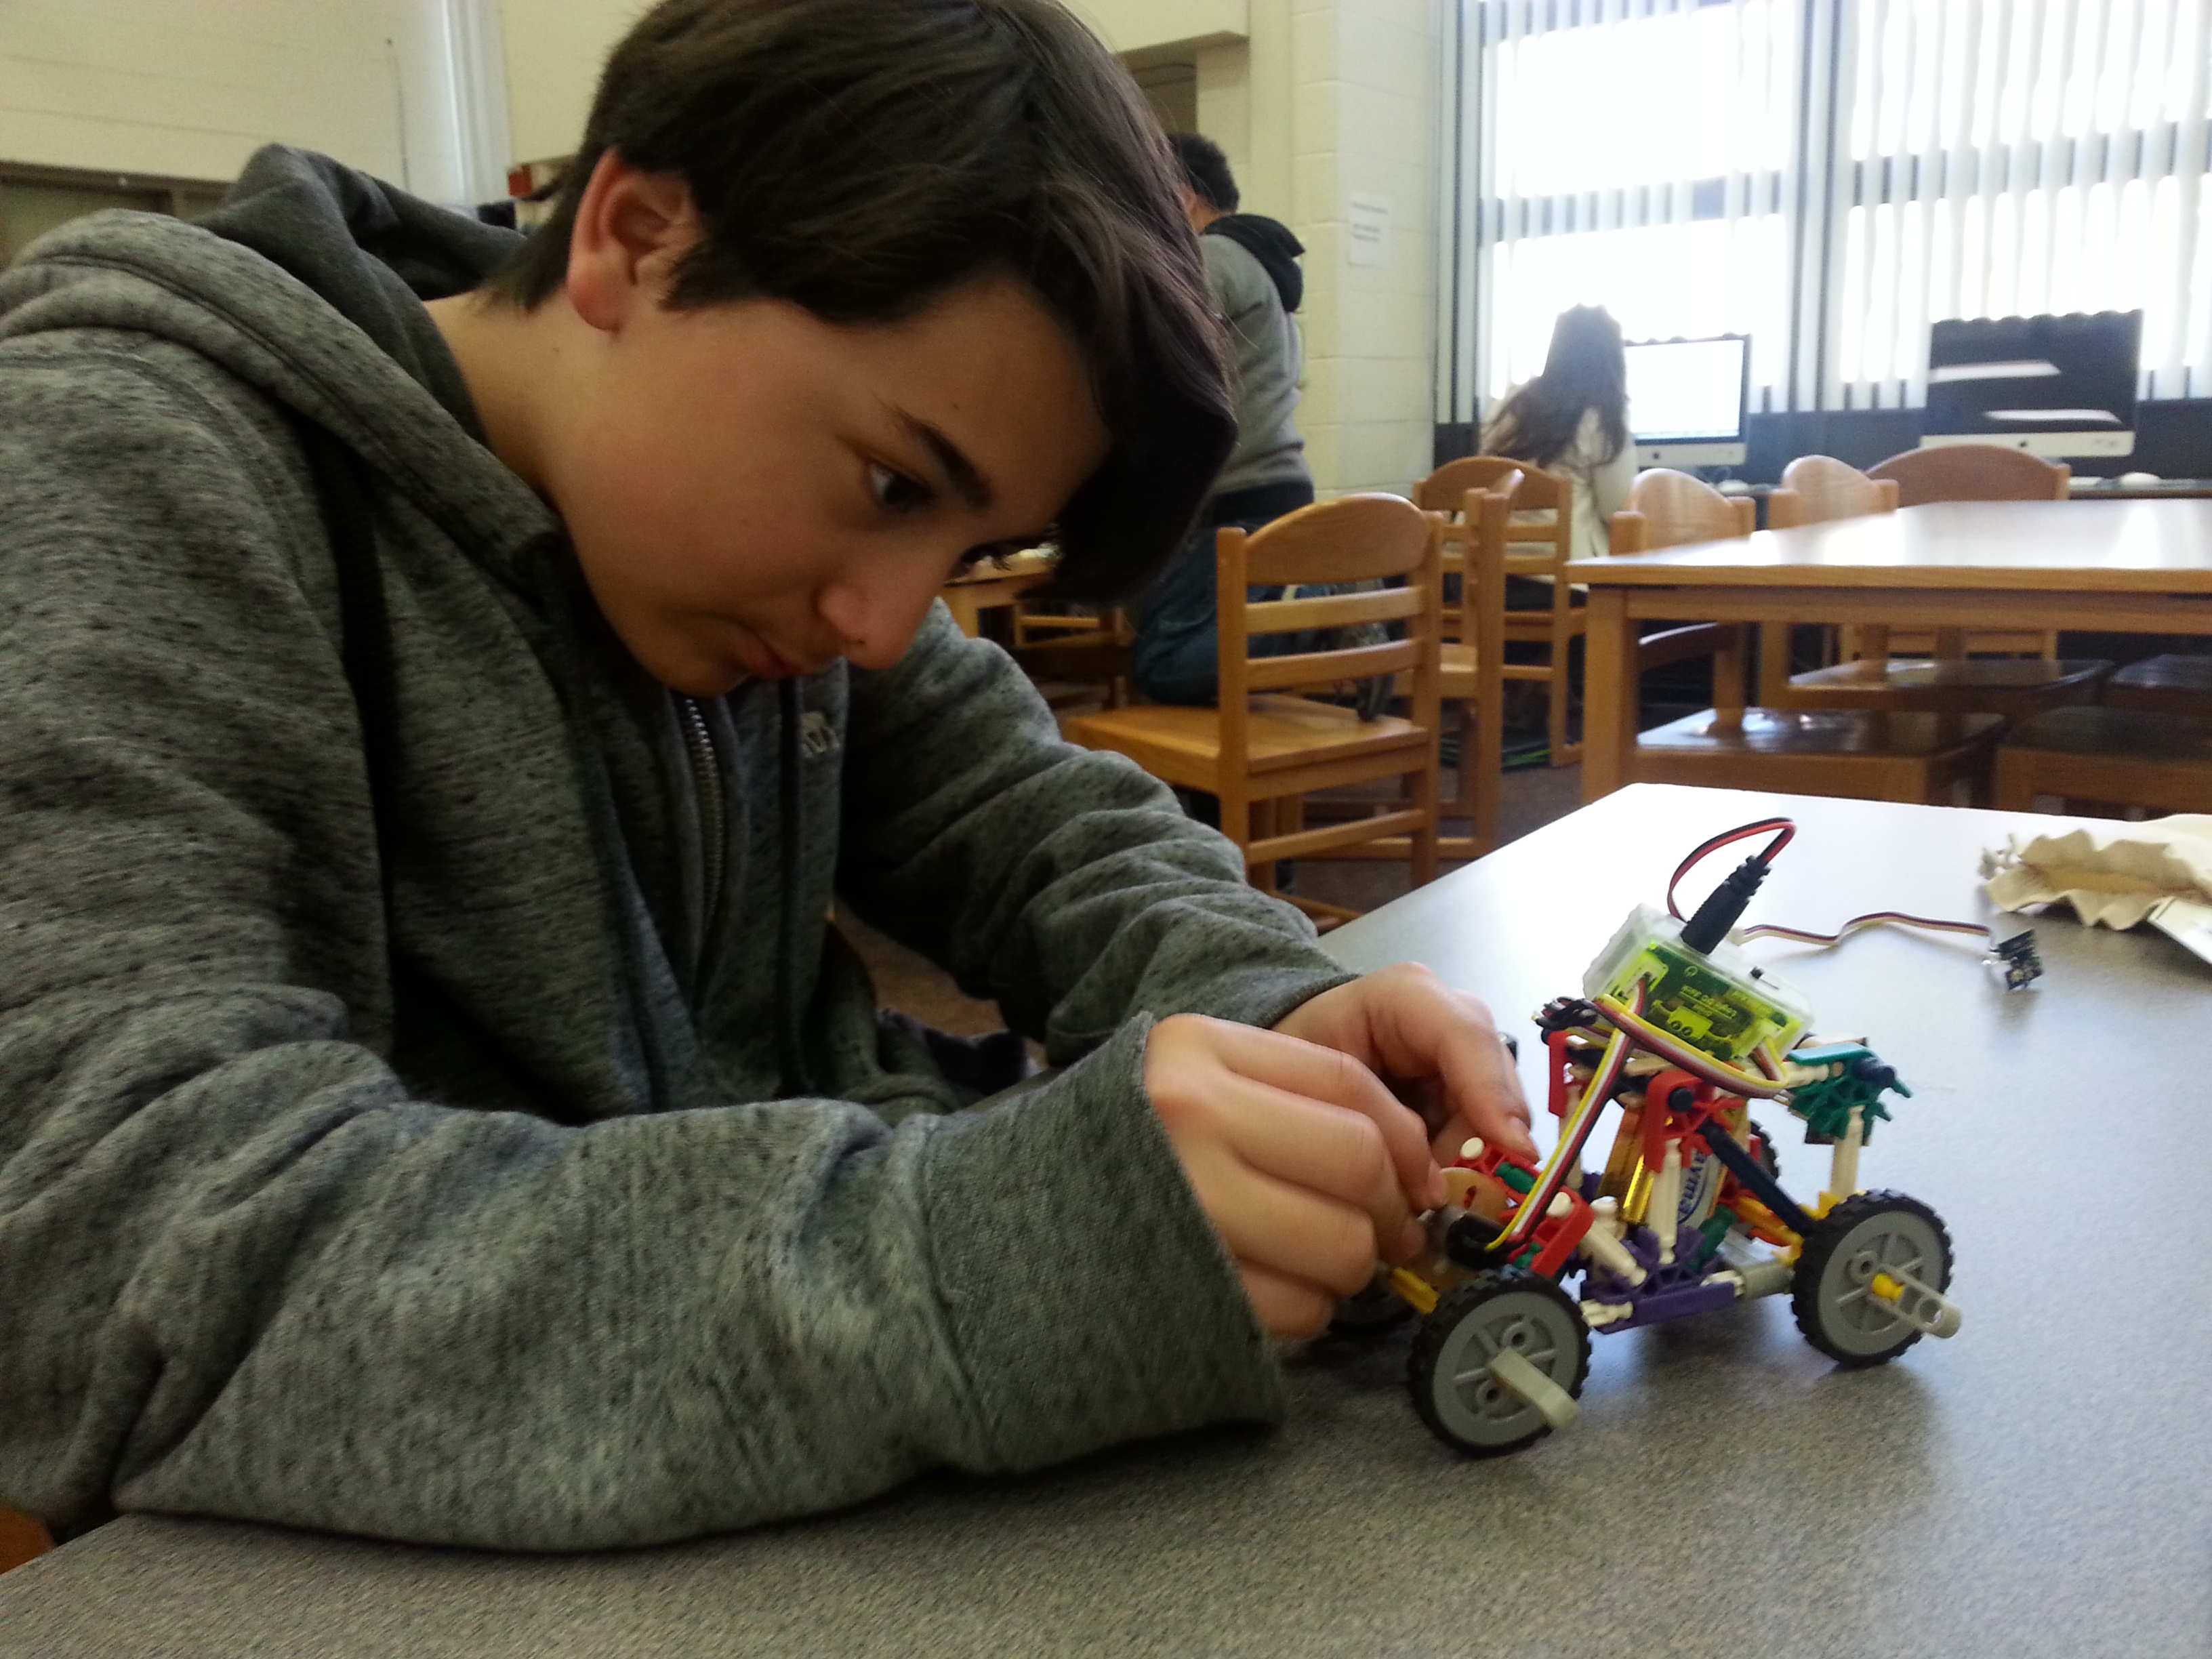
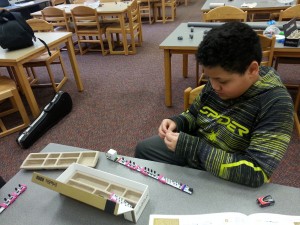
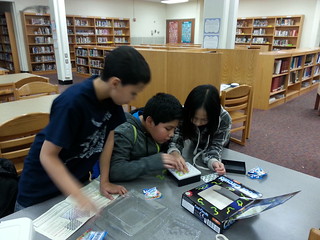
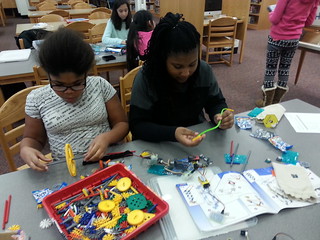
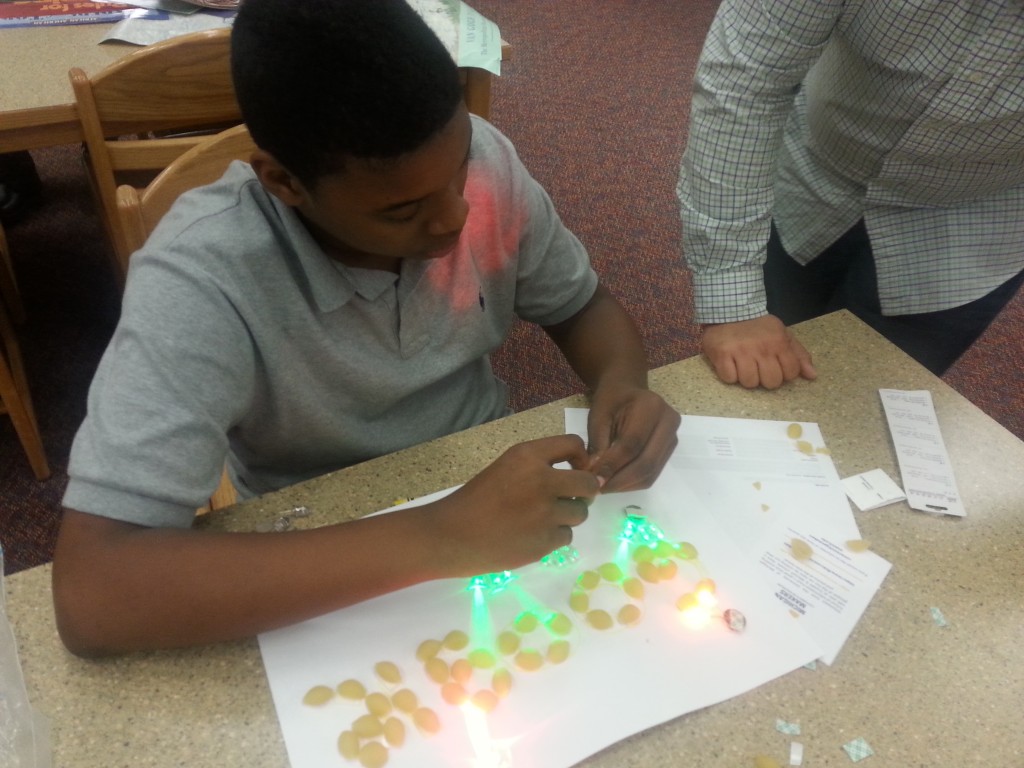
Legos have been a hit with our savvy Makers, and this week was no exception! Students dove into the bin, building airplanes, landscapes, houses, and cars.

20160414_155735

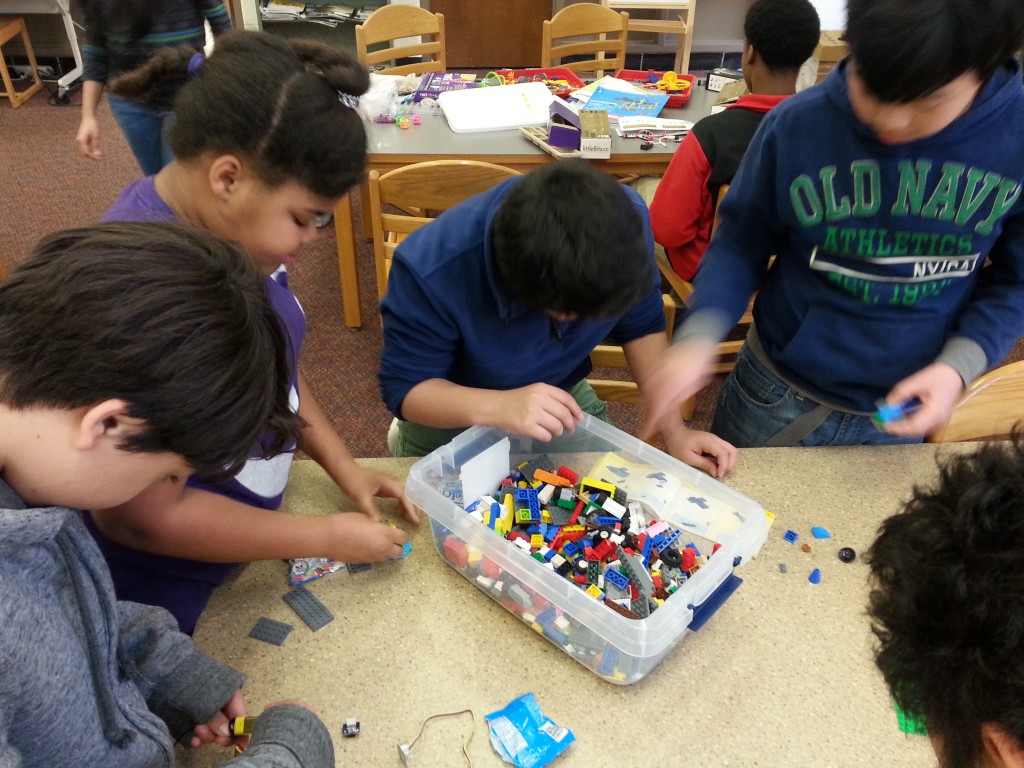
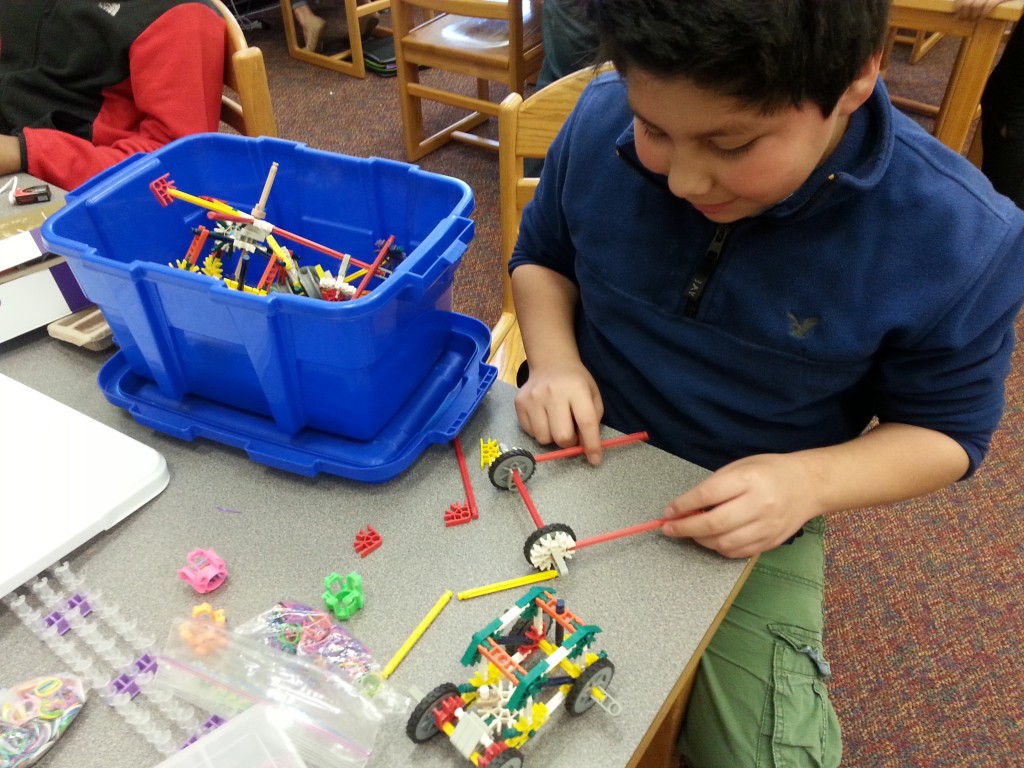
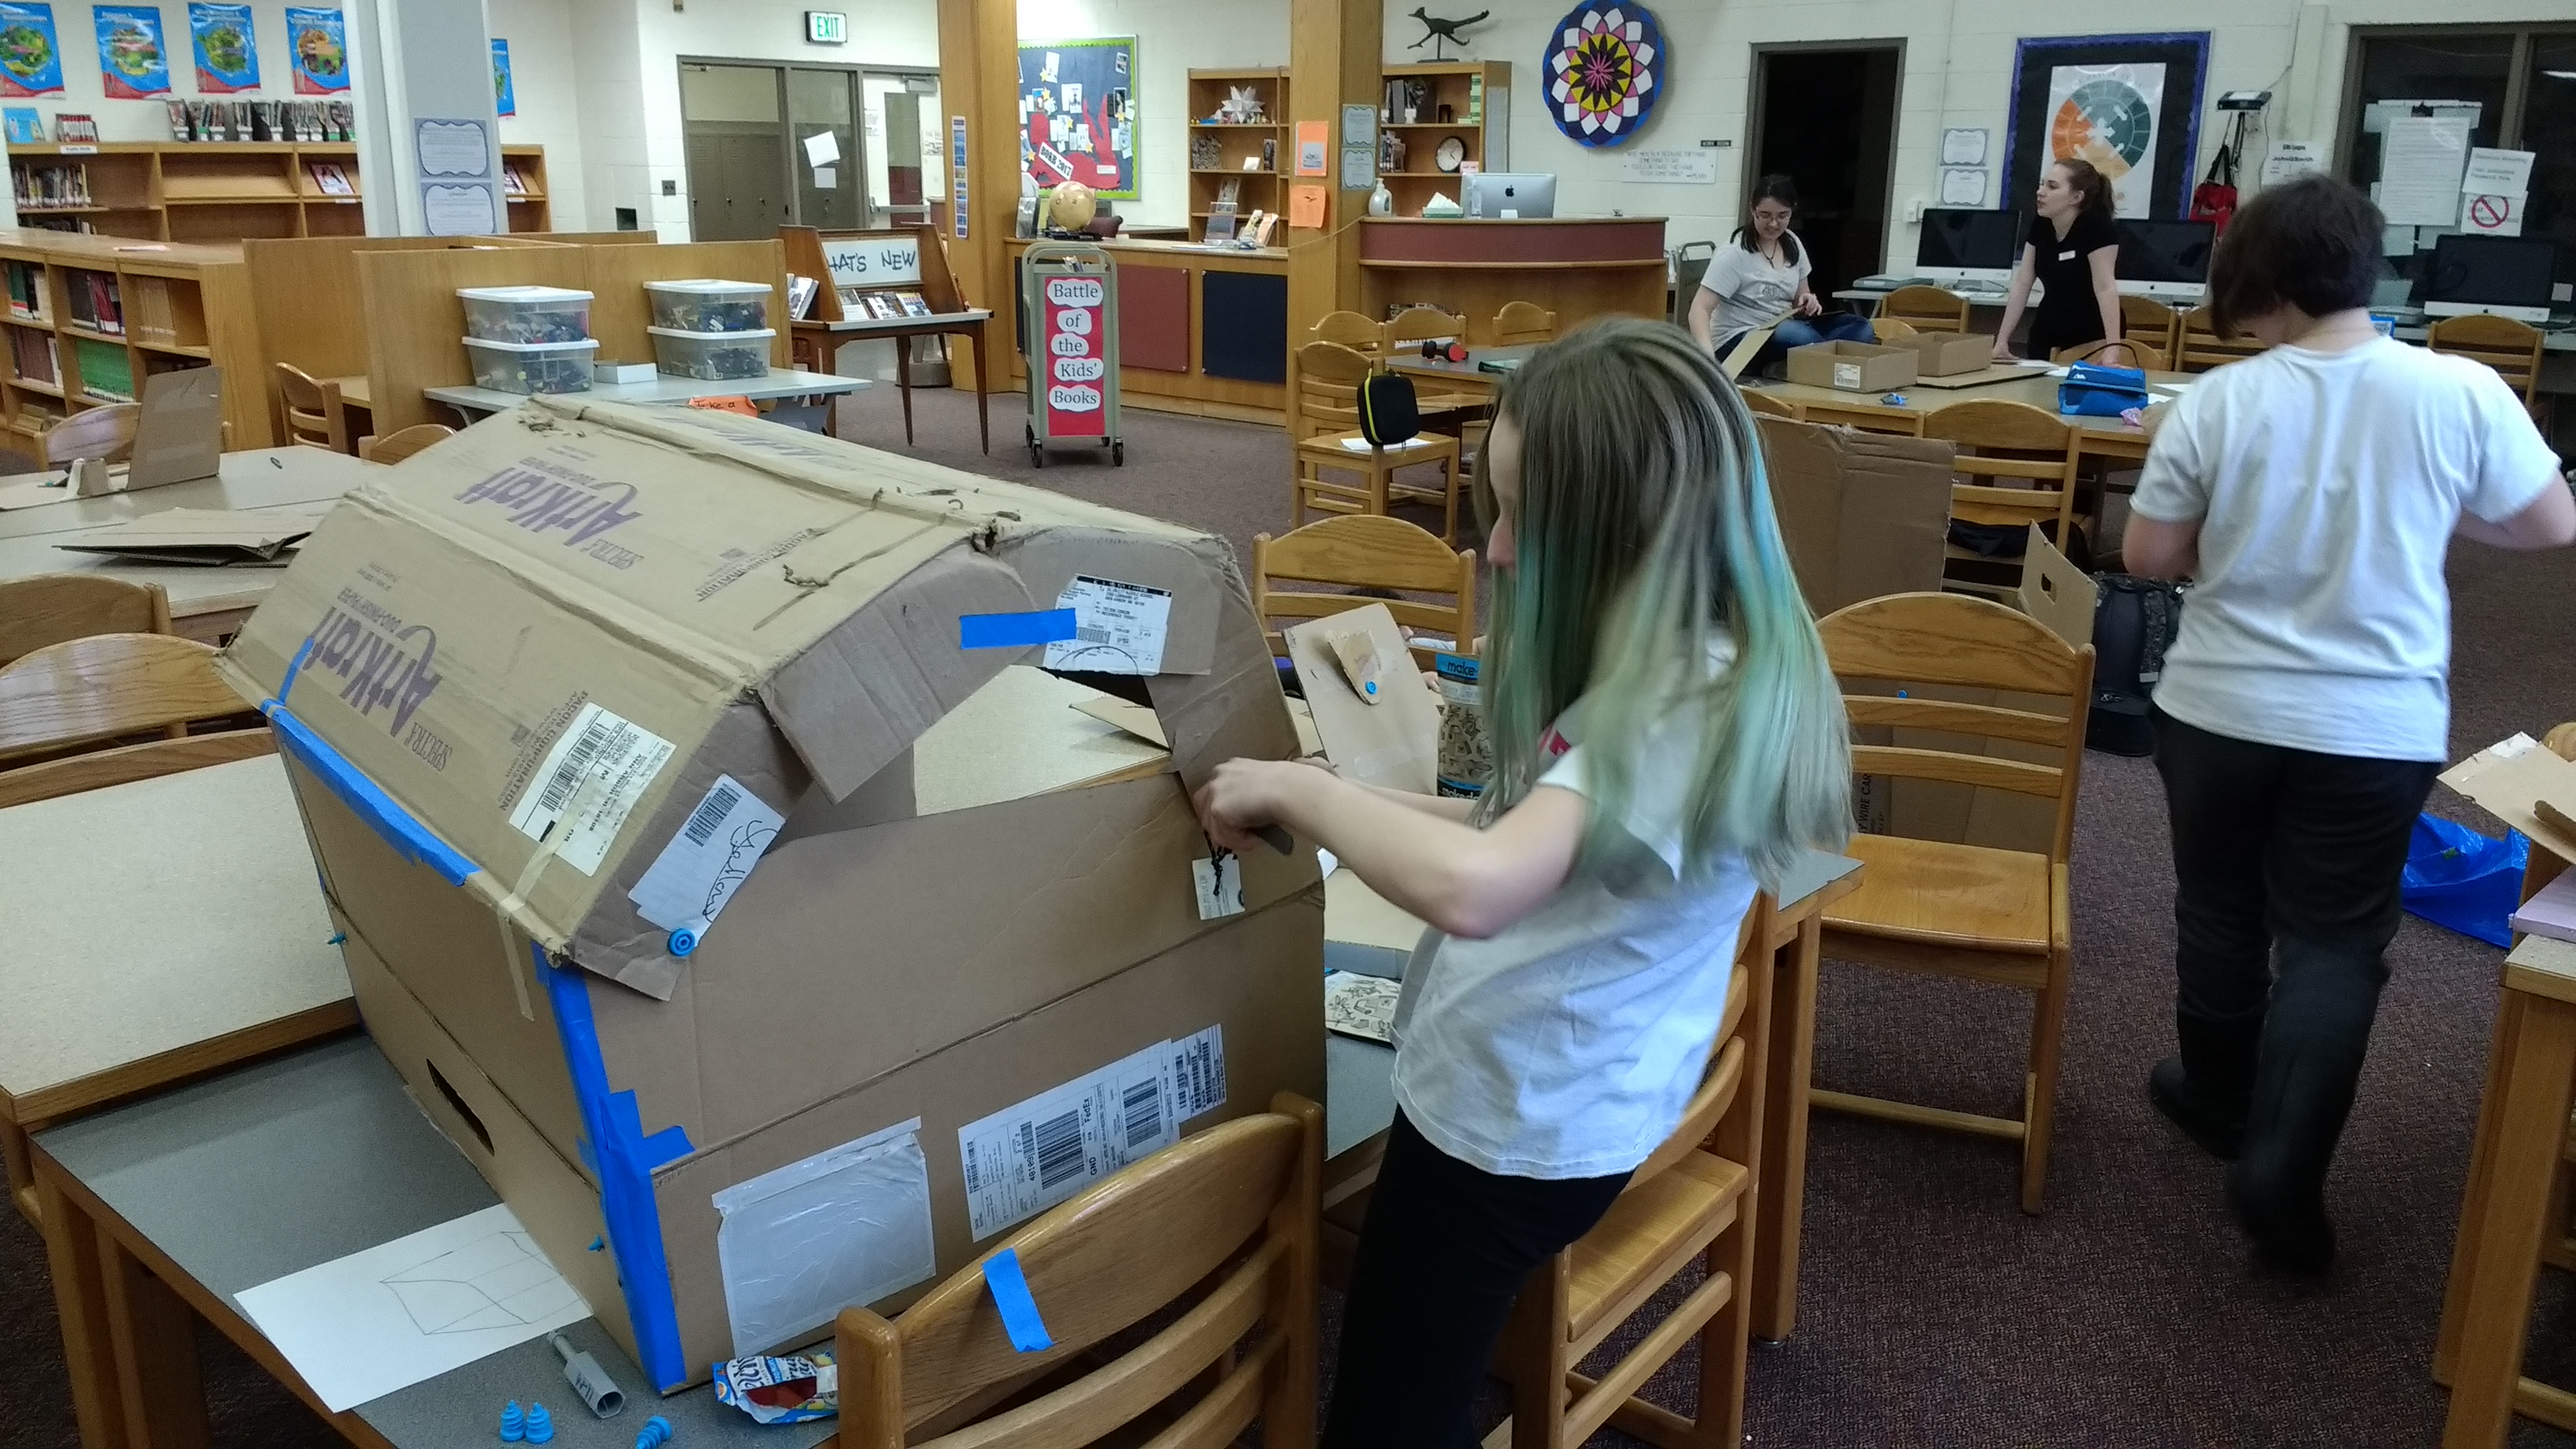
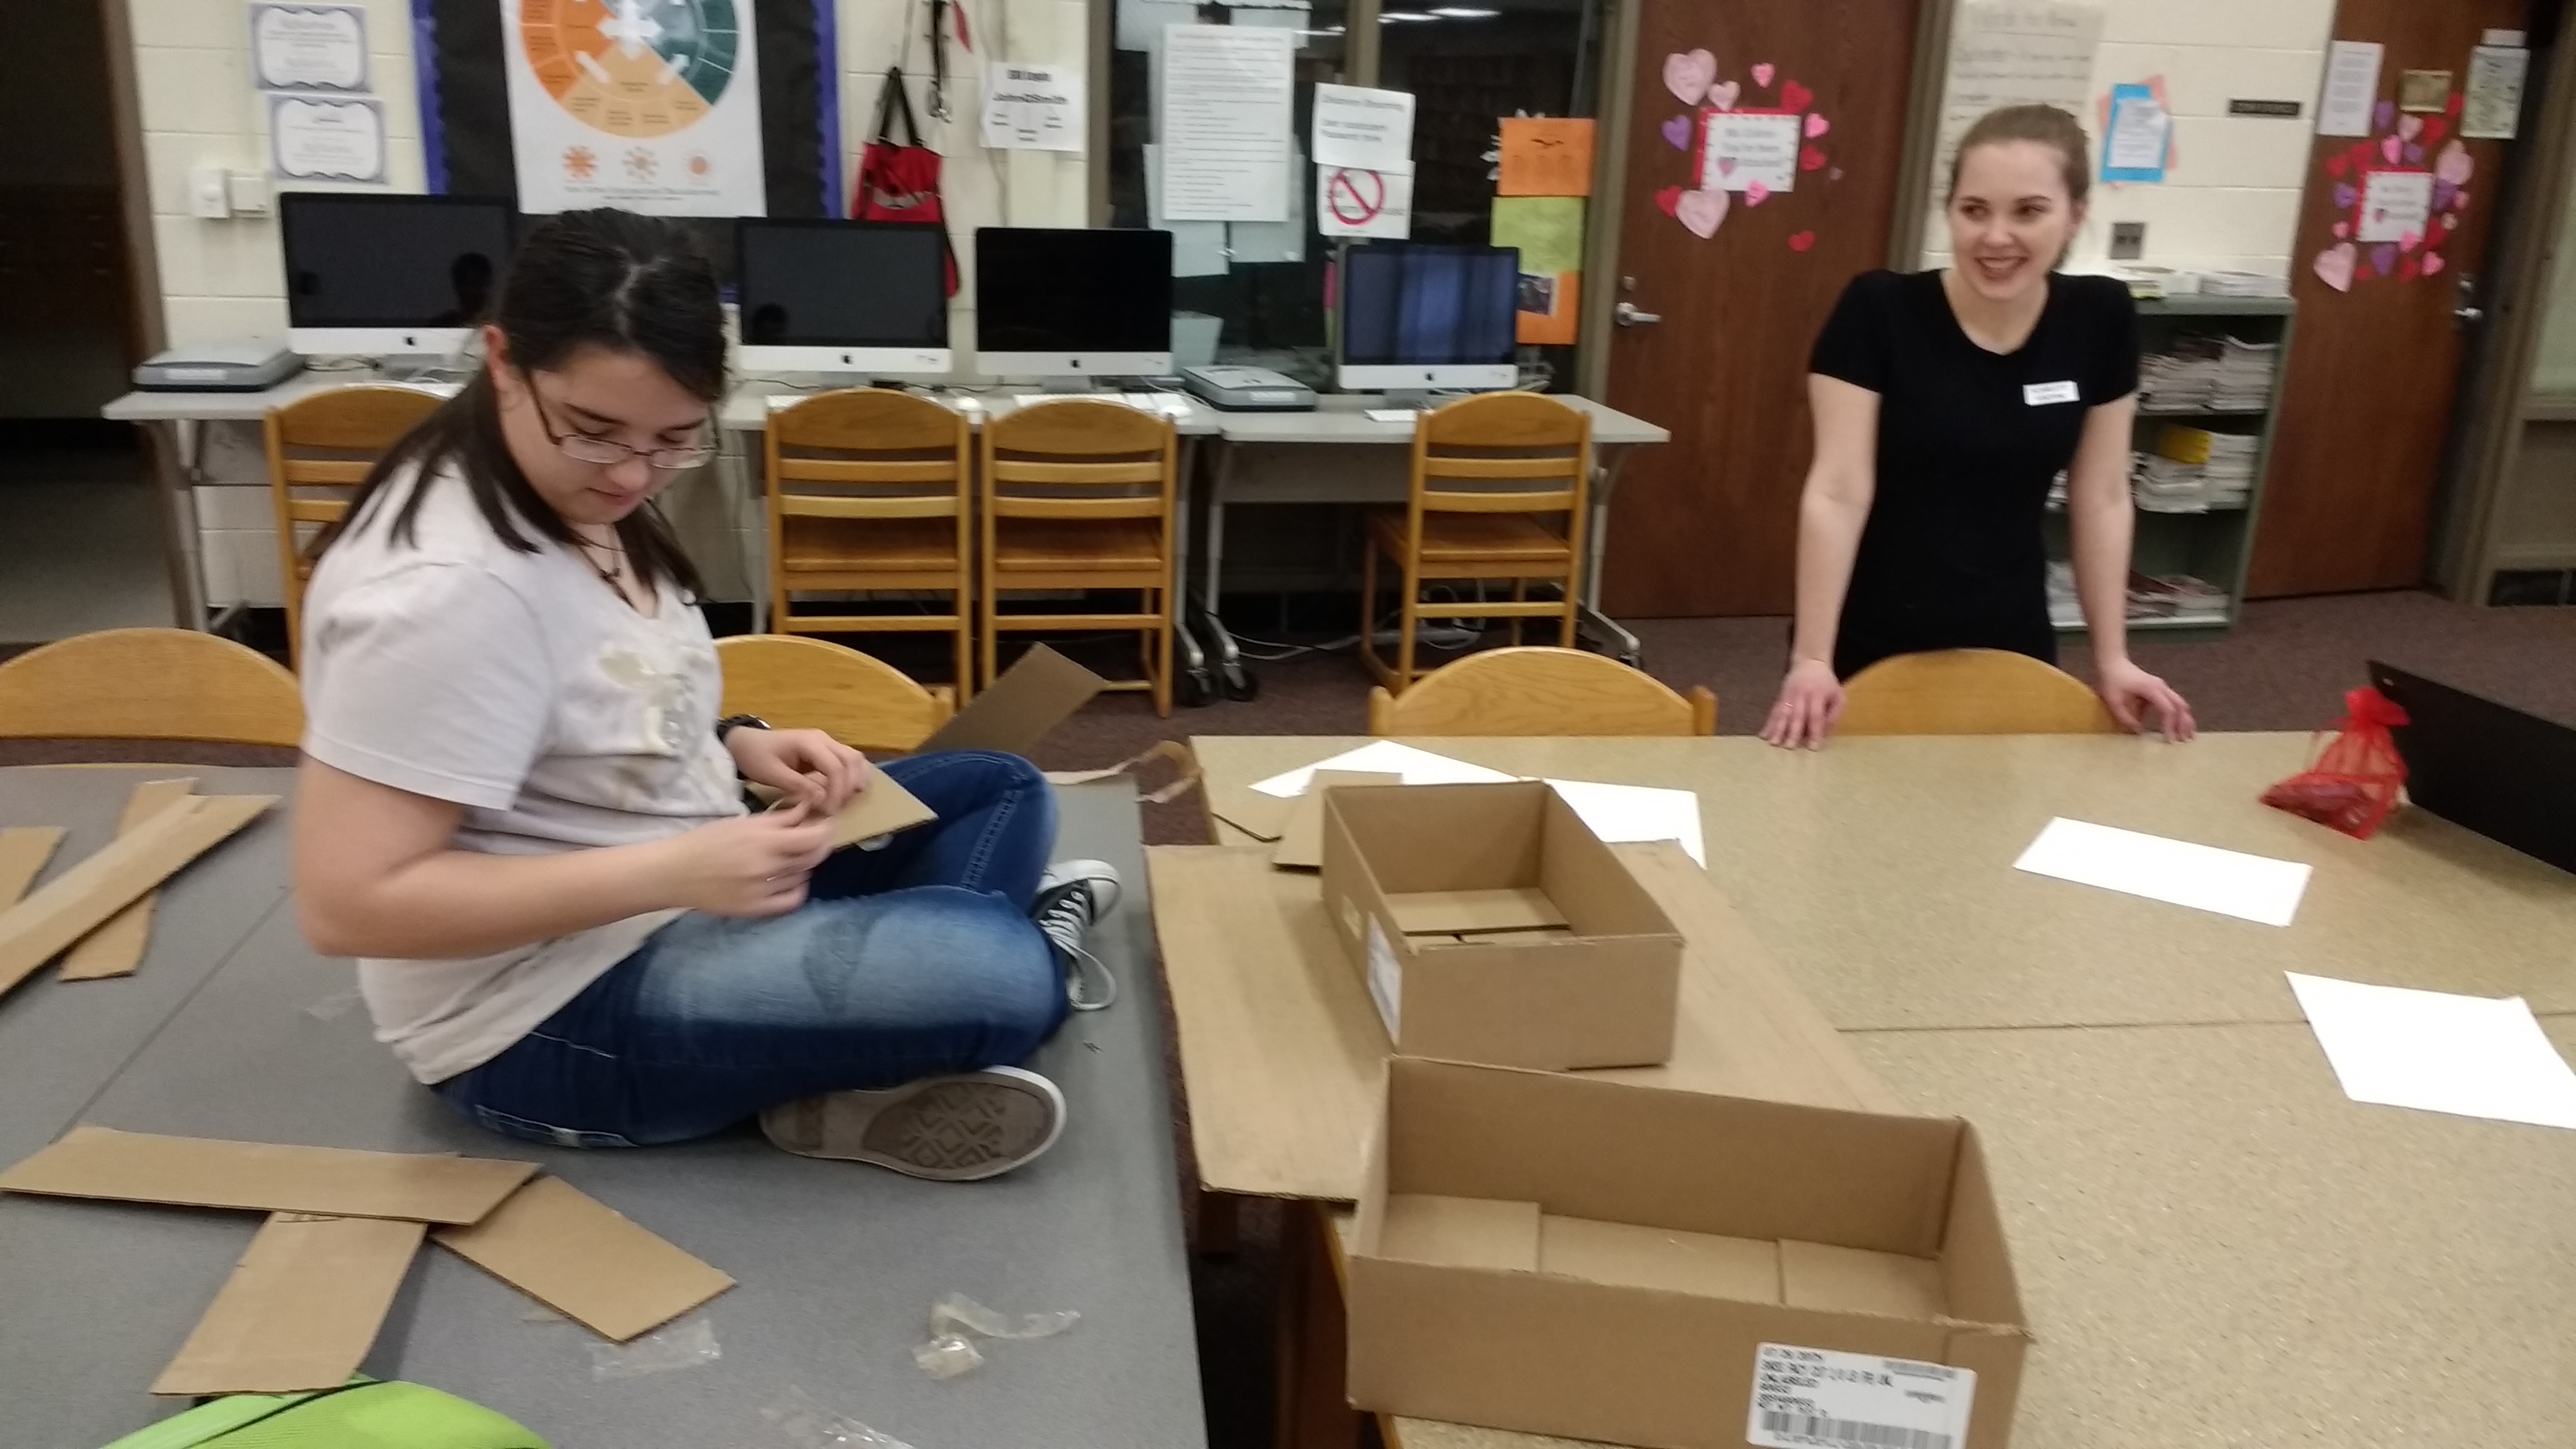
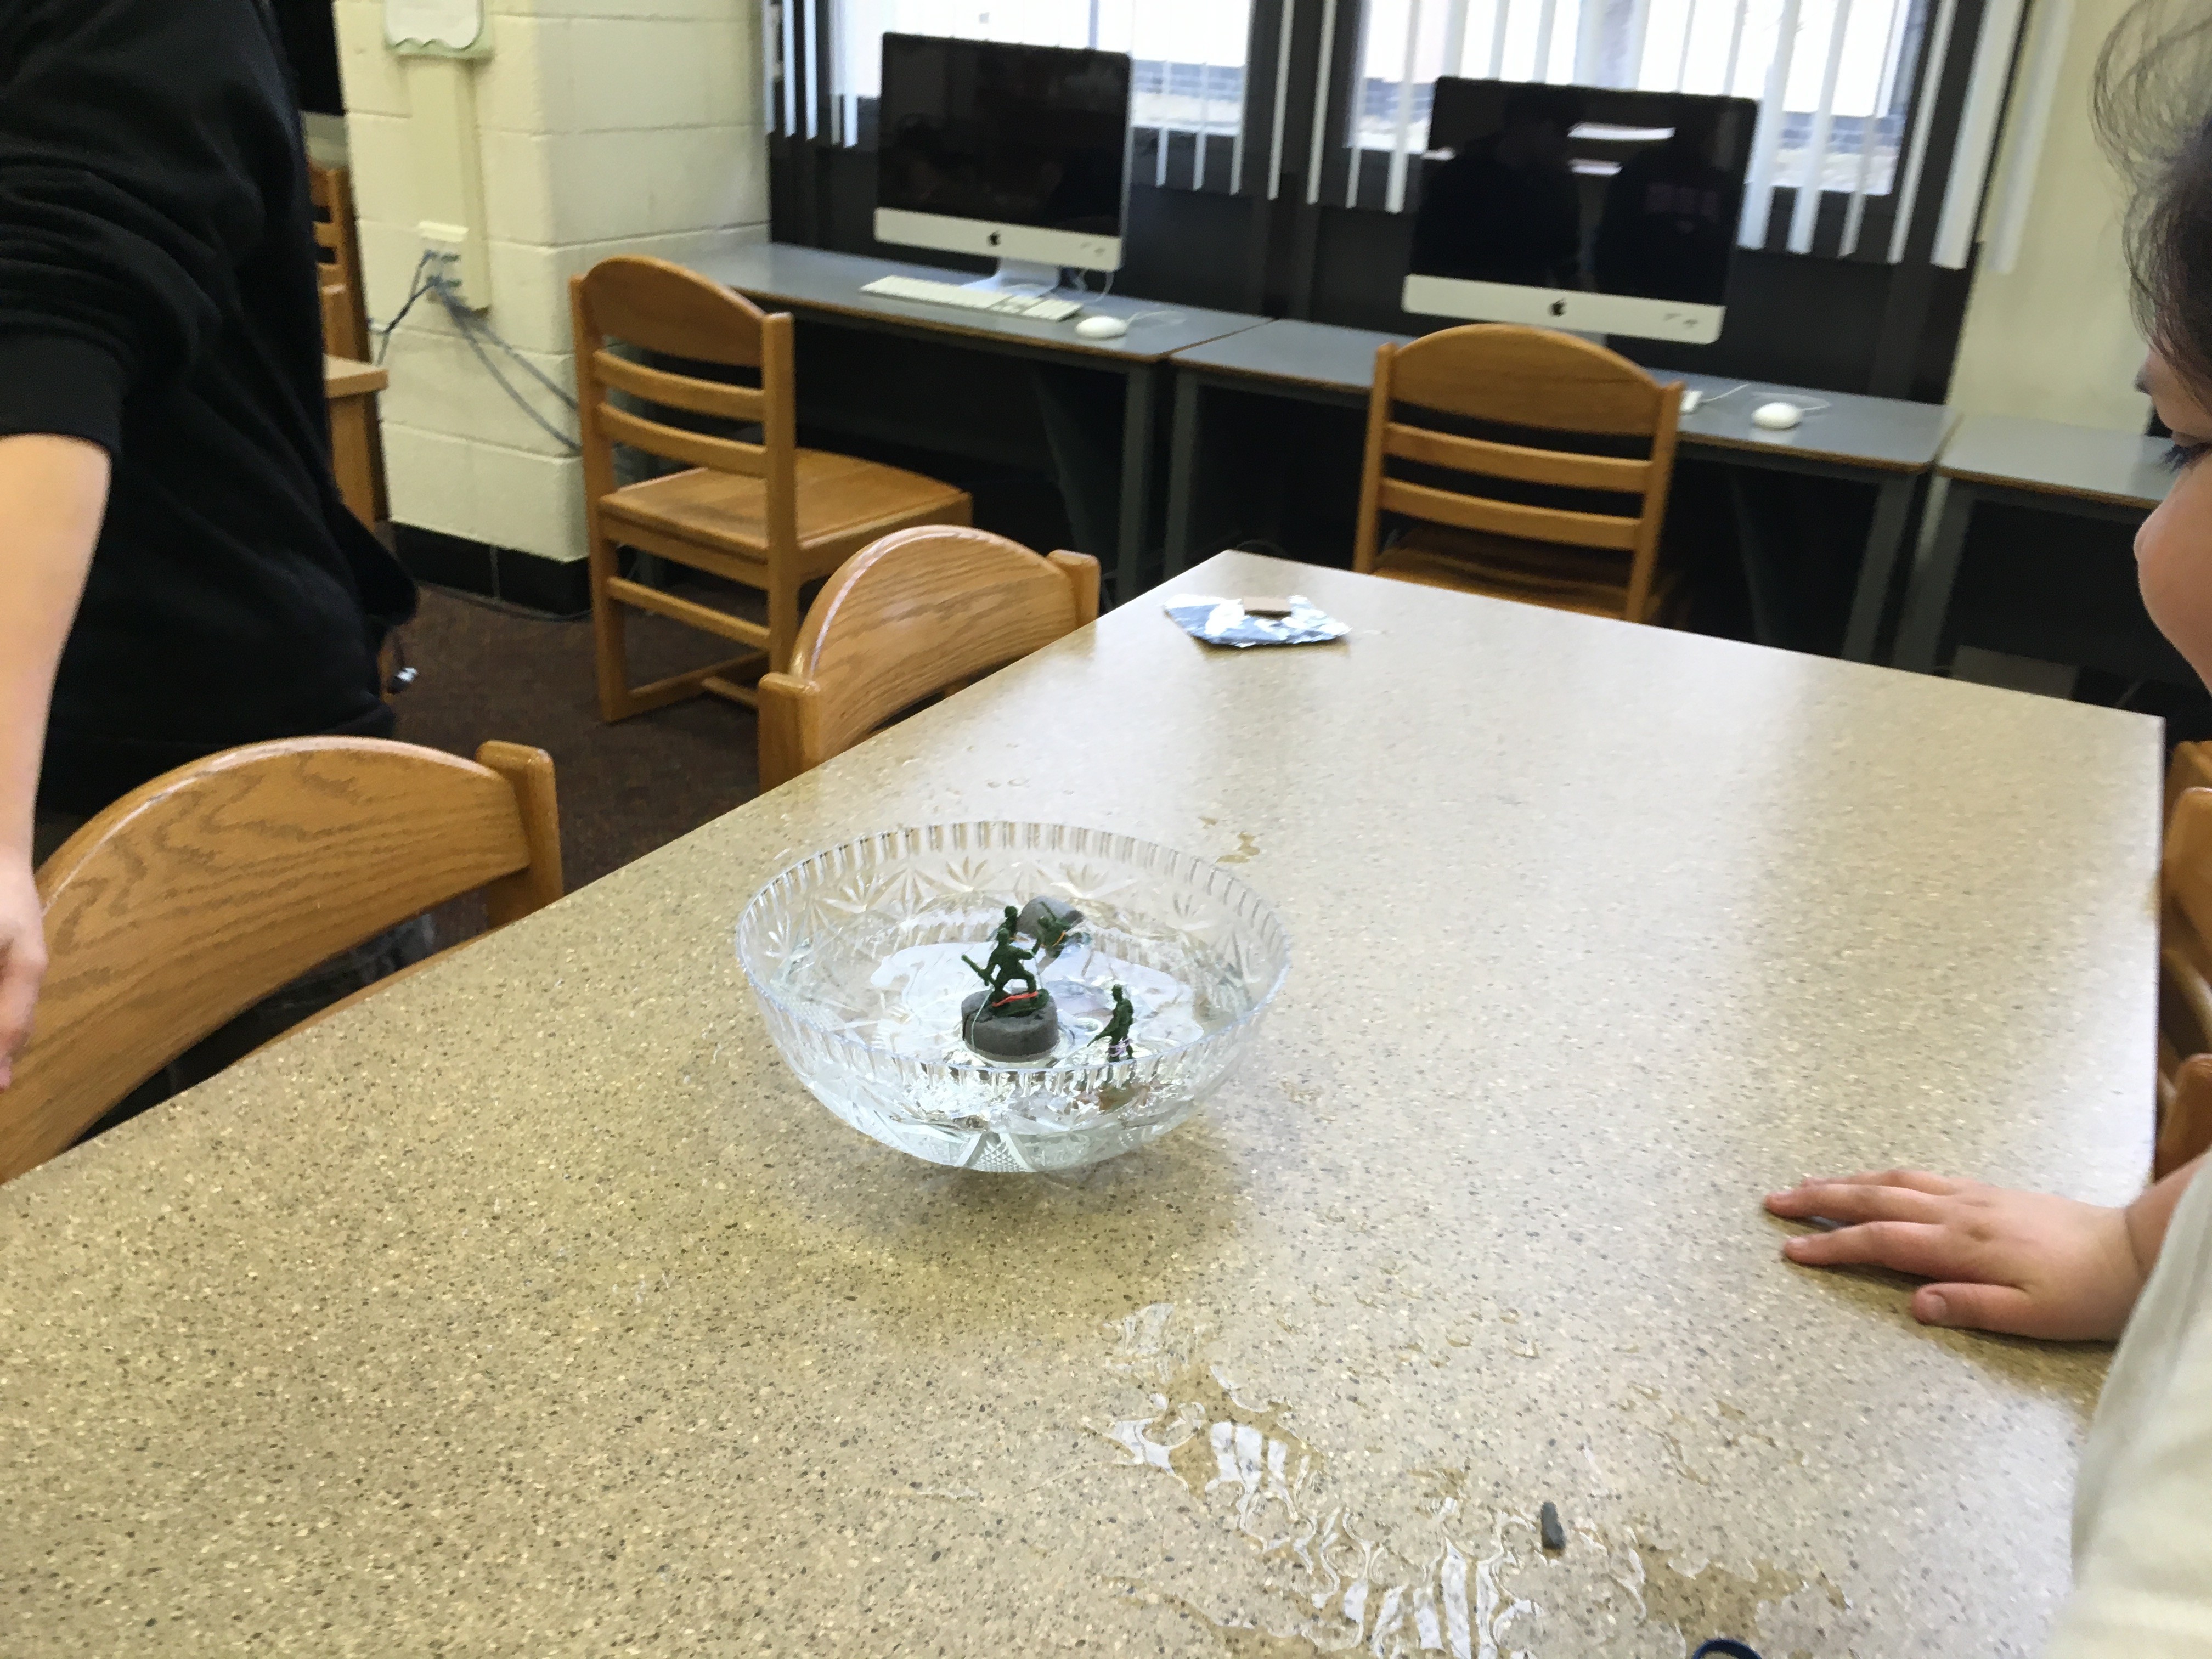
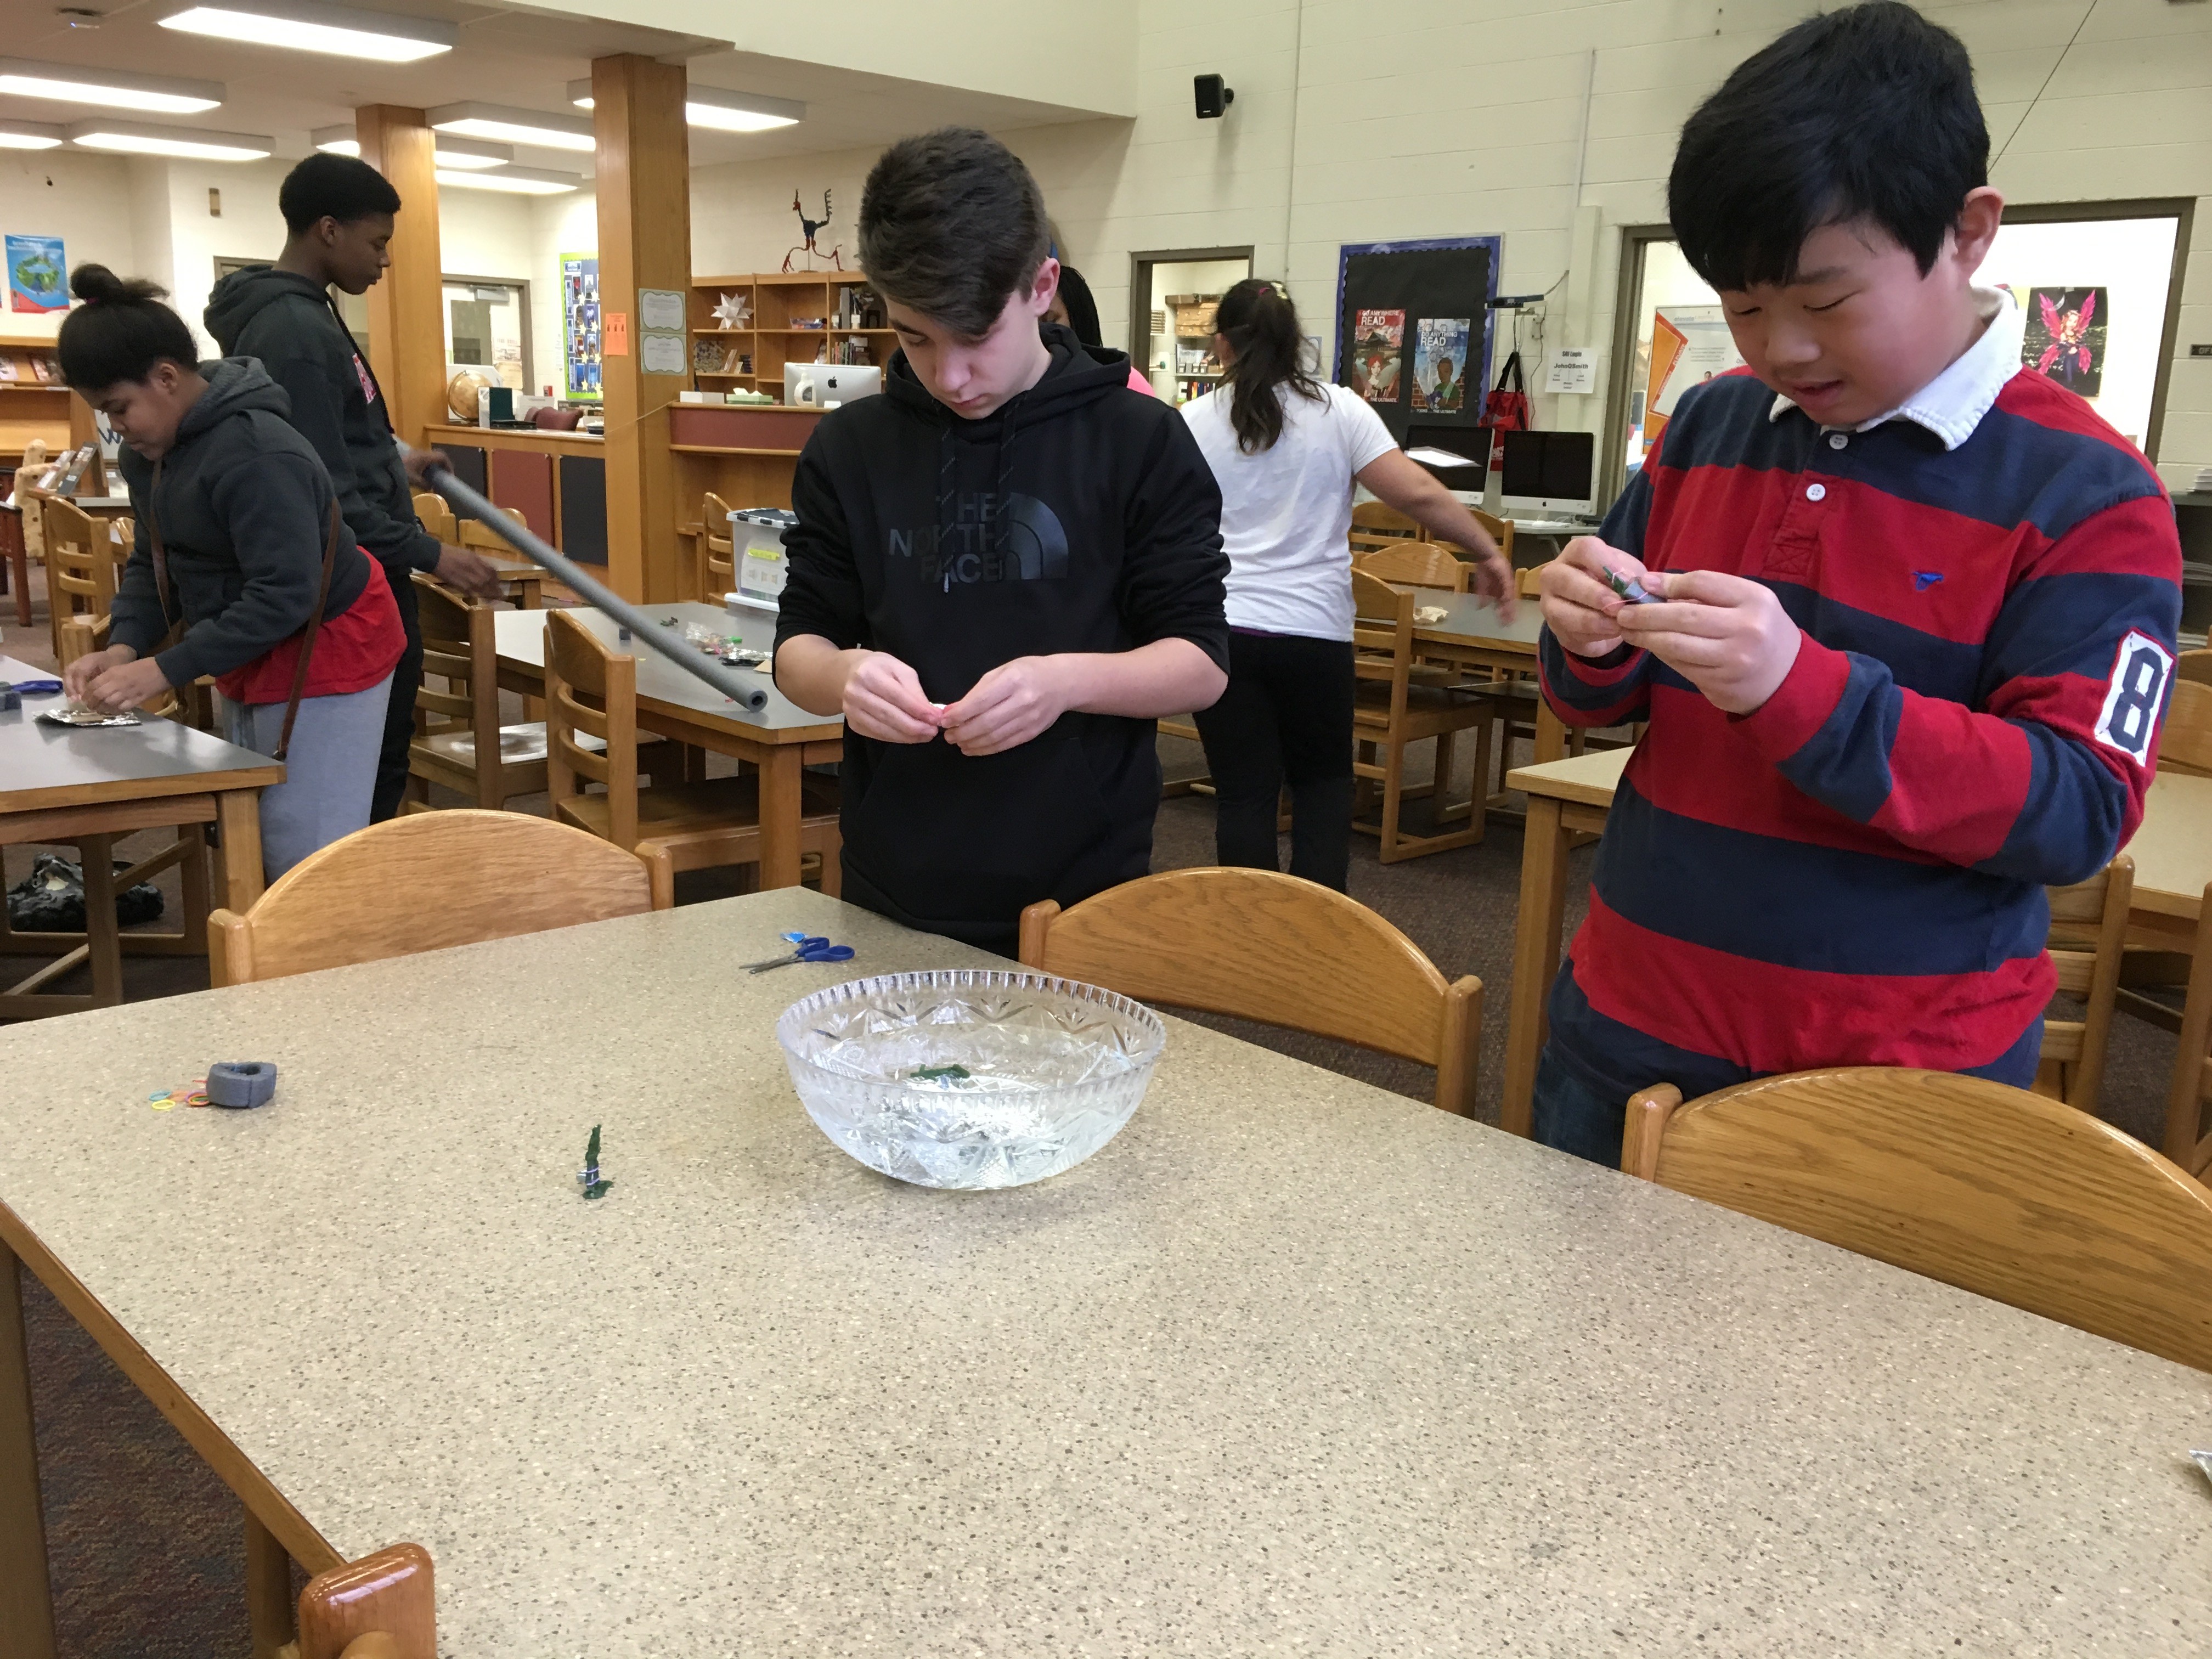
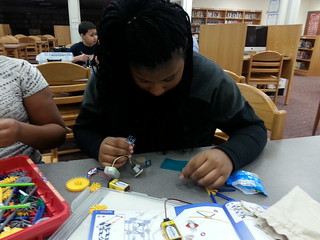
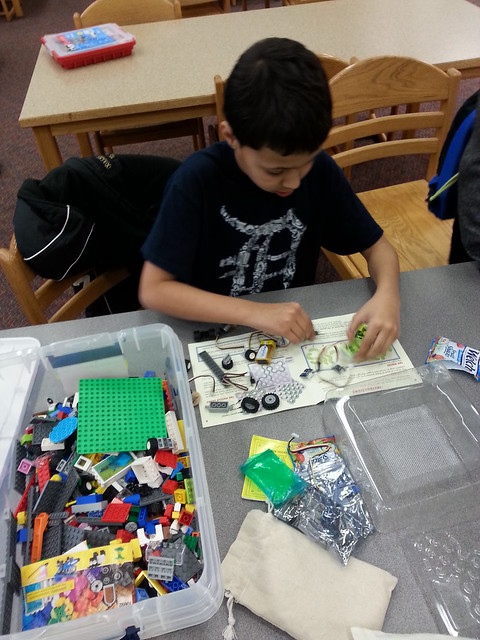
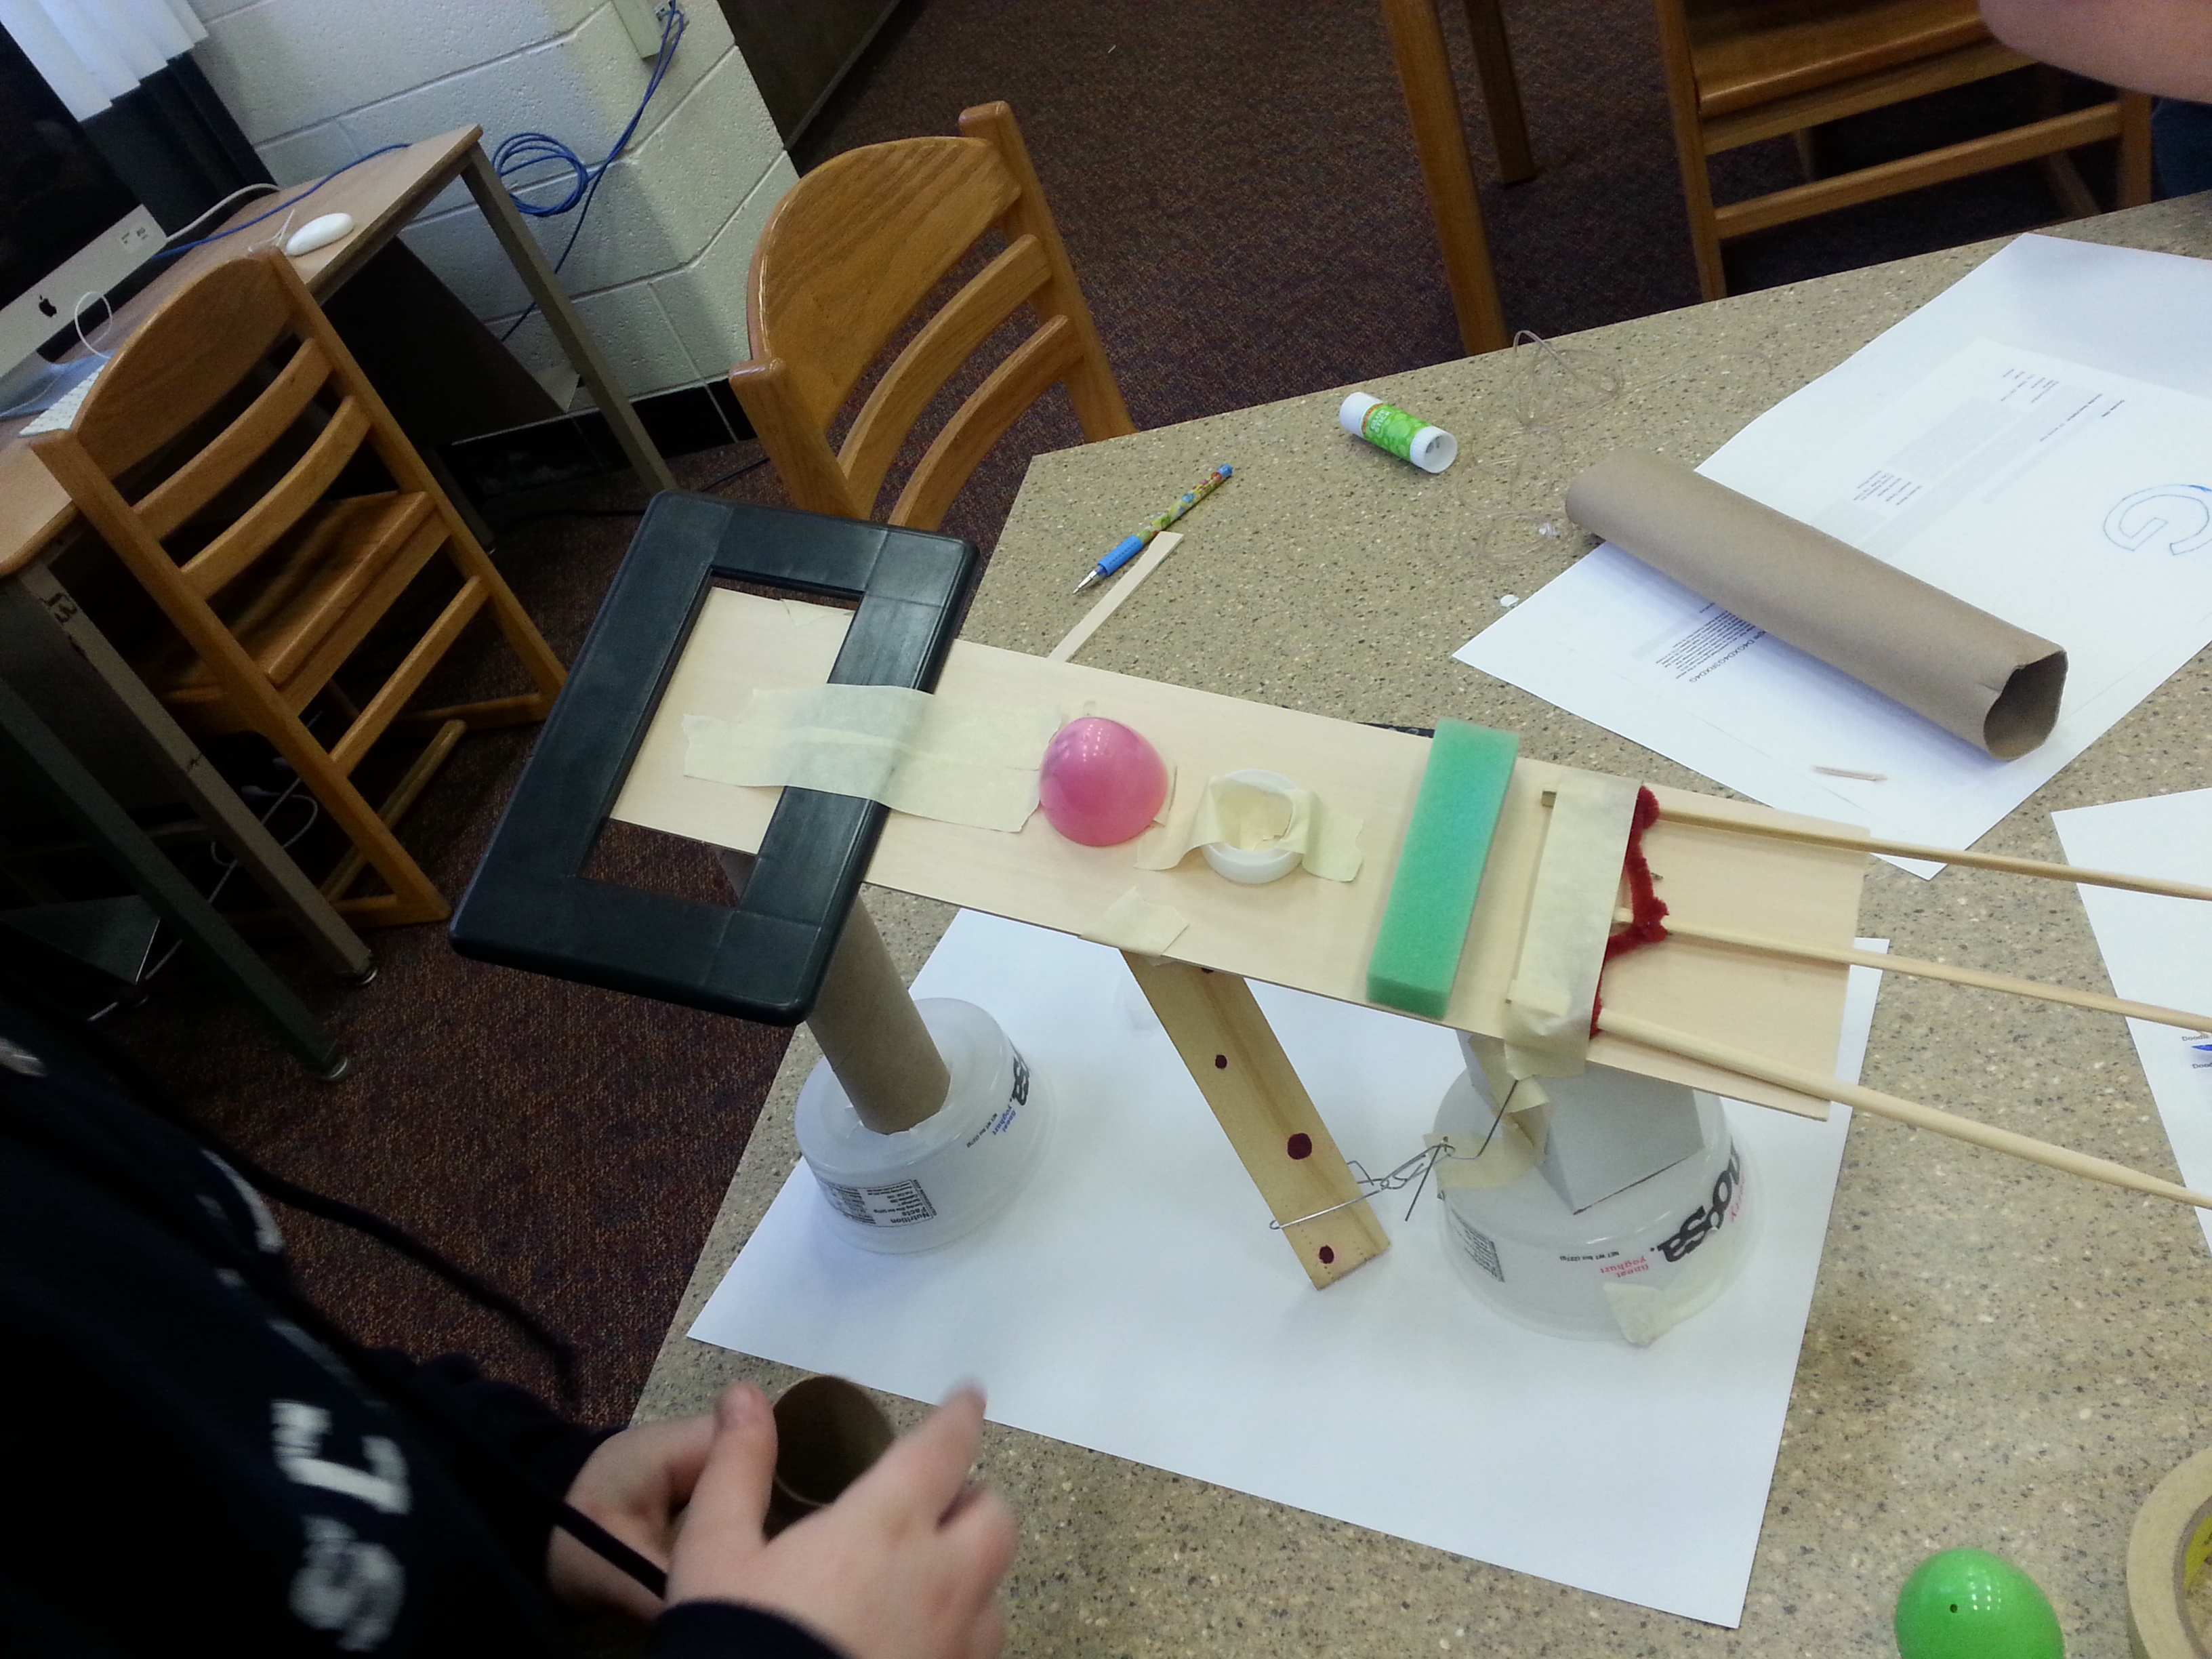
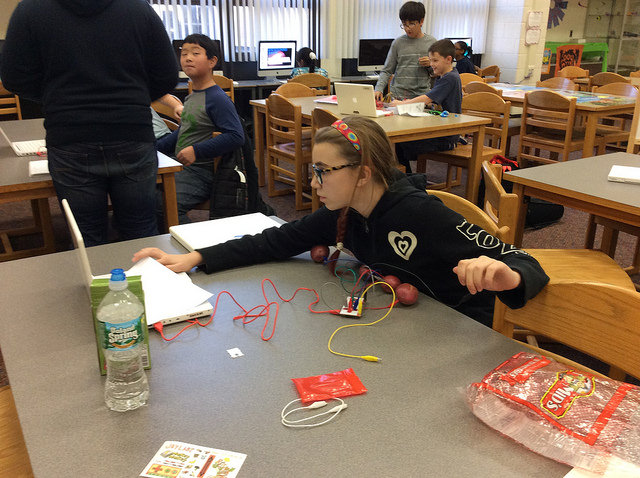
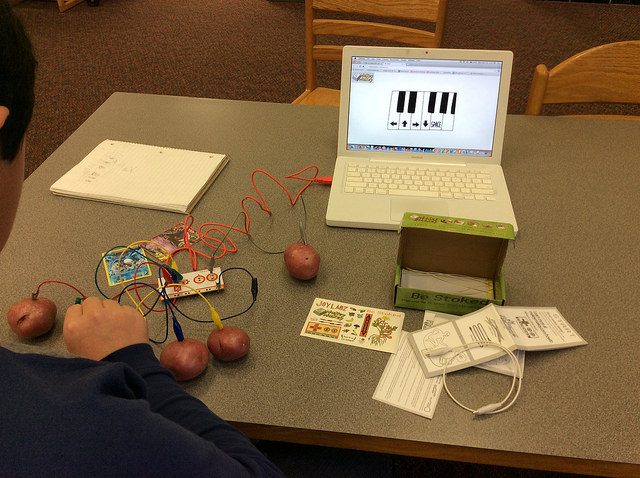
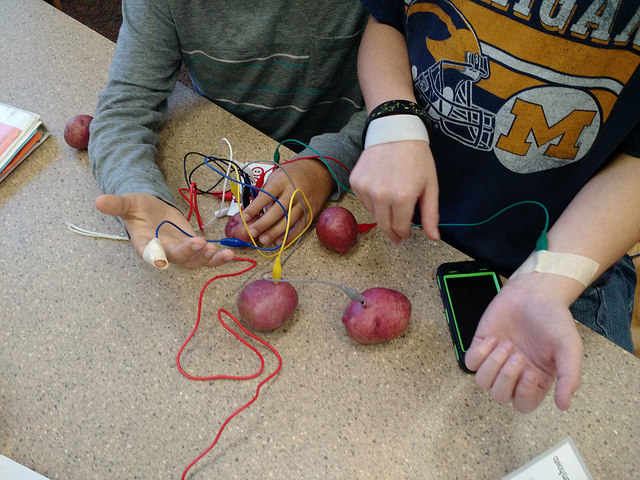
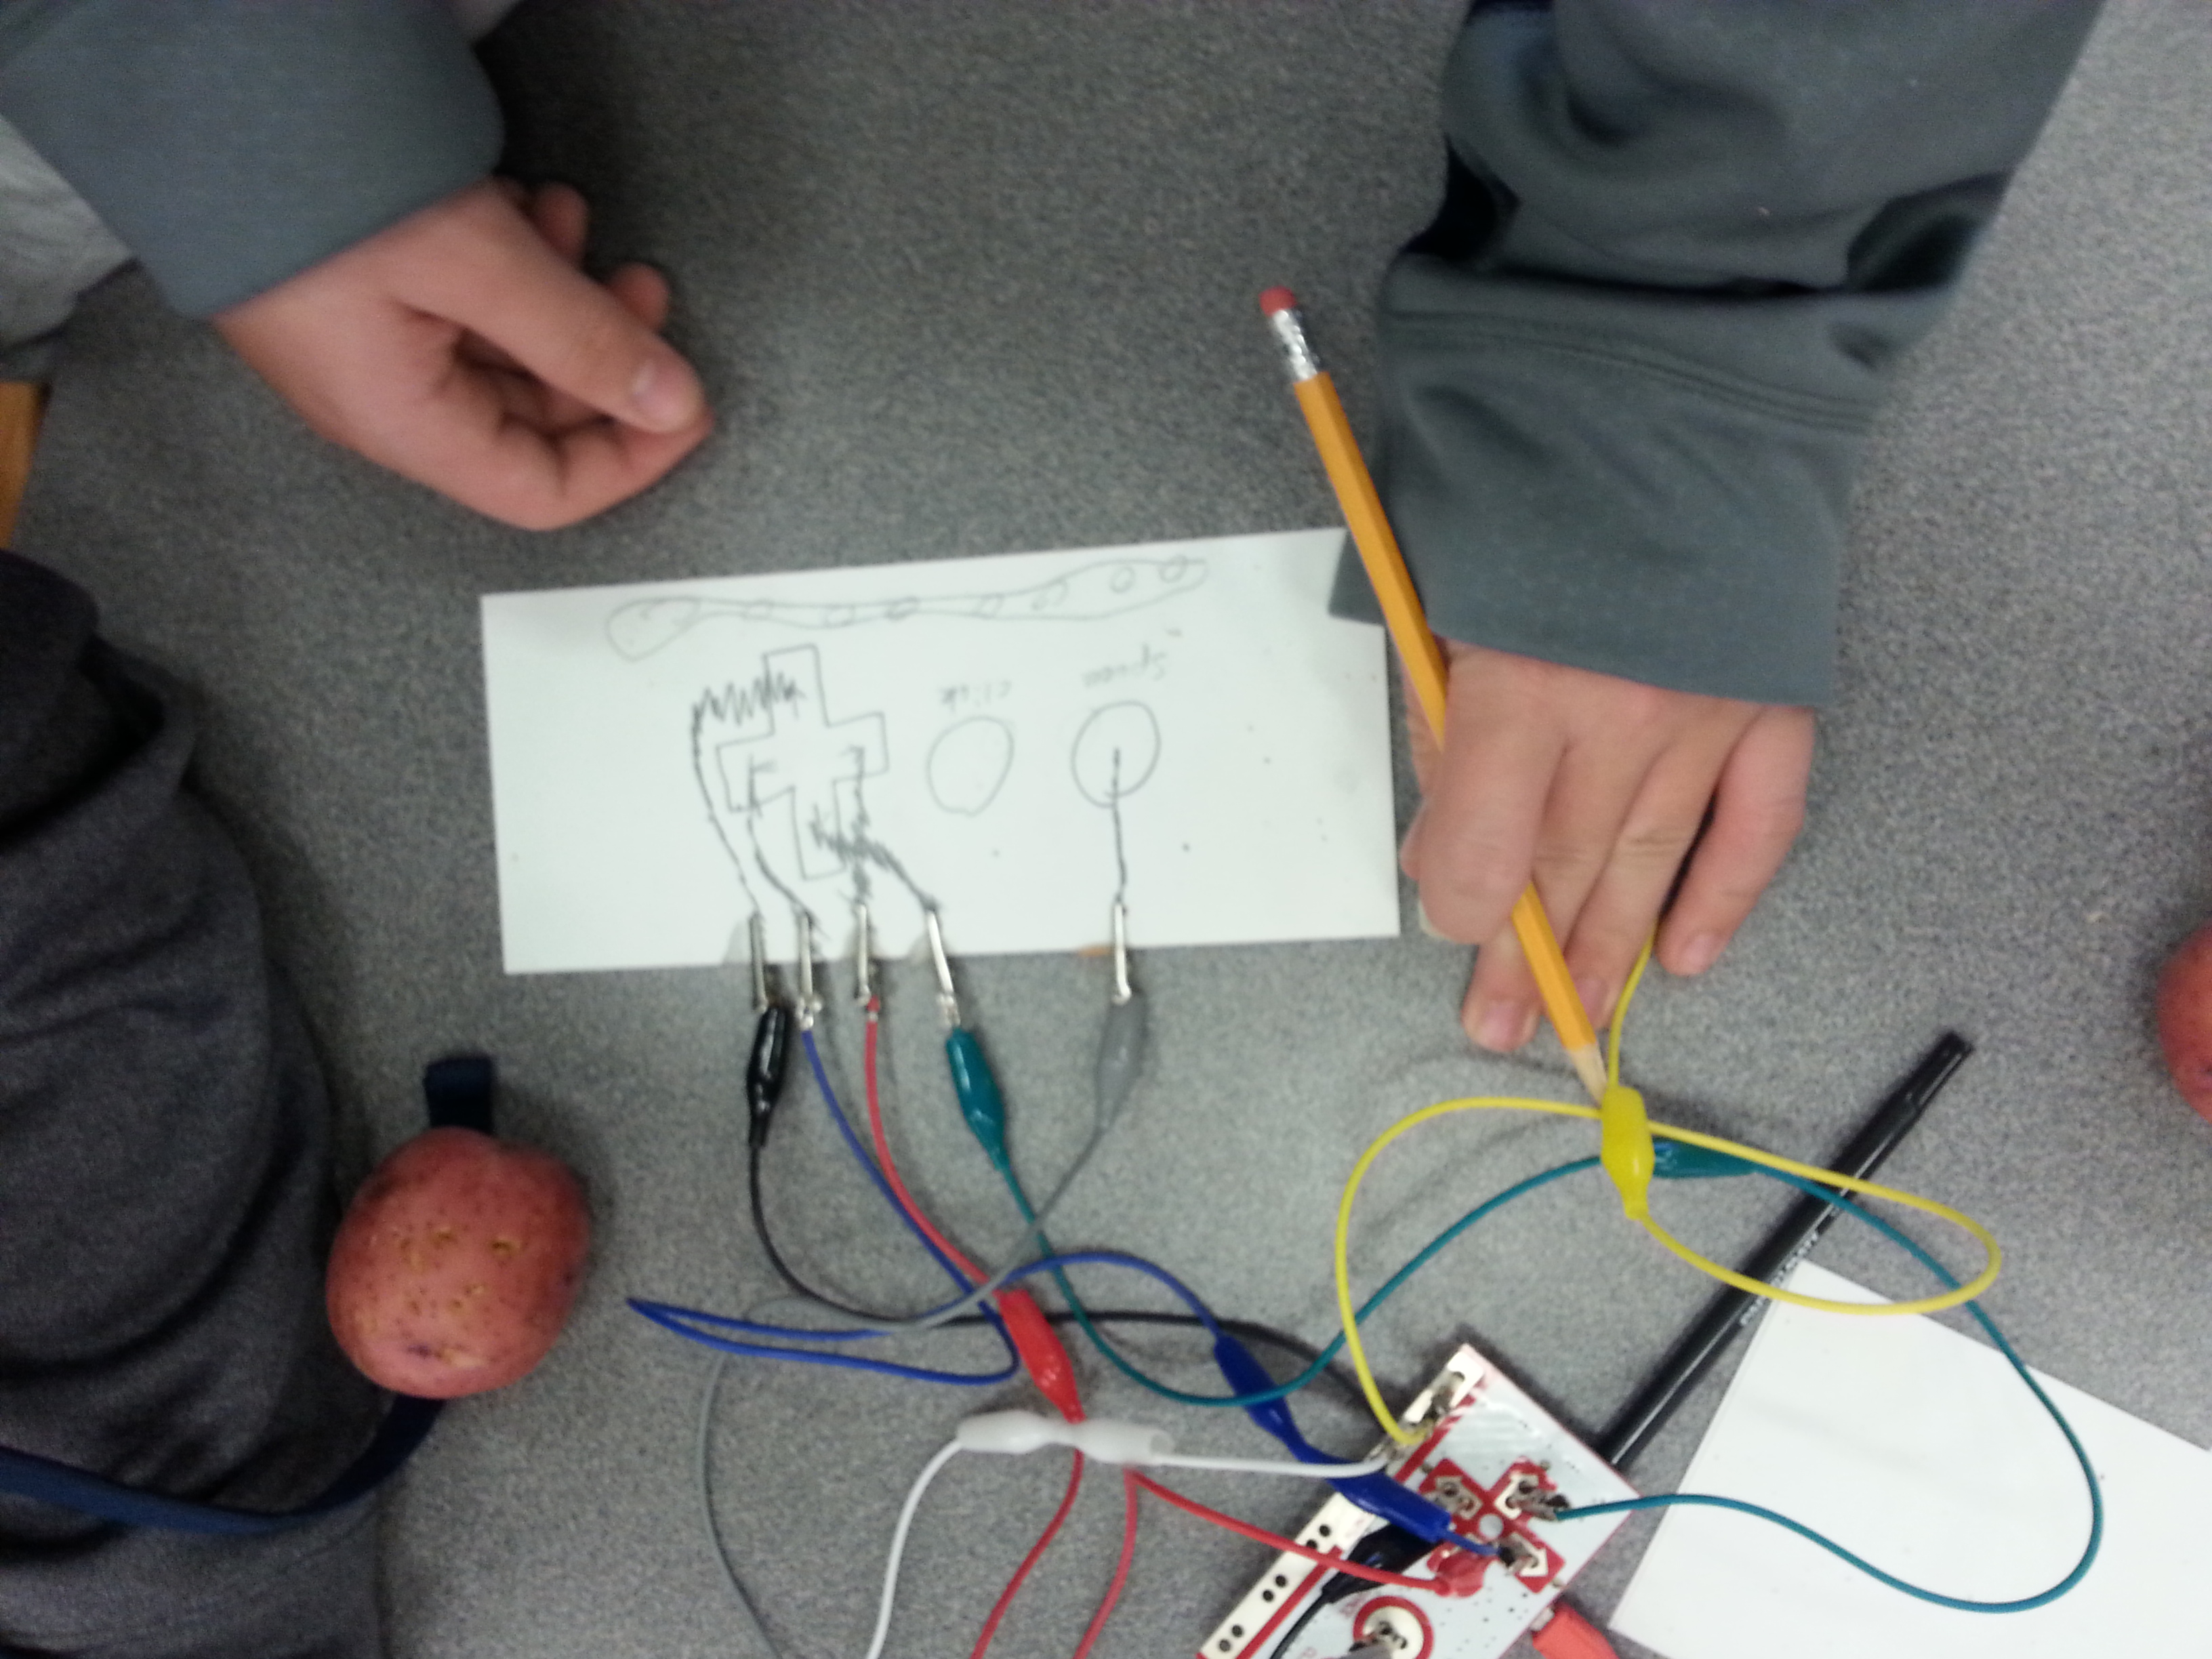
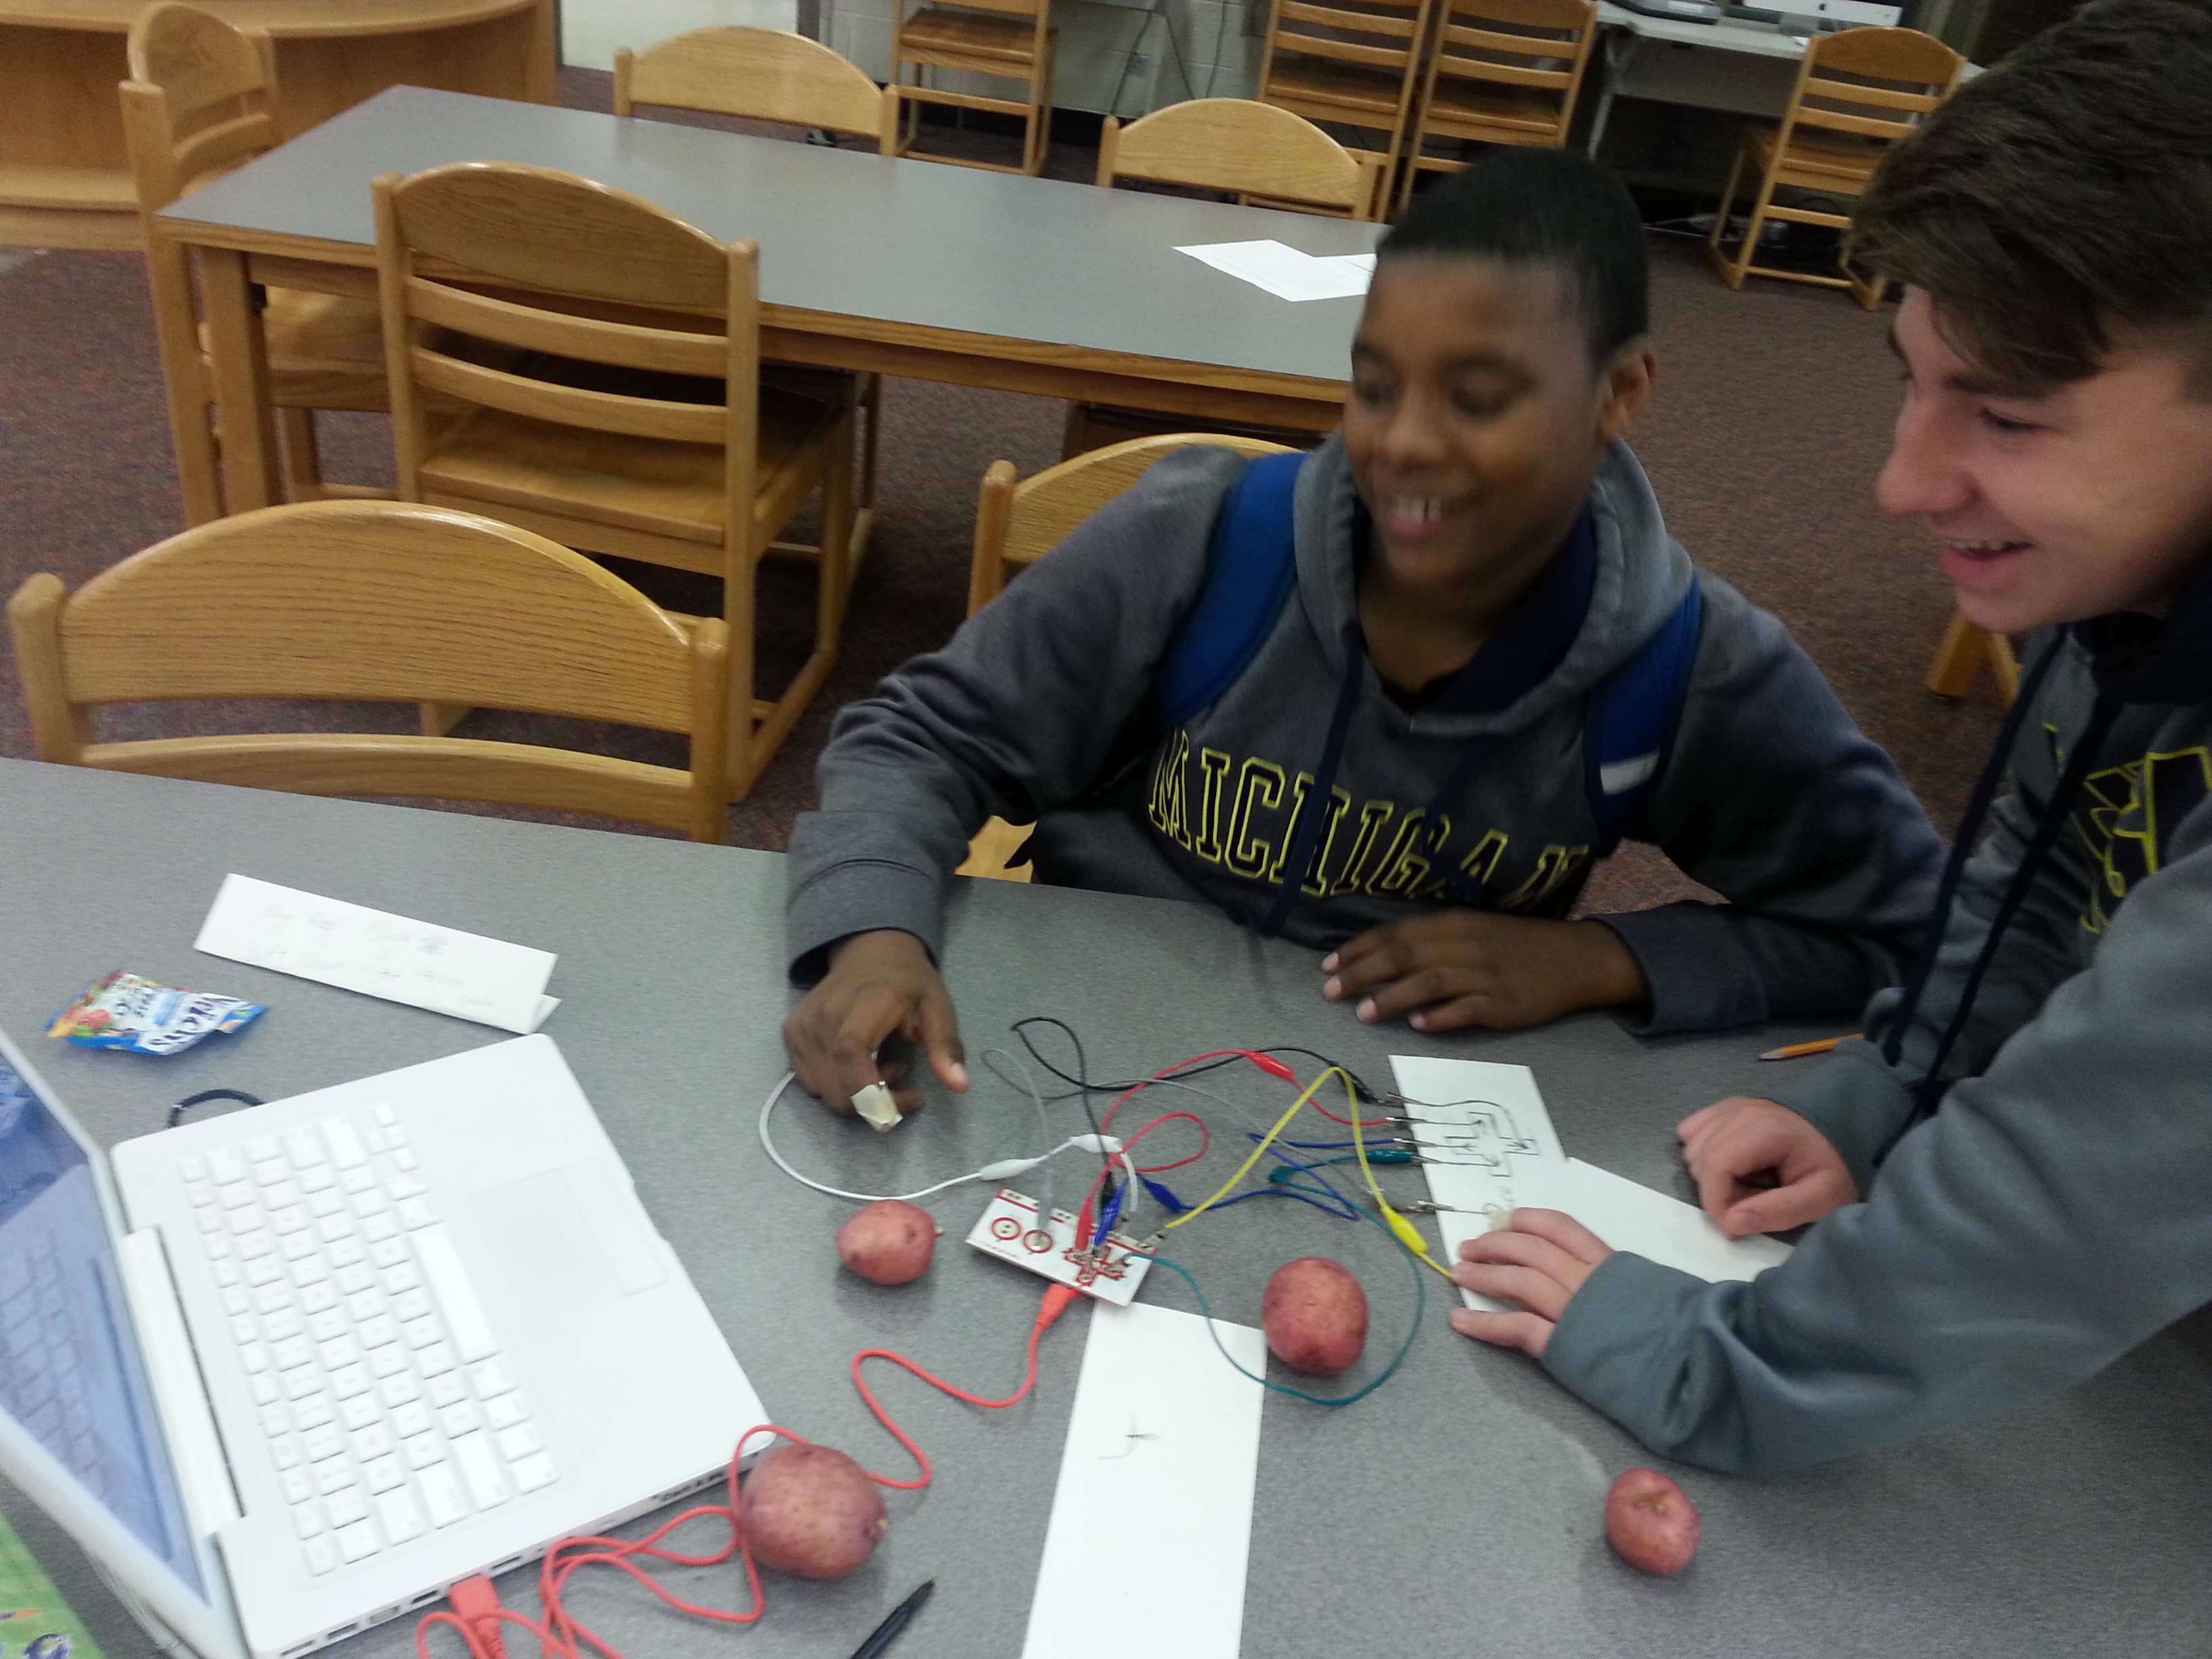
We had sets of TechBox Tricks out and tipped them off on how a simple circuit from the Techbox Tricks could power up and bring their Lego cars to life. You should see how hard they worked: Tinkering away, they were tried balancing battery packs in the vehicles and positioning a small motor to spin a car’s axles. Other vehicles ran on potential energy stored in a wound-up rubber band strung across the axles! Watch out, world. We’ve got some problem-solving, super motivated engineers coming your way in a few years!

20160414_16123920160414_160921

20160414_155714


It’s been a great year with these Makers. Every week, we’re impressed with how these students put their heads together and commit to making something. We’re proud of all the hard work they’ve put  in this year and hope they continue to be Makers in the future!

So You’ve Got a Stack of Old Magazines, Eh?

A big part of being a Maker is creating new things out of things you already have around you. After chatting with our middle school’s librarian, I learned that she had book shelves filled with old magazines, available for anyone in the school to take. It got me thinking about how we could repurpose old magazines and turn them into something new….

cut-paper-art12-600x4501

After poking around the internet for ideas, I came across this inspiration for magazine strip art: http://suzyssitcom.com/2012/06/feature-friday-cut-paper-art.html  We had stacks and stacks of colorful magazines at our disposal, and this artsy activity looked like something the students could get excited about.

The prep work didn’t take very long; After 30 minutes of tearing out magazine pages and slicing them up in a paper cutter (the kind that has a blade on a guillotine-like lever), we mentors had a box full of magazine strips ready for the students to create with!20160331_162808

We let the students pick out the designs that they wanted to appear in their piece. It’s exciting to see the students get revved up about taking ownership of their work! We, the Mentors, might have given them some advice on selecting images, but it was they who pulled together designs and put their own spin on how they wanted the magazine strips to look.20160331_16061220160331_163334

Some students looked at the sample we put out and instantly went, “Nope. I’m gonna do it a different way” and  confidently went in their own direction. And that’s okay! We want to see students think outside the box and experiment. There are so many ways to make this activity your own, and I’m glad to see students fearlessly creating something they hadn’t made before!


20160331_163125For a variation on this activity, check out this link: http://www.pinkstripeysocks.com/2014/02/diy-magazine-strip-silhouette-heart-art.html 

We’ve got more pics form this activity! Find them in our Flickr album HERE.

Etch-a-Glass

Have you ever walked into a souvenir shop and seen drinking glasses with frosty designs on its surface? As it turns out, you can make these yourself!  With the help of a Cameo machine, some Contact Paper, and some etching paint, we were well on our way to creating our own uniquely designed glassware.

20160317_162000

Because our students could put almost any design on their glass, the number of options was daunting. At the beginning, we heard a lot of “What should I put on mine?” . To get them started, we suggested ideas like their favorite video games, game characters, places to visit, their names, and famous logos. When selecting their designs, we recommended that they pick simple images with clean lines and few details since these tend to show up best on glass. A great place to look for images is The Noun Project.

Once they picked their designs, we loaded the designs into Cameo’s design software and etched the designs onto vinyl (think Contact Paper). The students then peeled and placed their vinyl designs onto their glasses, removing sections of vinyl and exposing glass that they wanted an etched (frosty) design to appear.

20160317_162041

Watch that Cameo go!

20160317_162051

It’s hard to see from here, but the Cameo machine is cutting the student’s design onto Contact Paper.

After slathering a coat of glass-etching paint onto their glasses, washing the paint off, and slowly removing the remaining vinyl off their glass, their etched design was finally revealed! They were excited to see something go from concept to final product and take it home. Our glass artists did a great job of asking for advice on implementing designs and helping each other along the way.

20160324_164117

Glasses are wrapped in vinyl (Contact Paper) and ready for etching paint!

20160324_163243

Personalized glass: check.

20160324_163344

Video game character on a glass? No problem.

20160324_163315

Na na na na na na na na BAT GLASS.

For instructions on how to etch your own glass, Mayank (a fellow Makers Mentor) has blogged them HERE.

Floating On: Life Vests and Army Men

Recently, I came across some STEM activities by The Ardent Teacher. The “Designing Life Jackets for Babies” looked like a great activity for getting students to experiment and think critically about design. I adapted the activity so that we would use weighted plastic army men instead.

We posed the following challenge: Create a life jacket that will keep your army man face-up above the water with just a piece of foam and 2 small rubber bands.

Since the army men float easily on their won, we attached weights to them (nuts from the hardware store were $.05 each!) to make it more challenging to float.

IMG_4018

Despite attaching these weights, the students quickly found out how to keep their army men afloat. Anticipating this, we put different spins on the challenge:

  • Imagine that 2 army men must share one flotation device. How could you modify your flotation device so that both men could stay face-up above water?
  • In the real world, engineers face challenges all the time. Sometimes, you don’t have as much material as you’d like to create a design. But engineers find a way to make their designs work! Now, with half of the material you start with, create a life vest to keep 1 (or 2 if you want to challenge yourself!) army man afloat.
  • Imagine that your army man is parachuting out of the sky and will be landing in the water. With the materials given, design a flotation device such that when he’s dropped from 1 or 2 feet above the water, he is able to safely float to the surface and keep his head above the water.

IMG_4016 IMG_4013

These variations kept the students engaged and trying new things. Sometimes the army man floated face-down or barely stayed above water, and the students would try placing the foam on different areas of the army man to counter his weight and help him float upright.

To wind down, our students switched gears and worked with Little Bits and Rainbow Looms! 20160310_160429
IMG_4020

20160310_160532 

Printing in Plastic: 3-D Printing Has Arrived

In the spirit of trying new things (this is a Makers group after all!), we brought in a 3-D printer for the students. One of our Maker mentors, Mayank, had been diligently repairing our 3-D printer for the past few months, and we were ready to take it for a spin. To say they were excited about it would be an understatement. We mentors provided the resources (the printer, links to websites to develop designs), and the students provided the creativity.

Watching the 3-D printer in action

Watching the 3-D printer in action

Each of the students had an opportunity to develop their own designs and get them printed. We directed them to https://www.tinkercad.com/, an easy-to-learn website where they could create their designs. Our students took to it without much help from us mentors and were willing to help each other modify their designs with tricks they learned while using the site.

Working in TinkerCad

Working in TinkerCad

20160204_155154

Which comic book character will this design become?

The site had numerous shapes, designs, and letters for them to pick from. We had designs ranging from human skulls, comic book characters, initials, and even a pair of dice for board games! We loaded the designs into a laptop that was hooked up to the printer. Slowly but surely, the designs were then transformed into 3-D objects before our eyes.

20160204_160445

Learning about the printer from our Maker Mentor and resident 3-D printing expert, Mayank!

20160204_162125

Sometimes, the printer has difficulty printing intricate designs. When designs came out looking kind of funny or lost some of their detail, our students instinctively looked at the designs and thought of ways they could improve the design so that next time their designs would print the way they intended. Problem solving and iteration in action! With this initial printing experience under their belts, what will they print next? It’ll be exciting to see them take these concepts and experiences and build on them in the coming weeks.

Check out more pics and activities from this week HERE.

Tinkering in the New Year: Circuits, Design Challenges, and Teamwork

After a brief hiatus, we are back in action! It feels great to be tinkering again. This semester, we are seeing a bunch of new faces joining Makers, and we’re happy to have them with us. Now let’s make stuff!

Jan28_2016

Jan28_2016

We brought back some old favorites like TechBox Tricks and K’nex. Our new Makers hadn’t seen TechBox Tricks before and were eager to figure out what to do with the kits. When one student connected pieces from the TechBox Tricks kit together to turn on a spinning motor by just waving his hand, other students wanted to try it too! Some students would put the pieces together but didn’t know why theirs weren’t working. This became a great opportunity for us slow down and figure out how the kit’s circuit worked. We figured out the differences between circuit inputs and outputs and why their order in a circuit mattered.

Jan28_2016

Jan28_2016

We also brought in a creative thinking game called Design Studio (seen below). It’s a kit that challenges students to tap into their creative potential and invent  imaginative things like remote controls for pirates or couches that wizards would enjoy. We were happy to see students dip their toes into this game, going for multiple challenges and iterating on their ideas along the way. With some prompts and guidance from the kit, these students imagined and sketched some truly unique inventions!

Jan28_2016

Something stood out to us this week: team work. When one student was stuck, trying to figure out why her LED wasn’t lighting up in her circuit, another student offered to look at her circuit to troubleshoot the issue based on what he figured out just a few minutes before. We saw this happen with a circuit puzzle game, as well.

Jan28_2016

Jan28_2016

We love seeing students reaching out and giving other students a hand up. Putting multiple heads together to solve problems is a life-long skill, and we’re proud to see this happening so naturally with this group. From a learner’s standpoint, we know empowering it feels to demonstrate something that you just learned and help someone in the process!

We have some new activities coming up in the next few weeks. Stay tuned!

Google Doodles

20151123_163243


You might have notices that every now and then, Google adds an illustration to its home page, changing the appearance of its logo in honor of a holiday or historical event. Google is currently  holding a “Doodle4Google” contest until December 7th.

Screen Shot 2015-11-30 at 11.51.41 AM

This contest is an opportunity where “young artists can doodle with any materials to show what makes them unique, and the winner’s artwork will be featured on our homepage for a day.” We thought this was a great opportunity for the students to really let their imaginations run wild!  

20151123_154546

We brought back some materials/ activities from previous weeks (batteries, LED’s, Lego’s, and LittleBits Kits) so that the students could build on what they’ve learned and incorporate these elements into their Google Doodle somehow. We also had a junk box filled with assorted paper, yarn, and other fun materials that the students could use.

20151123_154742 (1)

Being that they essentially had a blank canvas, the possibilities were endless. Some were a bit unsure where to start and took some time to explore some materials before they got started on a design. Other students dove straight into the junk box and started pulling out different materials, figuring it out as they went. Every now and then, a student would simply color in the logo and stop there, saying that they had no other ideas. Some of our mentors sat with them and created some silly and wild designs, helping the students look beyond the literal logo and not be afraid to get a little crazy.

20151123_162928

 All throughout the activity, the room was abuzz with excitement and lots of creative energy!

20151123_154732

20151123_154716

20151123_154622


You can see more of our students’ AWESOME Doodles here.

Makey Makey: Making Music with Vegetables(?!)

We got our hands on some Makey Makey kits this week. What’s Makey Makey? In short, it’s a kit that helps you turn everyday objects into touchpads that control your keyboard/computer. Conductive objects such as bananas, potatoes, plant leaves, and paper clips can be wired up and control different keys on your keyboard with the help of this kit. For more information about how Makey Makey works and project inspiration, check out this website http://makeymakey.com/howto.php.

22611401163_f74f86bc3c_z

None of the kids had ever seen a potato piano before and were very excited to play the one we had set up. In no time, they were making their own.

23238499275_c2c8386a4e_z

One of the first hurdles was figuring out how to play the potatoes to make music. Students had to hold onto the metal tip of an alligator clip with one hand while tapping the potatoes with the other hand. By doing this, their bodies helped close a circuit, connecting the current from the potato to the Makey Makey kit.

22609746734_77def0c92b_z

Students–not wanting to hold onto the clip with their fingers–got creative with making sure it stayed in contact with their skin: some would tape it to their hands, their arms, or their fingertips. This helped free up their hands and enabled them to interact more fully with their kit.

In addition to potatoes, what else could we use to play the piano? We had a bag of random objects that might work in place of potatoes and allowed them to experiment. The bag included: plant leaves (both dry and alive), paper clips, coffee stirrers, and assorted fruits.

We encouraged the students to explore using pencil graphite as a conductive medium and draw out their controllers on paper. With some trial and error, the students soon figured out how to connect their drawings to the kit and control the computer’s up/down/left/right/ keys by tapping on their drawings.

20151116_160744

Drawing our own controllers. Will they work just as well as regular game controllers?


The students were astonished and excited when they learned that they could play a game of Tetris by simply tapping on their drawings. Graphite’s conductibility took a lot of us (even mentors) by surprise!

20151116_161758

For more pics, check out our Flickr page!!

Page 1 of 2

Images © 2015 Regents of the University of Michigan. Text available under Creative Commons Attribution-NonCommercial-ShareAlike license unless otherwise stated. This project was made possible in part by the Institute of​ ​Museum and Library Services RE-05-15-0021-15.